DIY Tea Light Candles
These diy tea light candles made with pure beeswax will not only add a warm glow to your home but also a sweet, natural frangrance. Only a few basic tools and inexpensive materials will leave you with a bunch of adorable tea light candles that you made yourself!

Tea light candles are about a dime a dozen at the dollar store. But they’re also made using unnatural ingredients and can release toxins into the air. Regular candles might be cheap but they’re not sustainably made and provide no benefits other than the candlelight.
Although making your own tea light candles by hand may seem silly when you can buy them for pennies, it is and easy project worth the effort. You only need a few inexpensive materials and equipment to make your own beautiful, natural tea light candles.
Benefits of Beeswax Candles
Here are just a few of the benefits of burining pure beeswax candles in your home:
- They are a natural product containing no petroleum by-product.
- They provide stress relief and warmth to the home.
- They are made from a renewable resource…beeswax!
- They produce a bright light and little smoke.
- They decrease indoor air pollution as a natural ionizer.
- They have a longer burn time.
You can read even more about why beeswax candles are so wonderful in this post here.

Materials for DIY Tea Light Candles
You can make about 25 tea lights from 1 pound of beeswax.
- Tea Light Candle Cups– You can order these online, purchase from a craft store, or resuse the cups from old tea light candles.
- Tea Light Candle Wicks– Tea light candle wicks should be 1 1/4 inch long. You can purchase pretabbed cotton wicks or purchase wick and tabs separately and make them yourself.
- Wick Sticker– These are double-sided stickers that adhere the base of the wick to the candle holder making it easy to center the wick and keep it in place. You could also use a dab of glue from a hot glue gun.
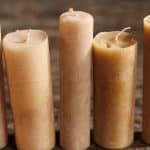
- Pure Beeswax– We use beeswax harvested form our own bees. If you don’t have your own beeswax, you can often find a local beekeeper to purchase it from, a health food store that carries it, or order it onliner from a reputable seller. Beeswax comes in varying colors from white to yellow to brown, depending on many factors. You can read more about beeswax here. If purchased from a sustainable company, soy wax is another alternative to using beeswax.
- Essential Oils (optional)– If you want to scent your tealight candles, feel free to add a few drops of your favorite essential oil. We enjoy the slightly sweet, natural scent of beeswax candles so I skip adding any additional fragrance oil.

I only spent $7 purchasing the cups, wicks, and stickums to make these beeswax tea lights. I will be able to reuse the cups over and over again and just purchase new wicks. This is my favorite place to order all of my candlemaking supplies from for making our own candles.
Tools You Will Need
You only need a few basic tools to whip up this diy project!
- Electric Burner– I don’t like to work with wax on our stovetop because it can be a pain to clean up. I have a seperate small electric burner that I use for candlemaking and other uses.
- Small Saucepan– Again, I don’t want to use the saucepans that we cook with to melt wax so I have a small inexpensive stainless steel saucepan that I only use for working with wax.
- Small Can– You will want to use the double boiler method to melt the wax. I like to use a clean can (from a can of vegetables or tomatoes) to put the wax in. This will sit inside of the saucepan, which has boiling water in it.
Read all about my favorite basic candlemaking supplies in this post. You don’t need fancy or expensive equipment for candle making at home. Use what you already have on hand or check a local thrift shop. Once you have everything that you need, you can make diy candles anytime!

How to Make DIY Tea Light Candles
- Set up your work area– Plug in the electric burner. Fill the saucepan halfway with several inches of water, place it on the burner and turn the burner on low heat. I also like to lay an old tea towel (you could also use a paper towel, wax paper, or parchment paper) on the counter where I will be making the candles for an easy way to clean up.

- Melt the wax– Put your beeswax into the can and set the can in the water. It will take a while to heat up and melt the wax.


- Prepare the wicks– While you’re waiting for the wax to melt, get the tea light candle holders and wicks ready. Use the double sided wick stickums or a glue dot to attach the wicks to the bottom of the cup. Make sure the wick is centered properly.

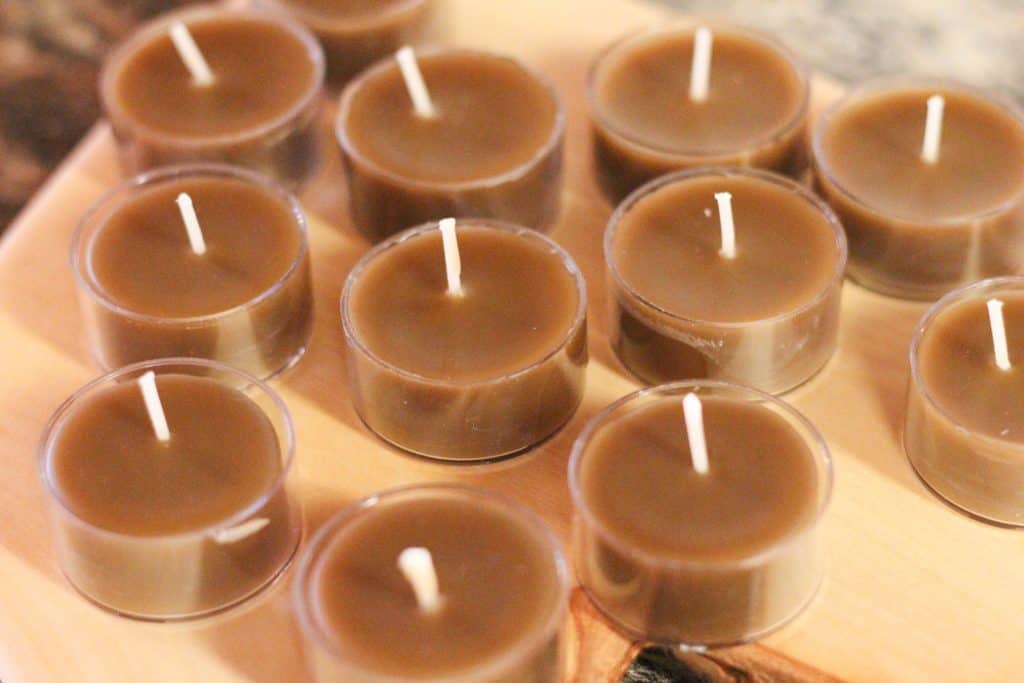
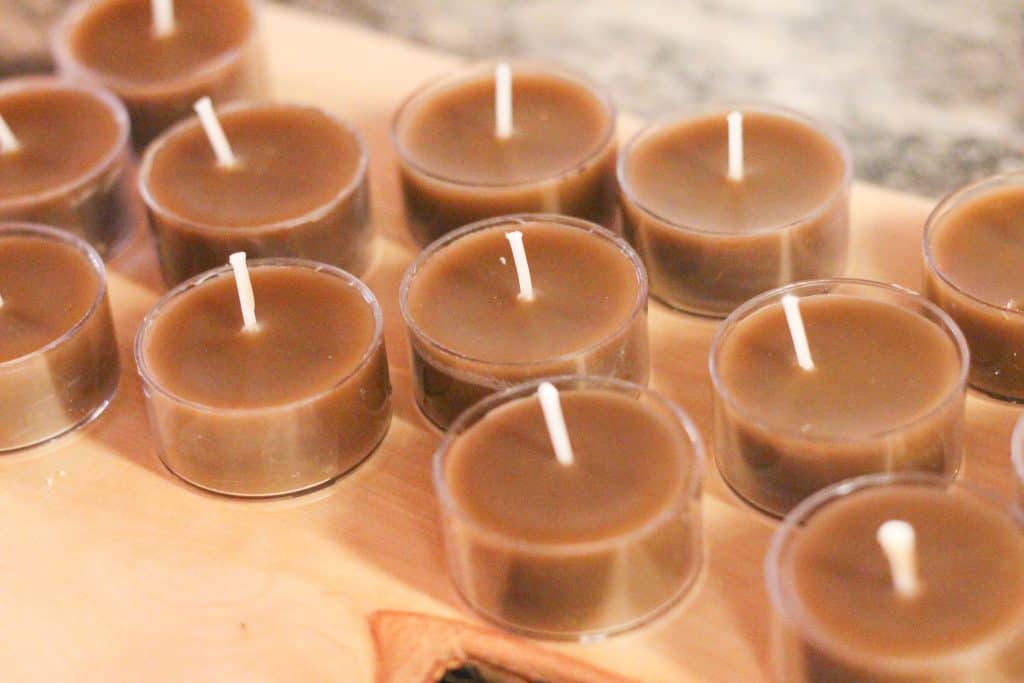
- Pour the wax– Once the wax has melted completely, very carefully begin to pour the melted wax into each tea light candle cup. Pour slowly as each cup only needs a little wax! Fill each tea light cup to the top. Because the wicks are so short, they will stay standing nicely. There’s no need to prop them up like with larger candles.

- Allow to cool– Once you are done filling all of the tealight cups, allow them to sit until completely cool, about an hour. I just leave any unused wax in the small can to use another time when I want to make more candles. I can just add a little more wax to fill the can and melt it all over again.

- Cure the candles– To ensure the most efficient burning, allow your candles to cure in a dark place for 2 weeks.
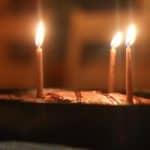
Use and enjoy your homemade tea light candles all around your home! Tea light candles make excellent table centerpieces, warm lighting in any room, and I even keep a few in the car in case of an emergency. They also make wonderful handmade gifts for any special occasion!


doy Beeswax Tea Light Candles
Equipment
- Electric burner
- Small saucepan
- Small aluminum can
Materials
- 1 lb 100% pure beeswax
- 25 Tea light candle cups
- 25 1 1/4" pre-tabbed cotton wicks
- 25 Stickums or glue dots
Instructions
- Plug in the electric burner and turn on. Place the small saucepan filled halfway with water onto the burner.
- Put beeswax inside the empty can and set in the water in the saucepan. Allow the beeswax to melt.

- While waiting, attach the wicks to the bottoms of the tea light candle cups, making sure they are centered.

- When the wax is completely melted, carefully pour into each tea light cup, filling to the top. The wick should stand up straight on its own but if needed, use your fingers to straighten it out.

- Allow to cool until completely hardened, about 1 to 2 hours.

- For best results and longer burn time, allow to cure in a dark place for 2 weeks.

I noticed that you don’t add coconut oil like some have mentioned. Do you find your candles burn better or longer?
Hi Katie! I can’t answer from experience as I haven’t made candles using coconut oil before. However, since we keep bees, I am fortunate to have pure beeswax at my disposal as it can be expensive to purchase. I know some add coconut oil to their beeswax candles to be able to make more. I like to use pure beeswax for the cleansing benefits as well. I hope that helps, thank you for asking!