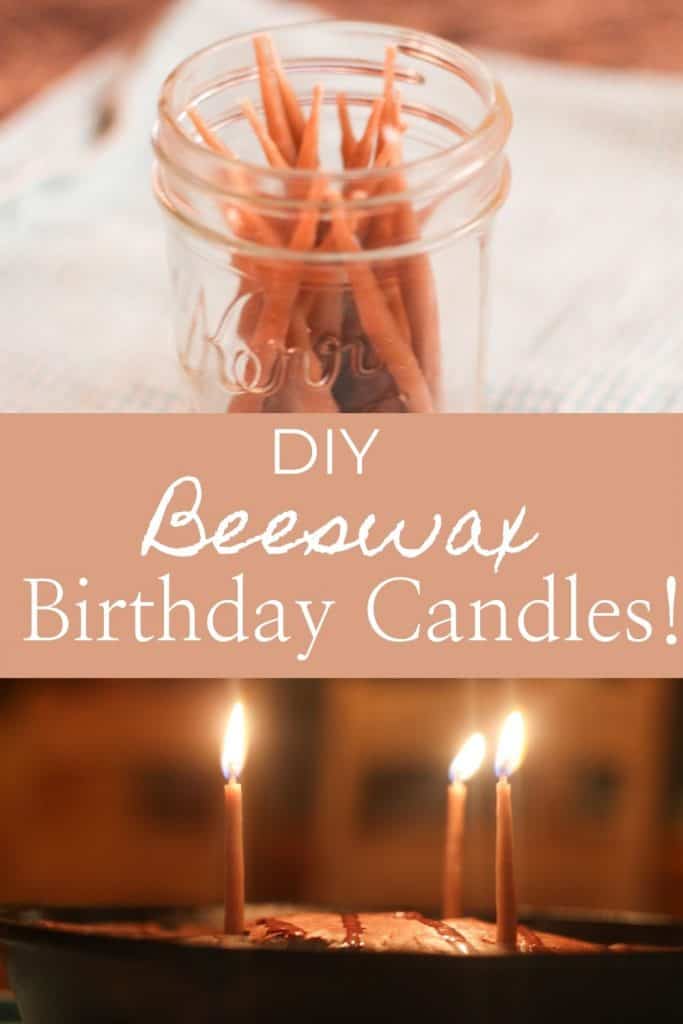
Beeswax Birthday Candles
What a sweet way to celebrate someone’s special day! Beeswax birthday candles are an easy project that doesn’t take much time but they will last for many years to come.
Birthdays are extra-special days in our home. Celebrating a family member and showing them how much they are loved is fun for everyone. Our girls like to make homemade birthday banners for each other to hang over the table. And I always prepare requests for their favorite breakfast, lunch, dinner, and of course, dessert.
While making tapered beeswax candles with a dear friend, she told me how she used to make birthday candles for her children. I thought it was an amazing idea and I was so excited about it, I made some for our family the following day.
The steps are similar to making large tapered candles, just on a much smaller scale. It’s such a fun and quick activity, even the kids can help! Using homemade candles on someone’s birthday makes it even more meaningful. Here are the detailed instructions.
What You Will Need to Make Hand-Dipped Candles
- Beeswax-We collect wax from our bees and save it up in a jar until we have enough (which takes a while) to make some candles or other projects. You will want clean beeswax. If you don’t have your own bees or a local beekeeper to purchase wax from, it’s usually available at health food stores or online.
- Wick-I like a good quality, thick wick when I make beeswax tapered candles but for these birthday candles, I just chose an inexpensive, thin wick from the craft store.
- Cans or jars-Because you’re using a small amount of wax to make tiny candles, you want a small, narrow container. Canned vegetable cans work great for this project.
- Small saucepan-I have an old, inexpensive small saucepan that I use just for projects involving wax, even waxing blocks of cheese. This way, I don’t have to worry about damaging one of my nice cooking pots. However, with this project, the saucepan is only for holding the water, which will heat up to melt the wax. So unless you’re a bit messy, no wax should get on the pot.
- Portable electric burner-I like to use a portable electric burner for projects involving wax so that I don’t have to worry about cleaning up my actual stovetop. Wax is pretty easy to scrape up off of a countertop if you accidentally drip.
How to Make Birthday Candles
- Start by setting up your project area. Plug in the portable electric burner. Fill the saucepan about halfway with water and place on the burner. Turn the burner on medium and bring the water to a simmer.
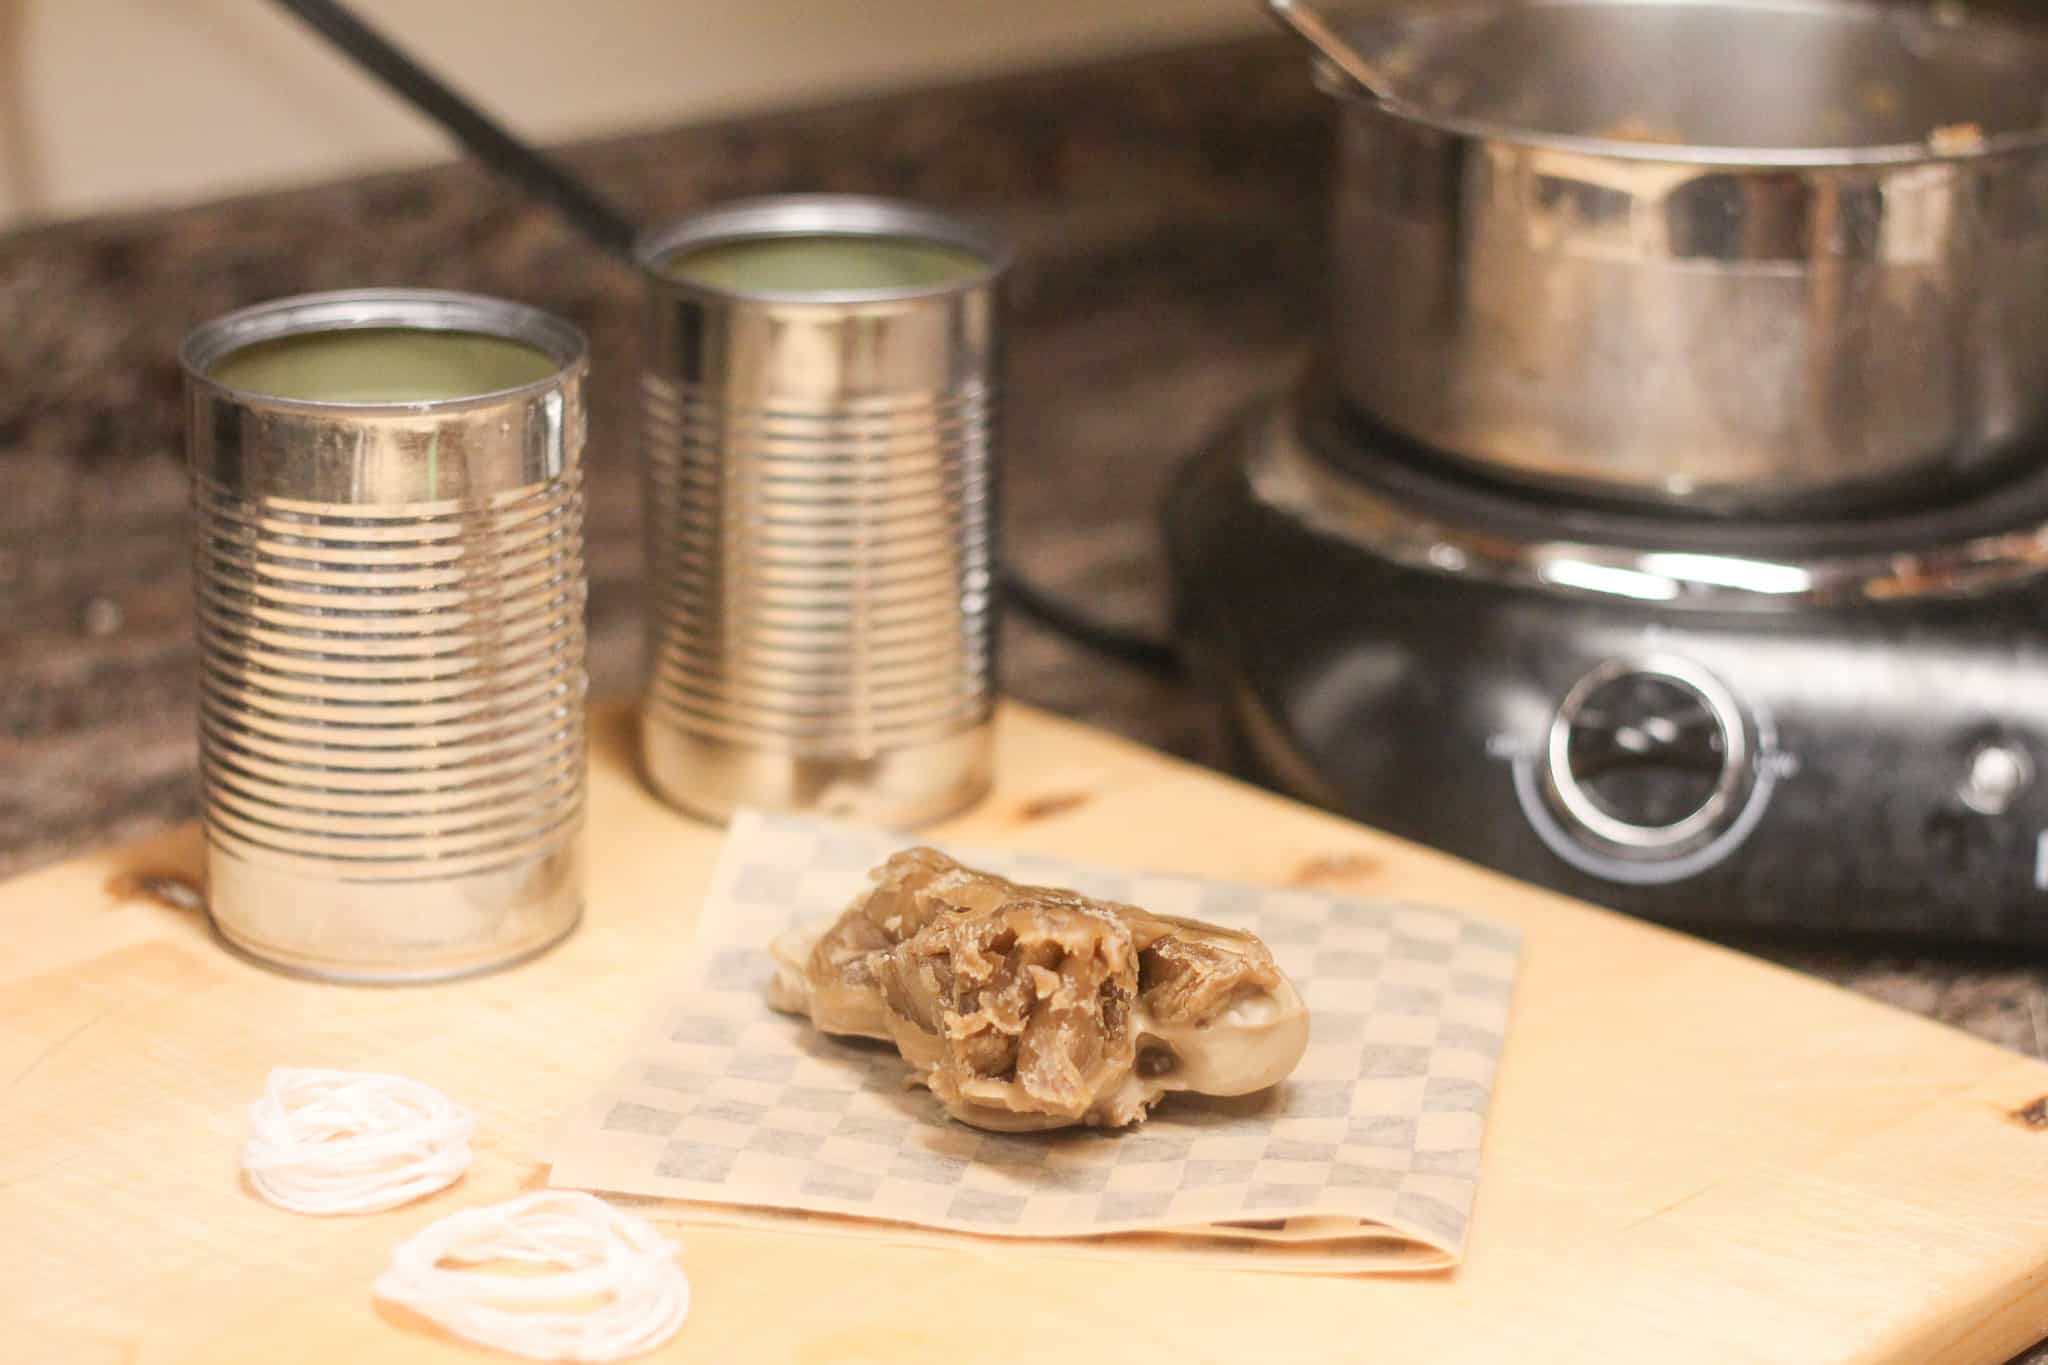
- Put your beeswax into one of the cans and place in the saucepan. Keep an eye on the wax as it melts. Fill the other can with cold water and set to the side next to the burner.
- Cut the wick into 4 inch pieces. The wick will get trimmed a little again once you’re done so the candles end up being about 3 inches tall.
- I like to place some parchment paper down on the counter to catch any drips and to lay the candles on as I finish each one.

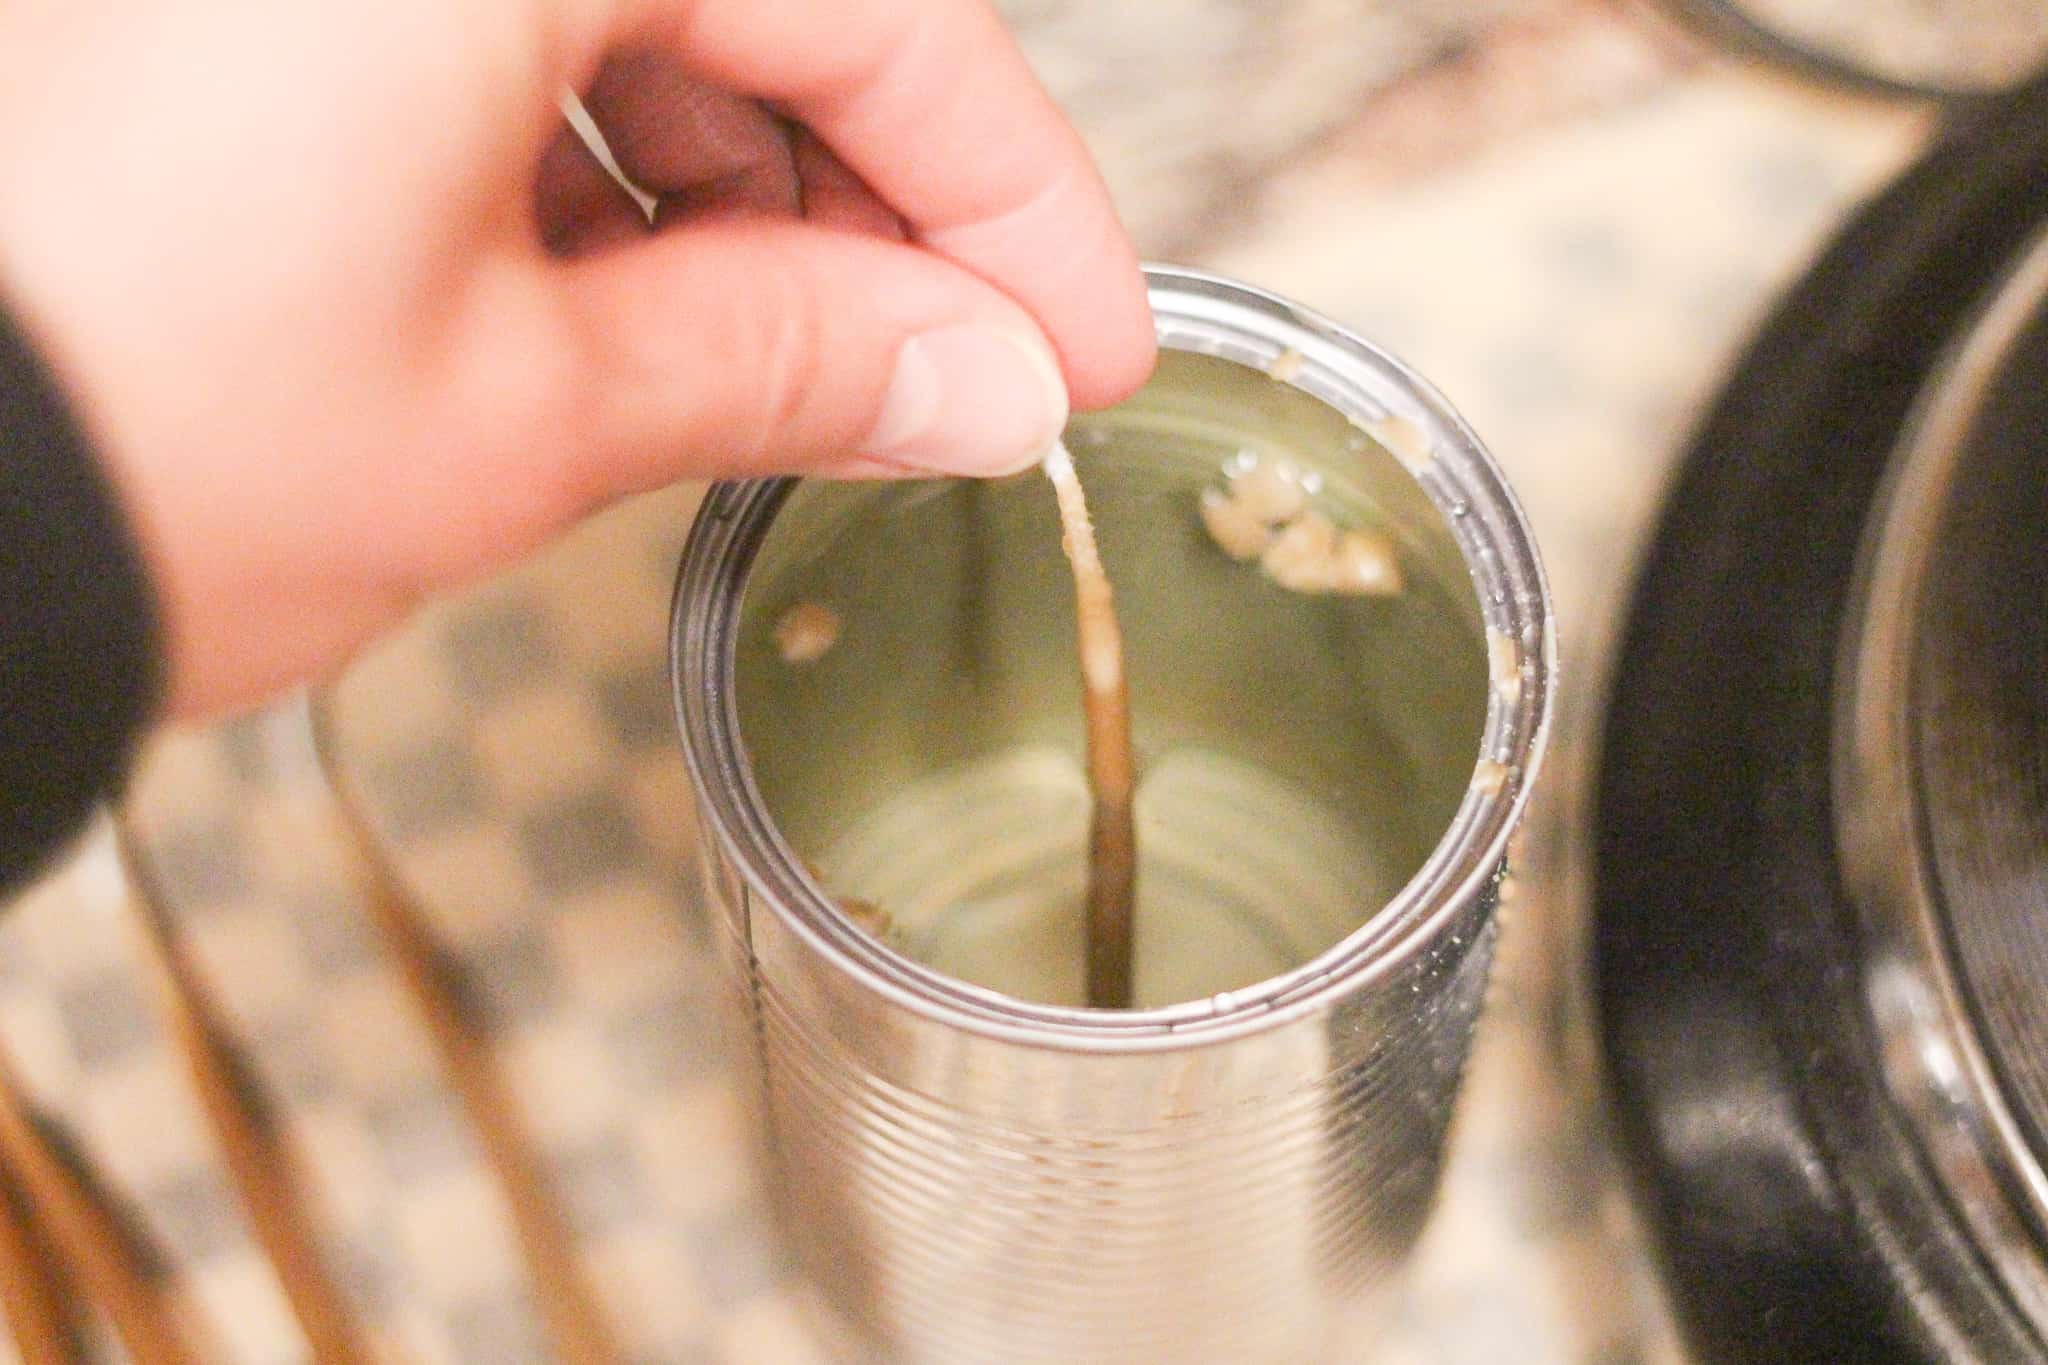
- Once the wax is completely melted, you can start making the candles! The process is very similar to making tapered candles. However, I do not tie a bolt to the bottom of these wicks. This is because these candles are so small and you only dip them a few times each so it’s easy to keep them pretty straight.
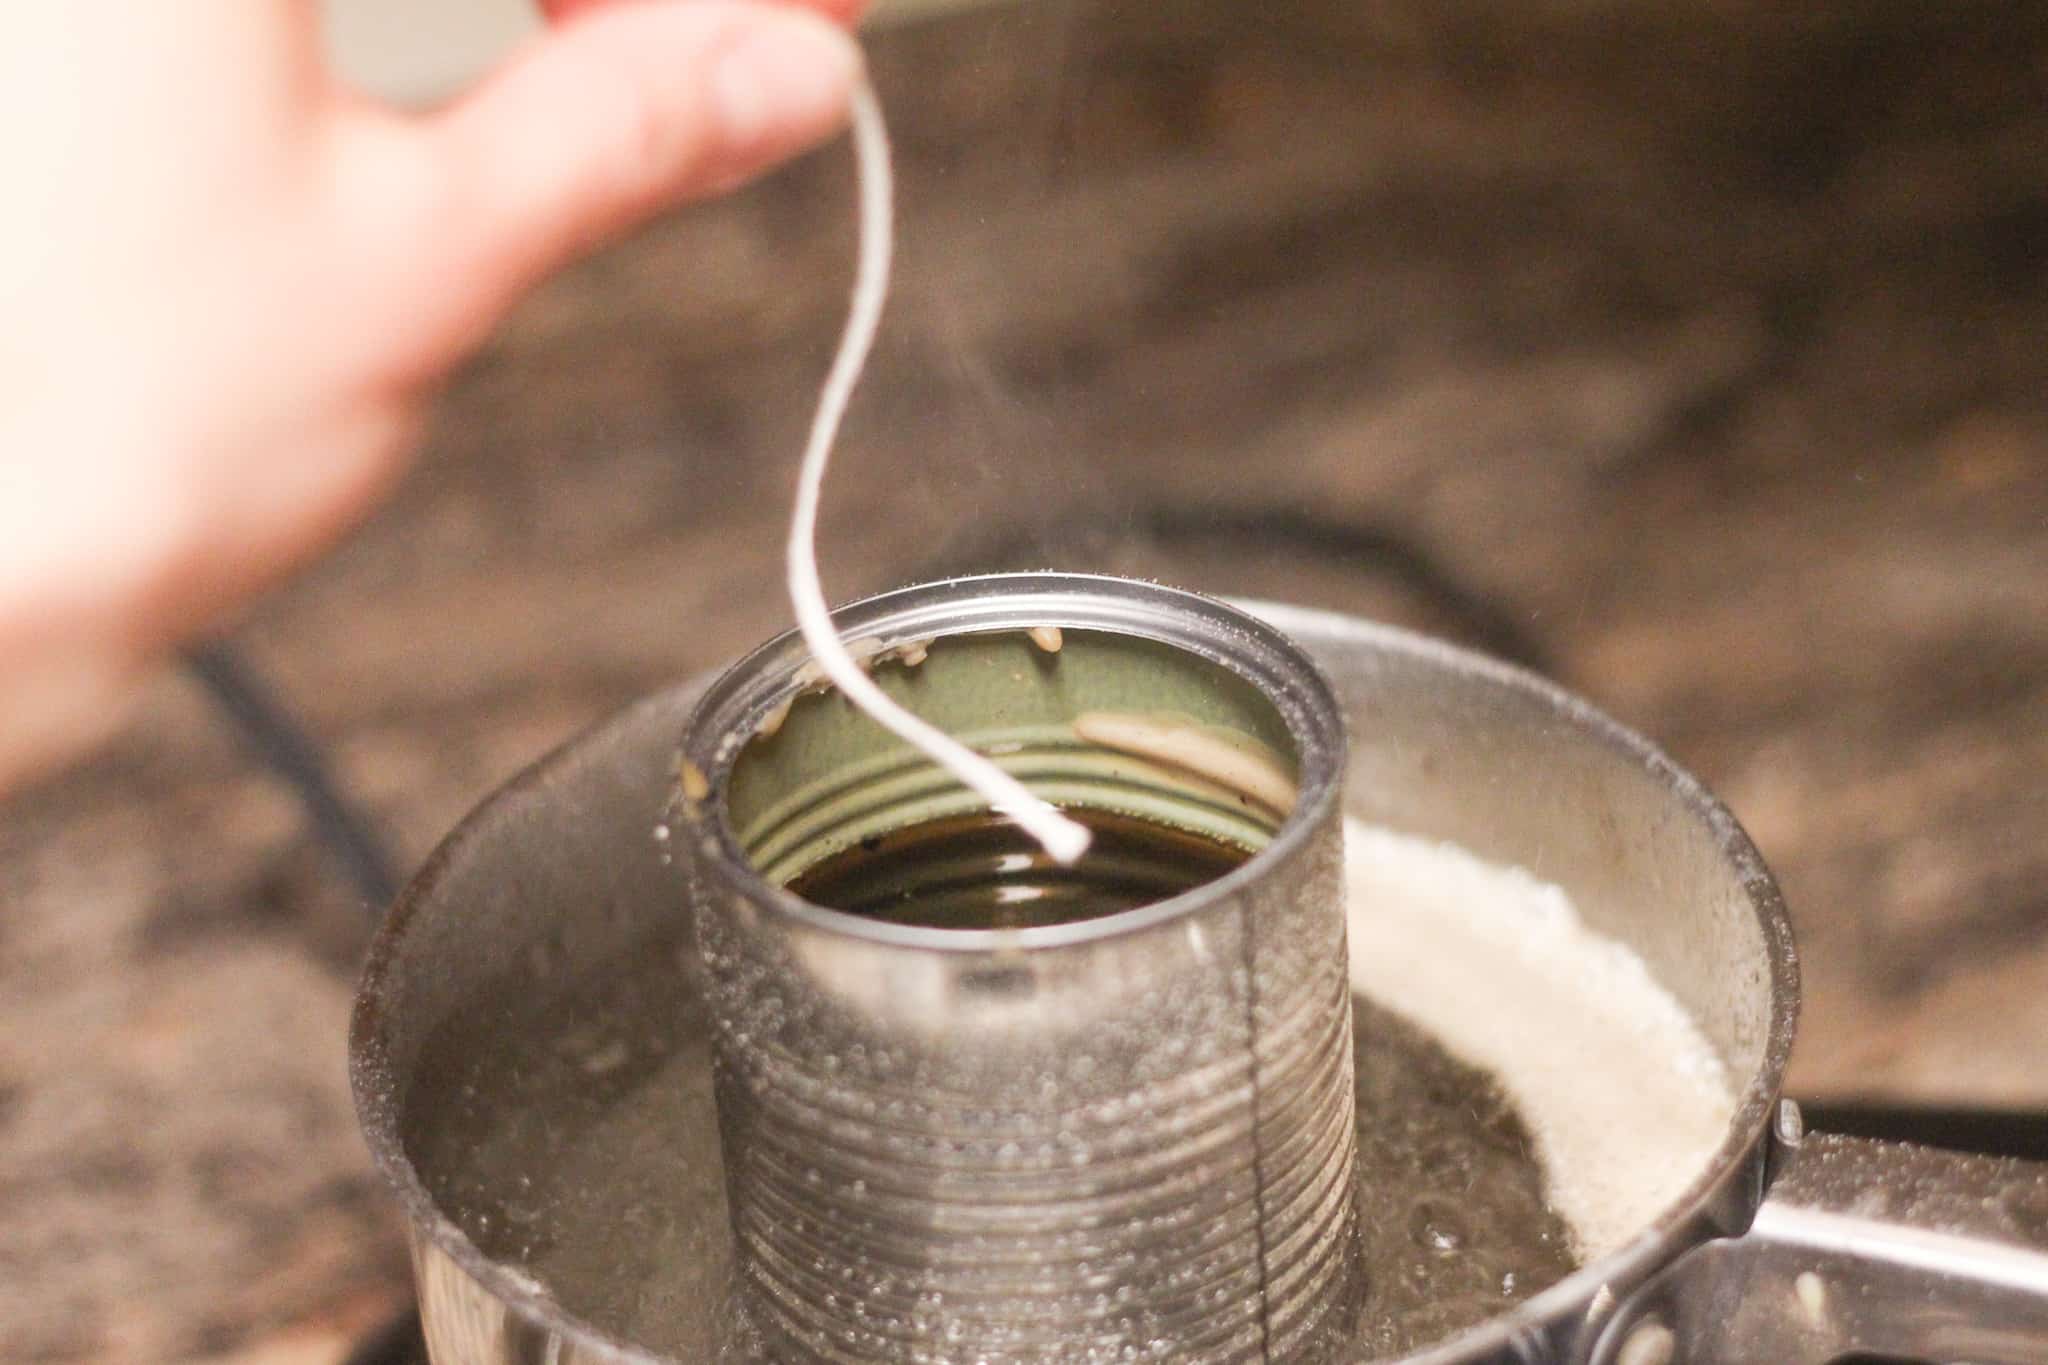
- Dip the wick into the wax for the first time. It will be wavy, that’s ok. Next, dip it into the water. Then, take your fingers and gently pull down on the bottom of the wick to straighten it out.

- Follow the same steps for the second dip, straightening if needed.
- Continue to dip back and forth into the wax and then the water, being sure to dip quickly.

- The water helps to cool the wax quickly so you don’t have to let it cool for several minutes before dipping it again.
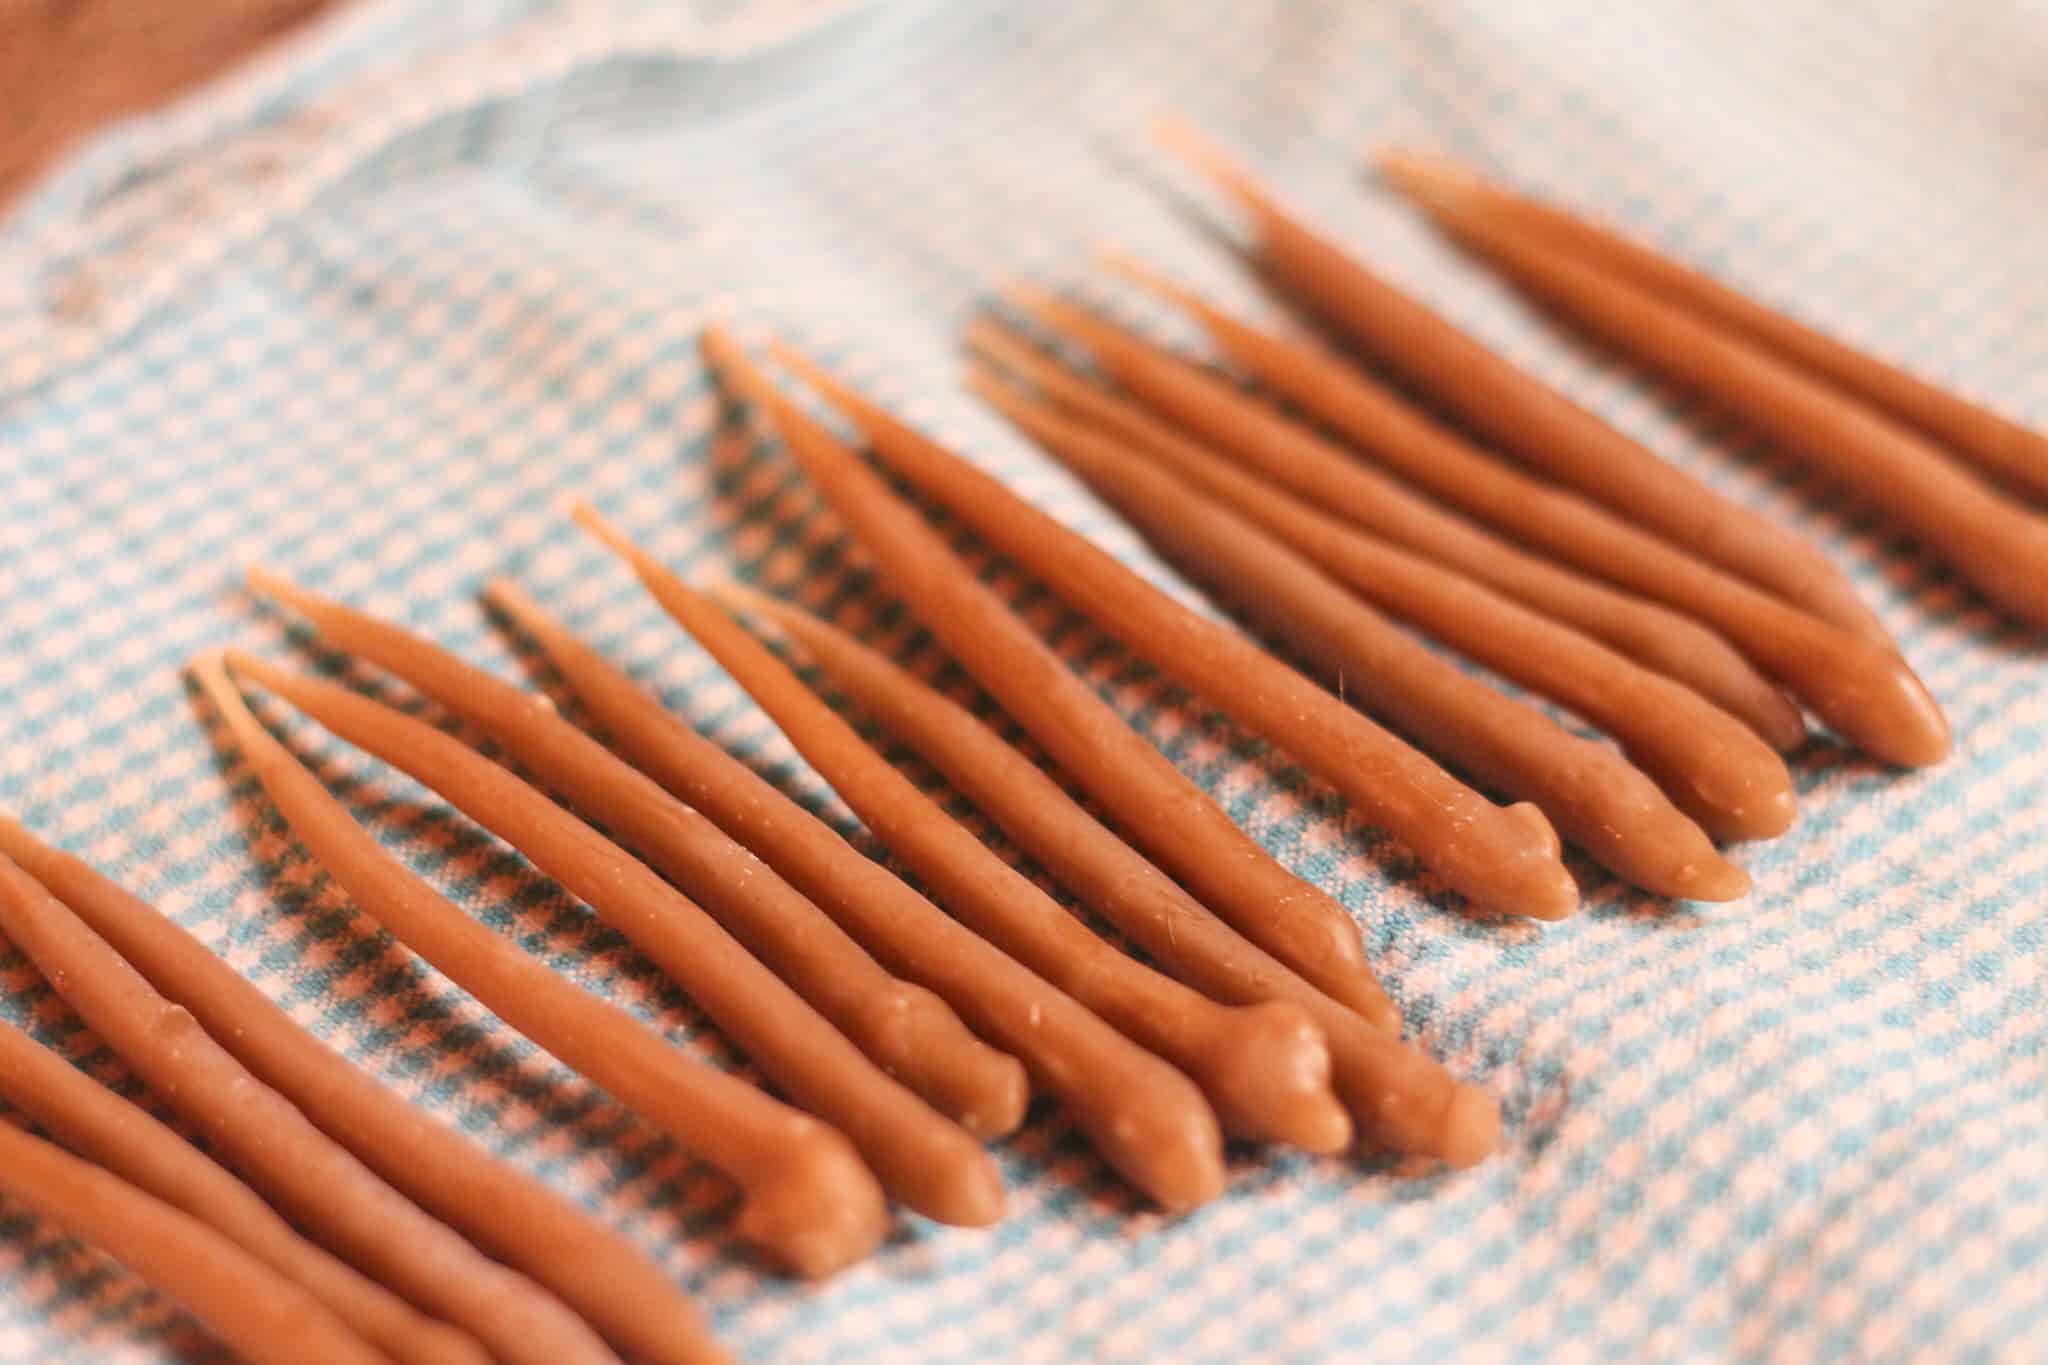
- Dip back and forth from the wax to the water until the candle is the size that you want. I found about 10 dips worked for me.
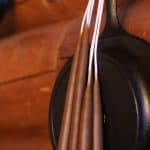
- Lay each candle down when it’s done and move on to the next one. You don’t need to hang these to finish cooling like tapered candles, again because they’re so small. I made a whole batch of birthday candles in less than an hour!
- I decided not to trim the bottoms of the candles. Because they’re going into a cake anyways, it doesn’t matter what the bottoms look like. But you can certainly trim them if you’d like and toss the pieces of wax that you cut off back into the can with the rest of your wax to reuse.
- Trim the top of the wick where you were holding onto it and you’re all done!
How to Use DIY Birthday Candles
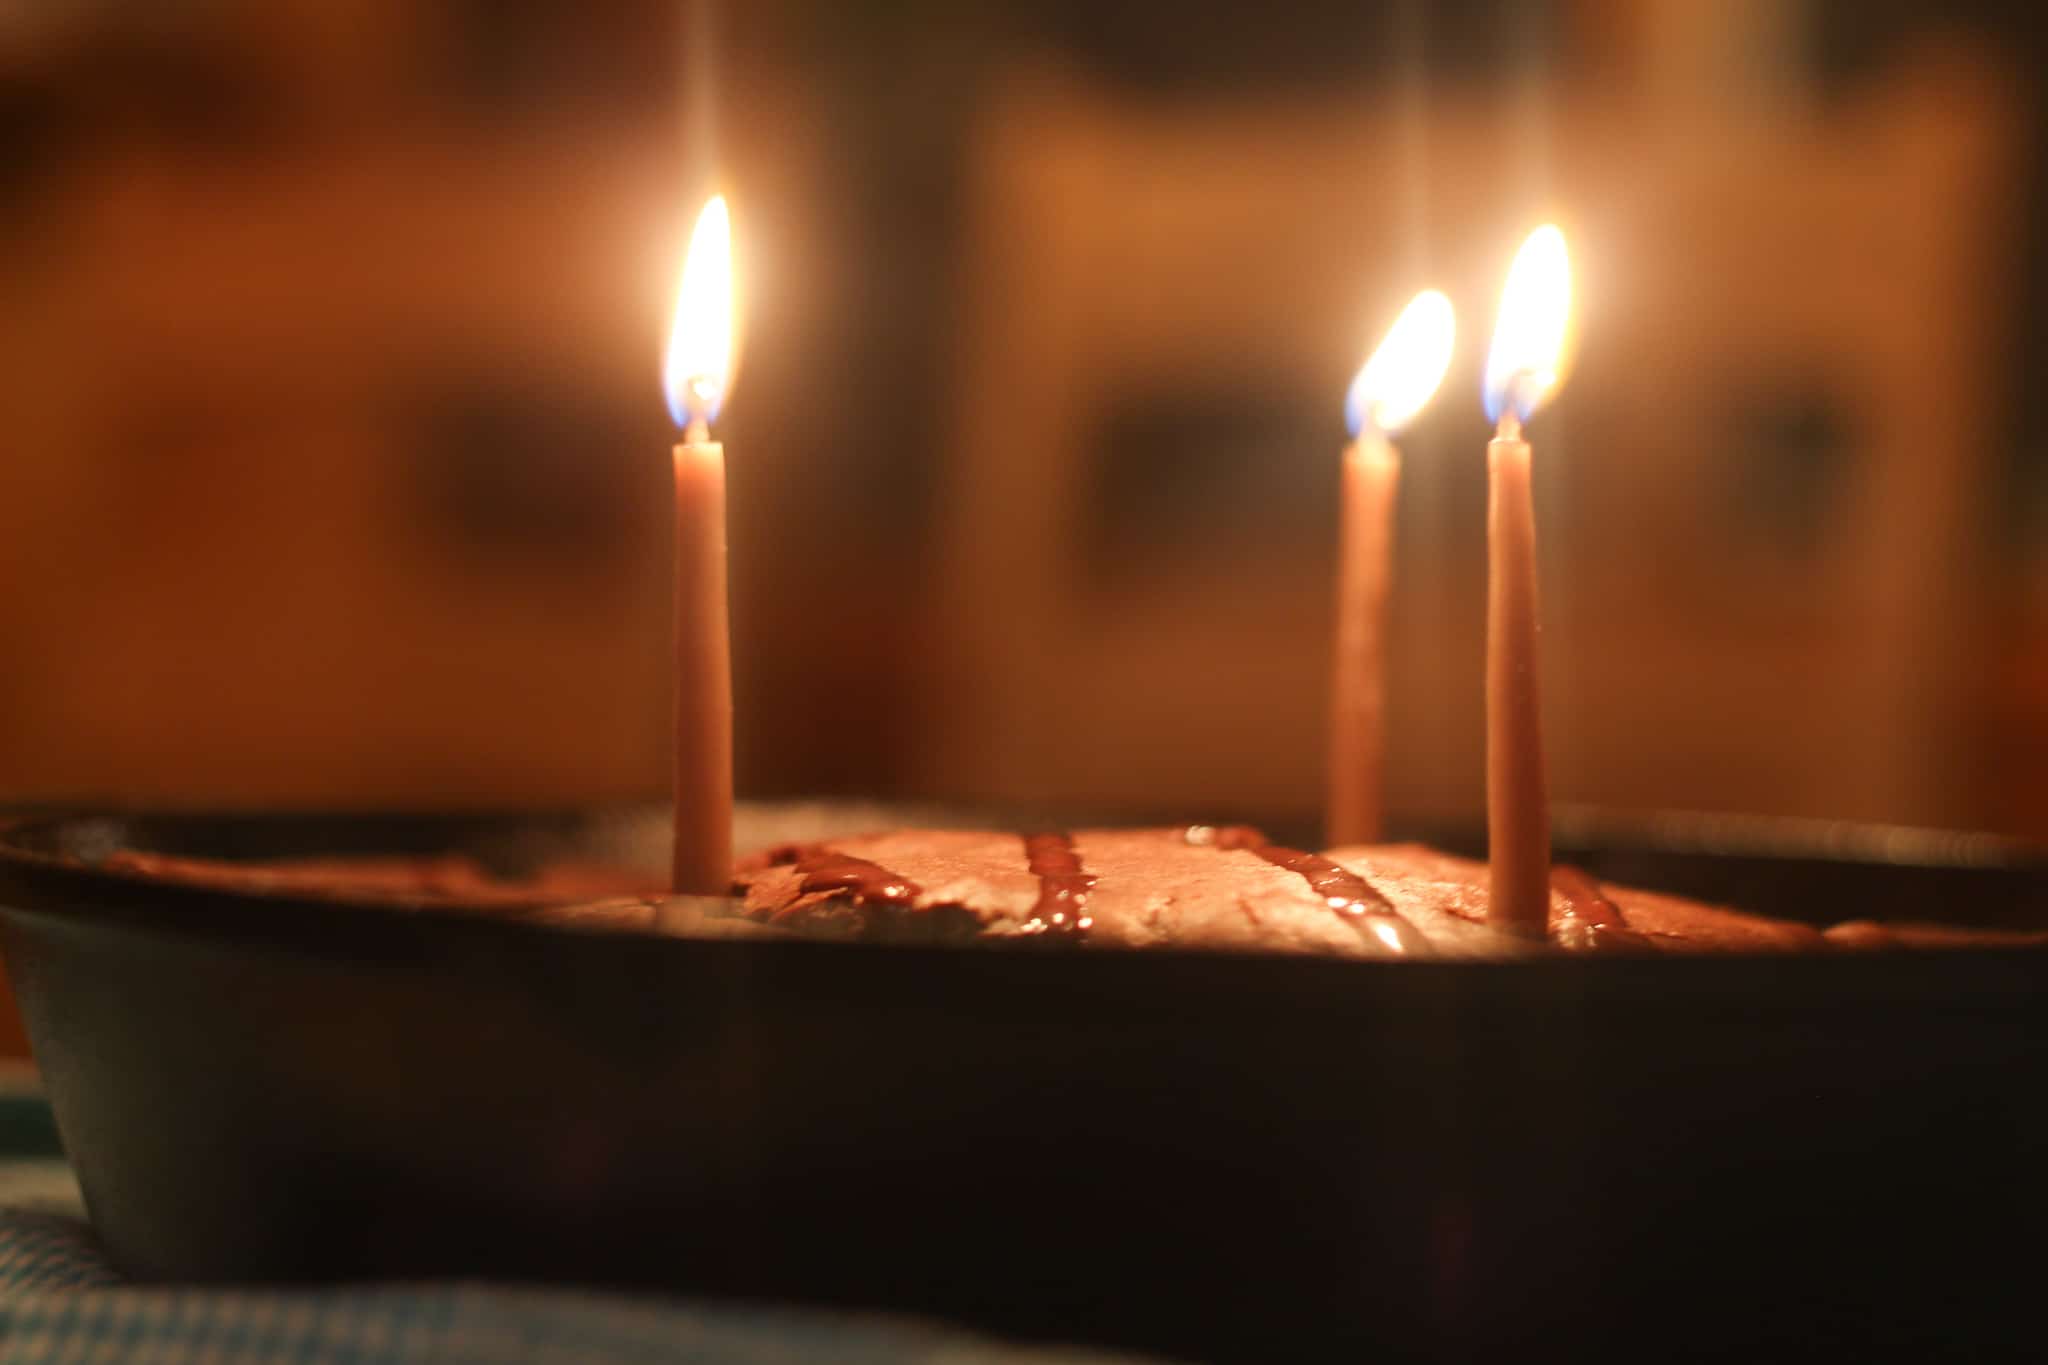
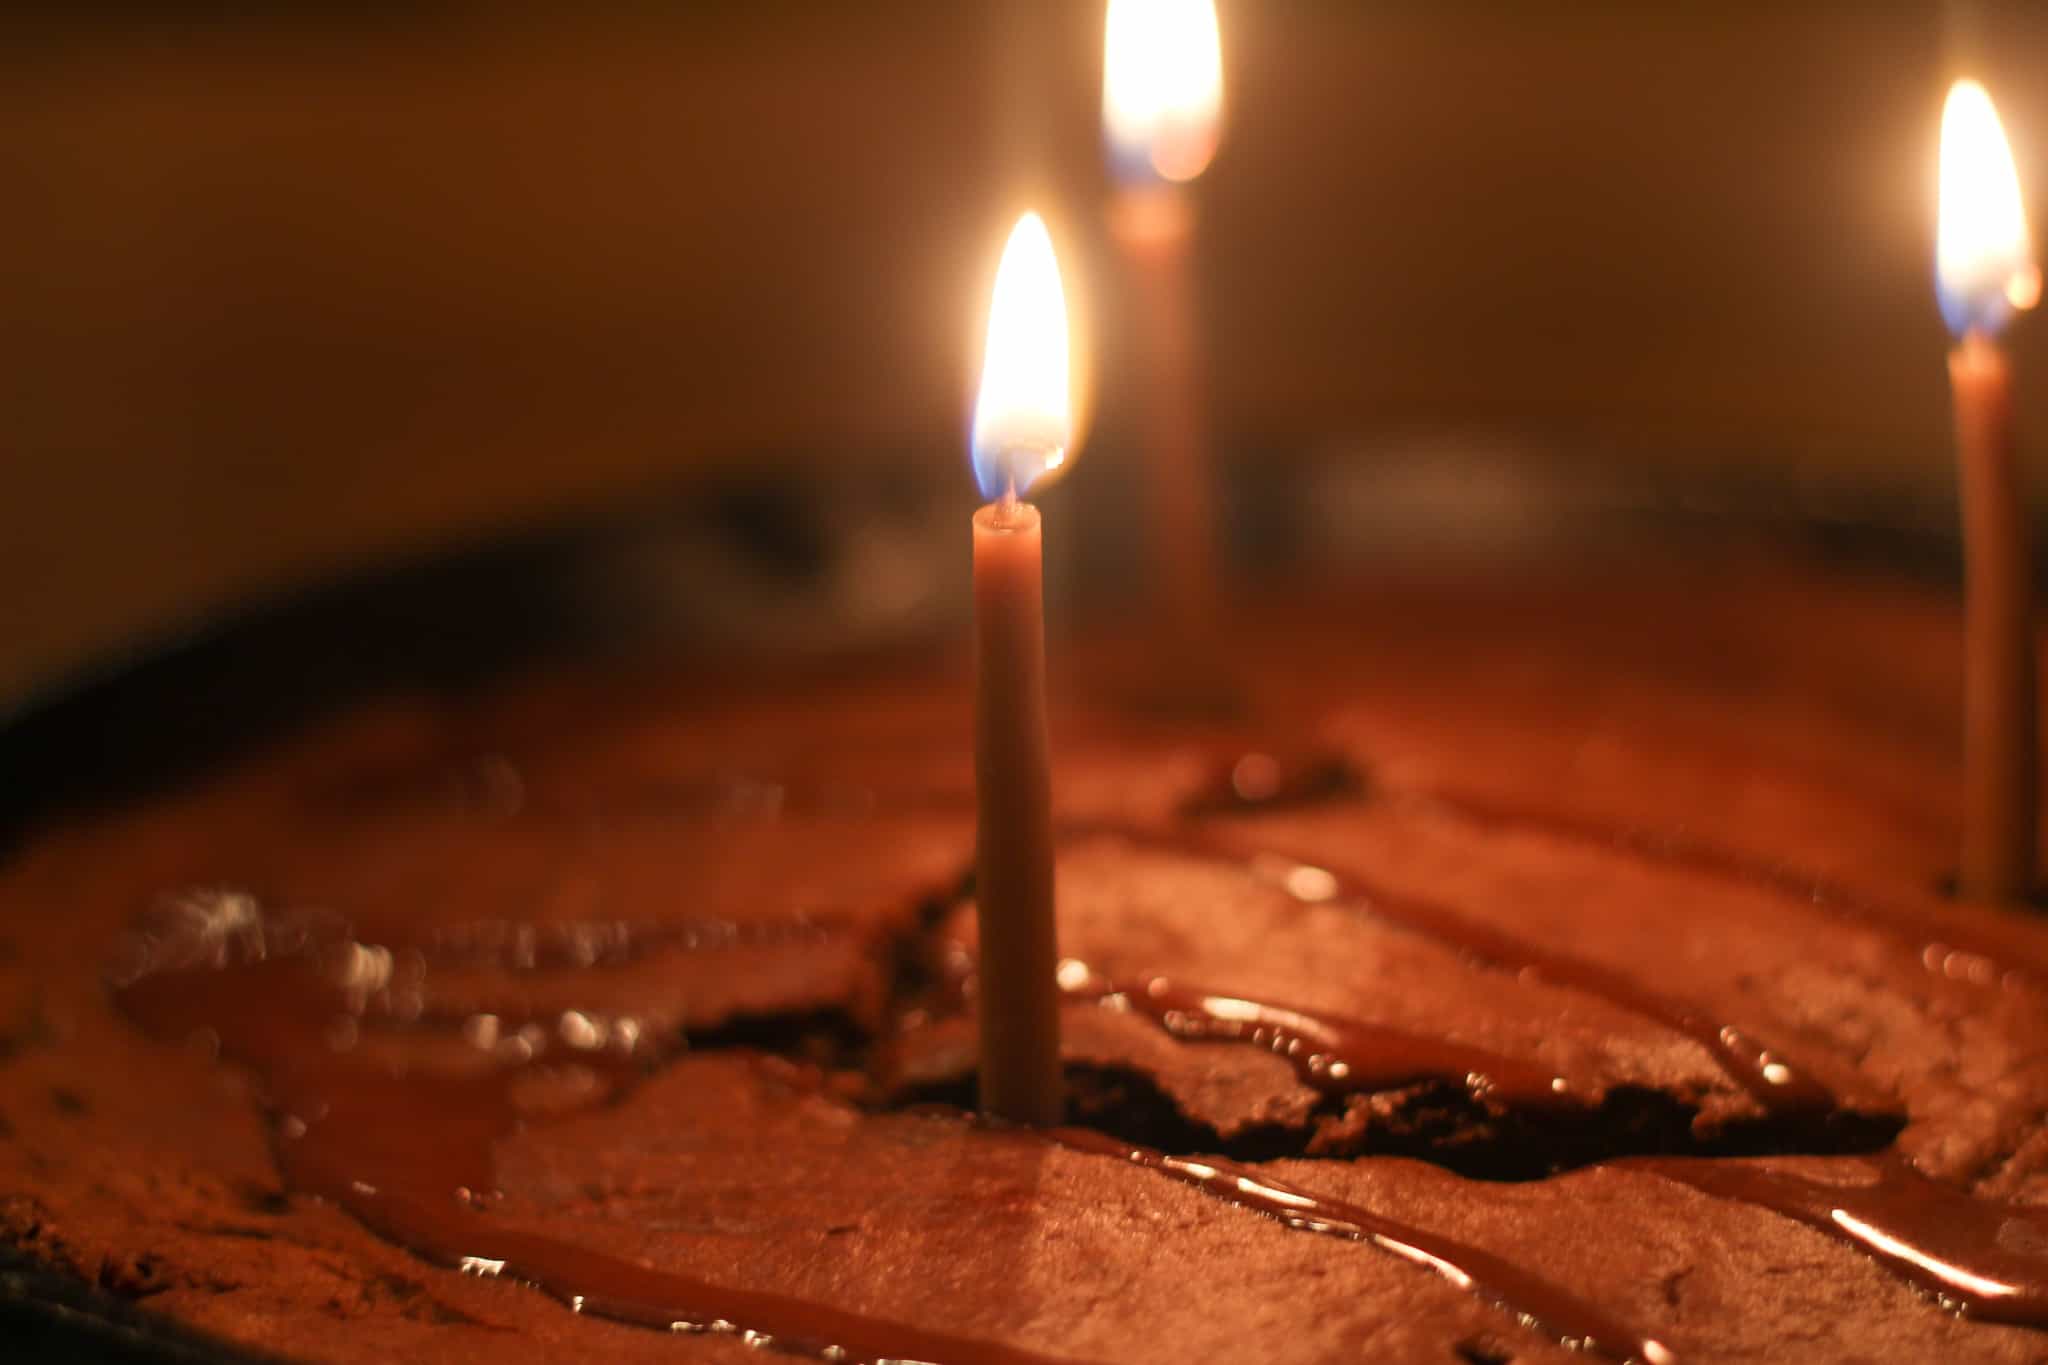
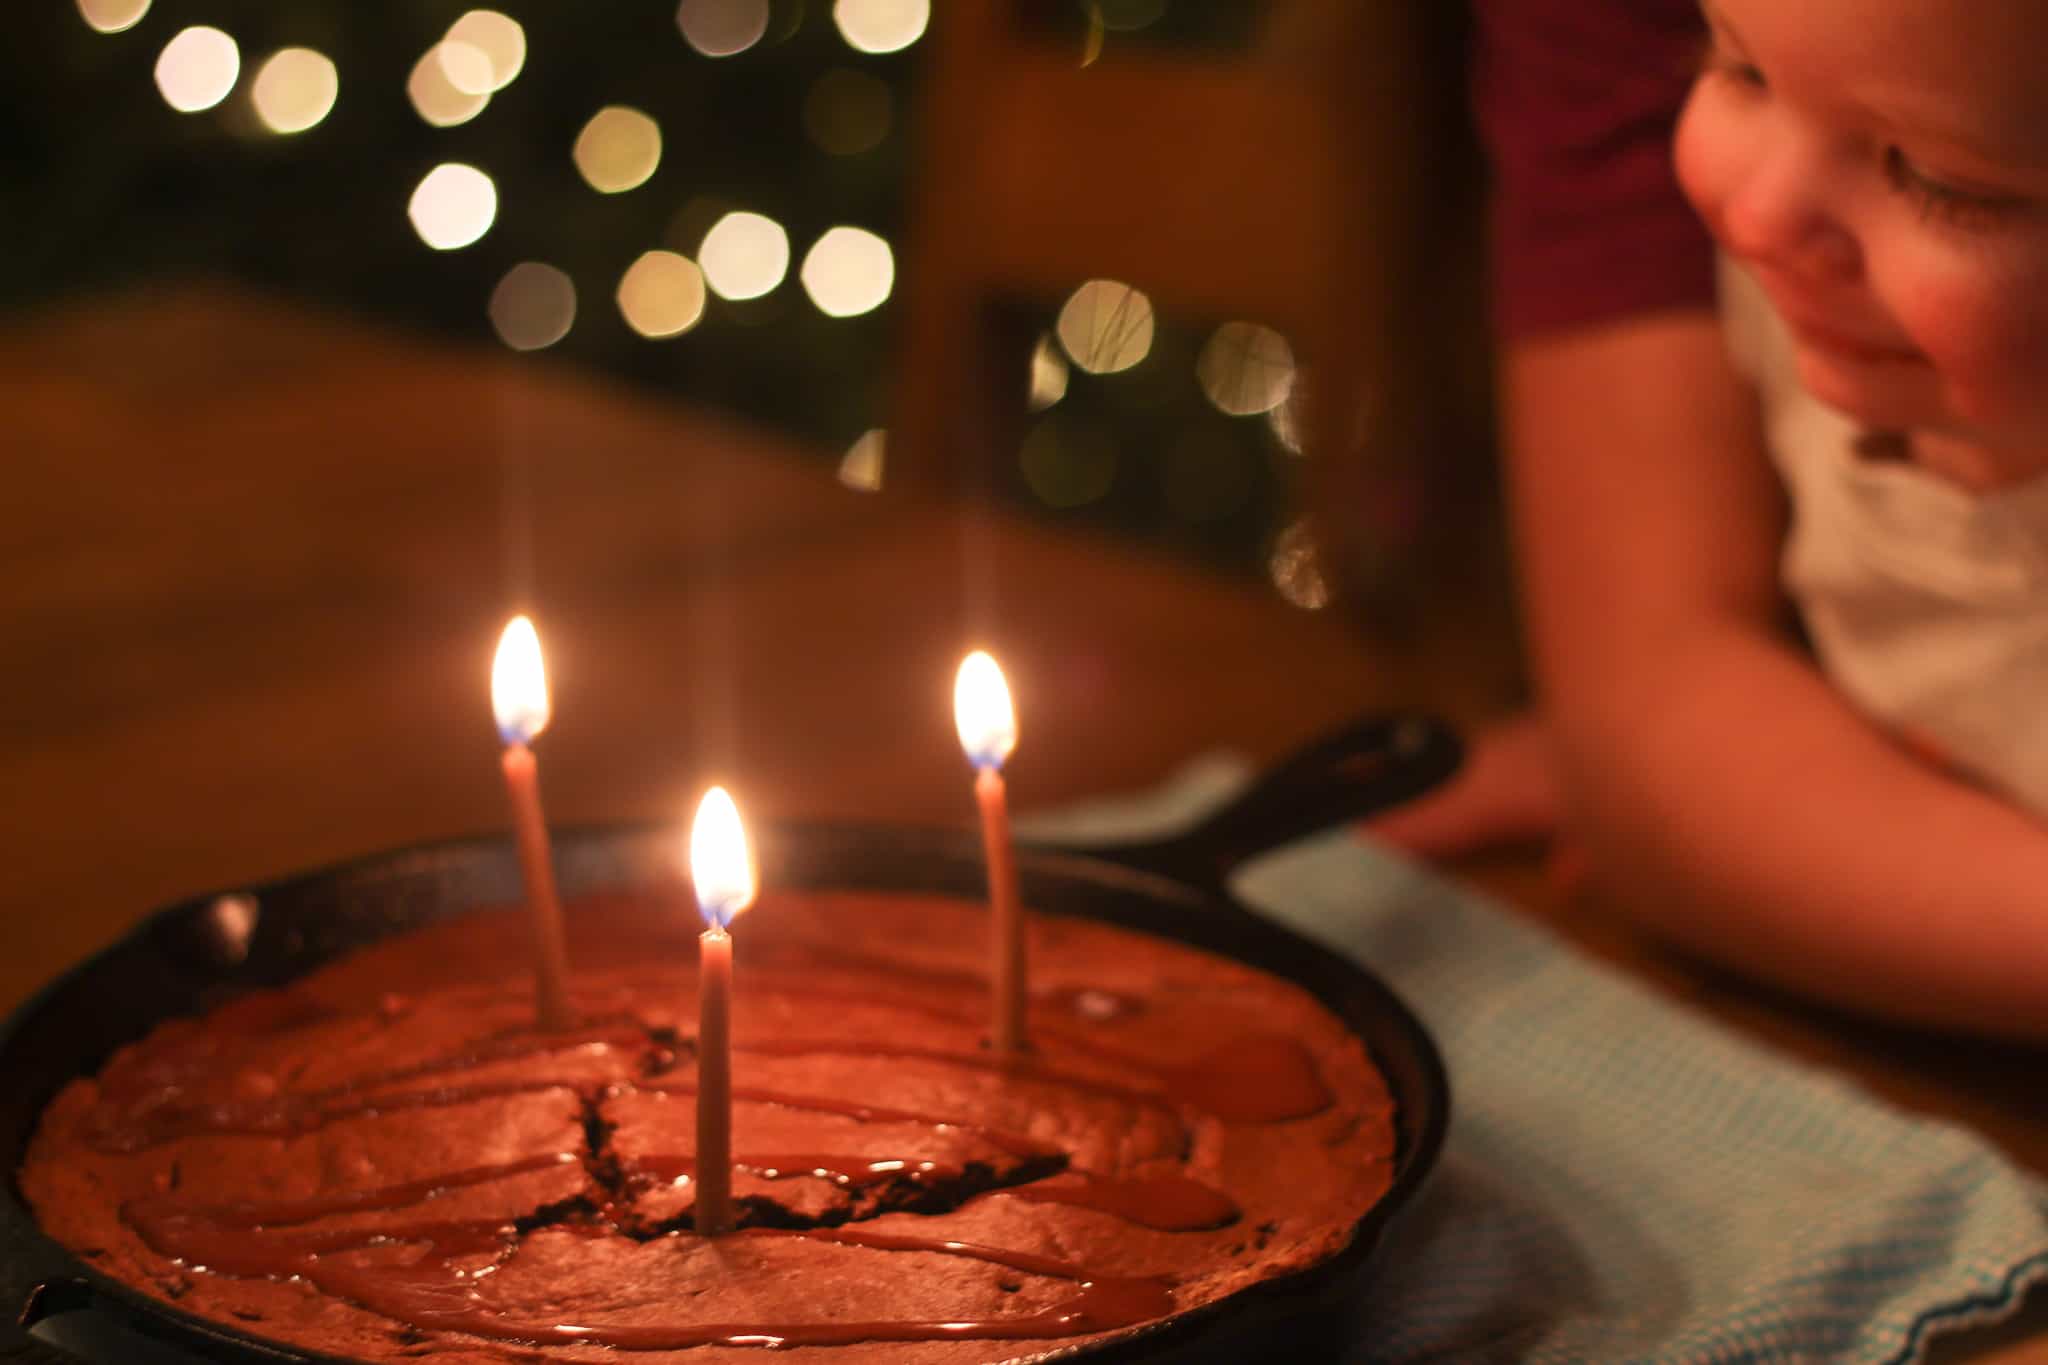
Use these homemade birthday candles like you would any other! Simply stick them down into the cake, light, and celebrate the special day of a loved one or friend.
Our youngest daughter was the first to try out our handmade birthday candles made from the wax of our bees and she loved them. They hardly burned down at all in the time it took us to sing to her and watch her blow them out.
What a special touch to add to the festivities and a new, meaningful family tradition!
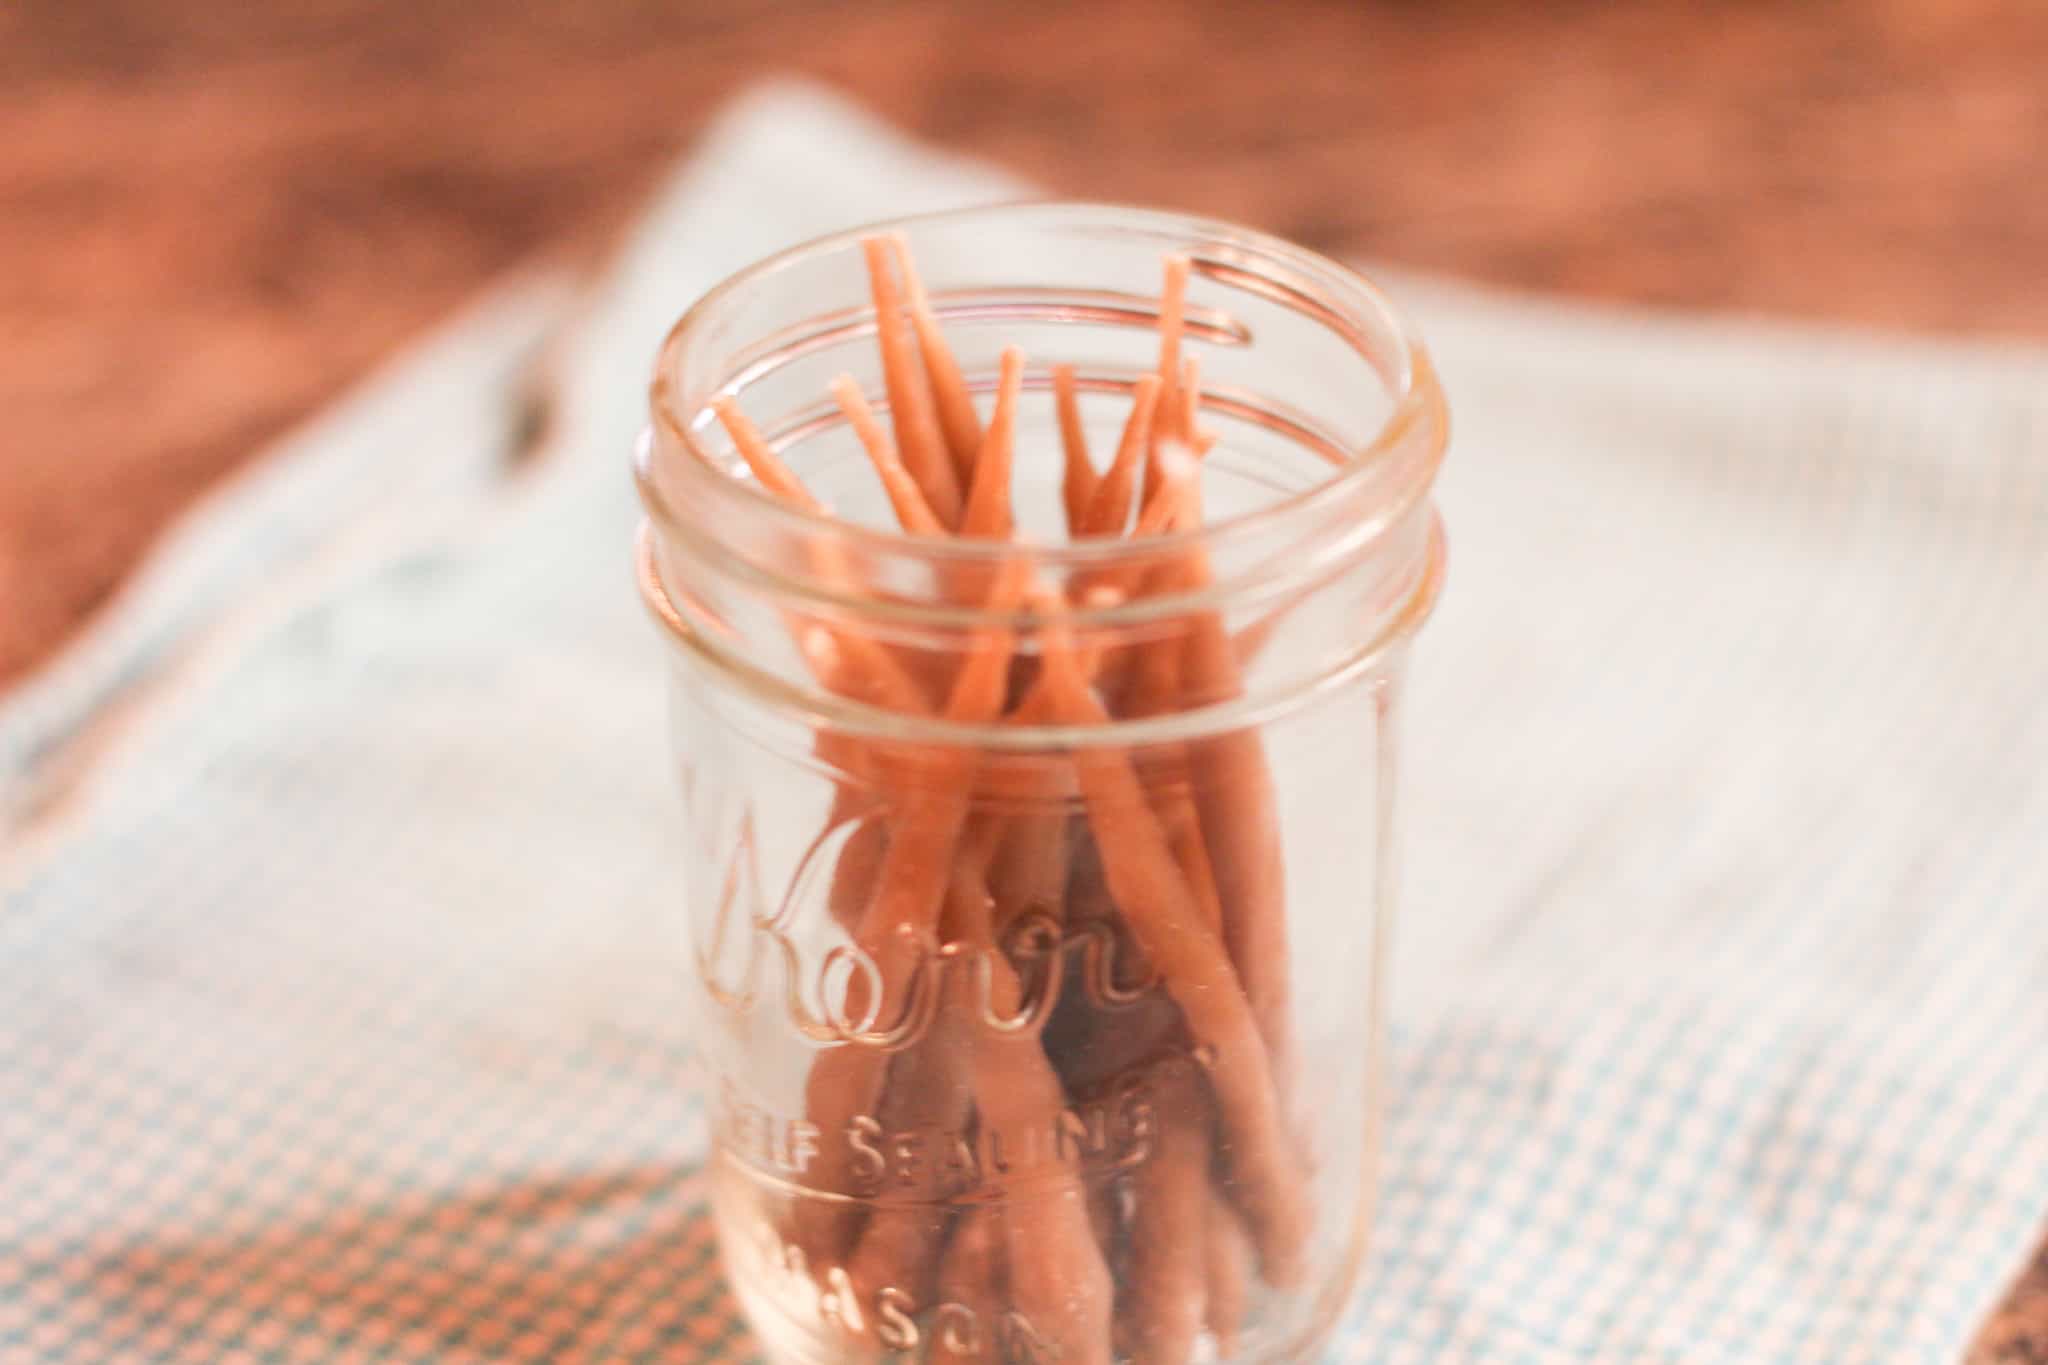
I store our birthday candles in a small half-pint jar. You could also keep them in a little box or envelope. They’re so adorable, they could even be set out with other candles on a shelf for decoration.
Reuse them for years to come until they burn out, which will take several birthdays since they aren’t lit for that long.
Enjoy making handmade birthday candles for your own family. They make a sweet treat on a special day even sweeter!
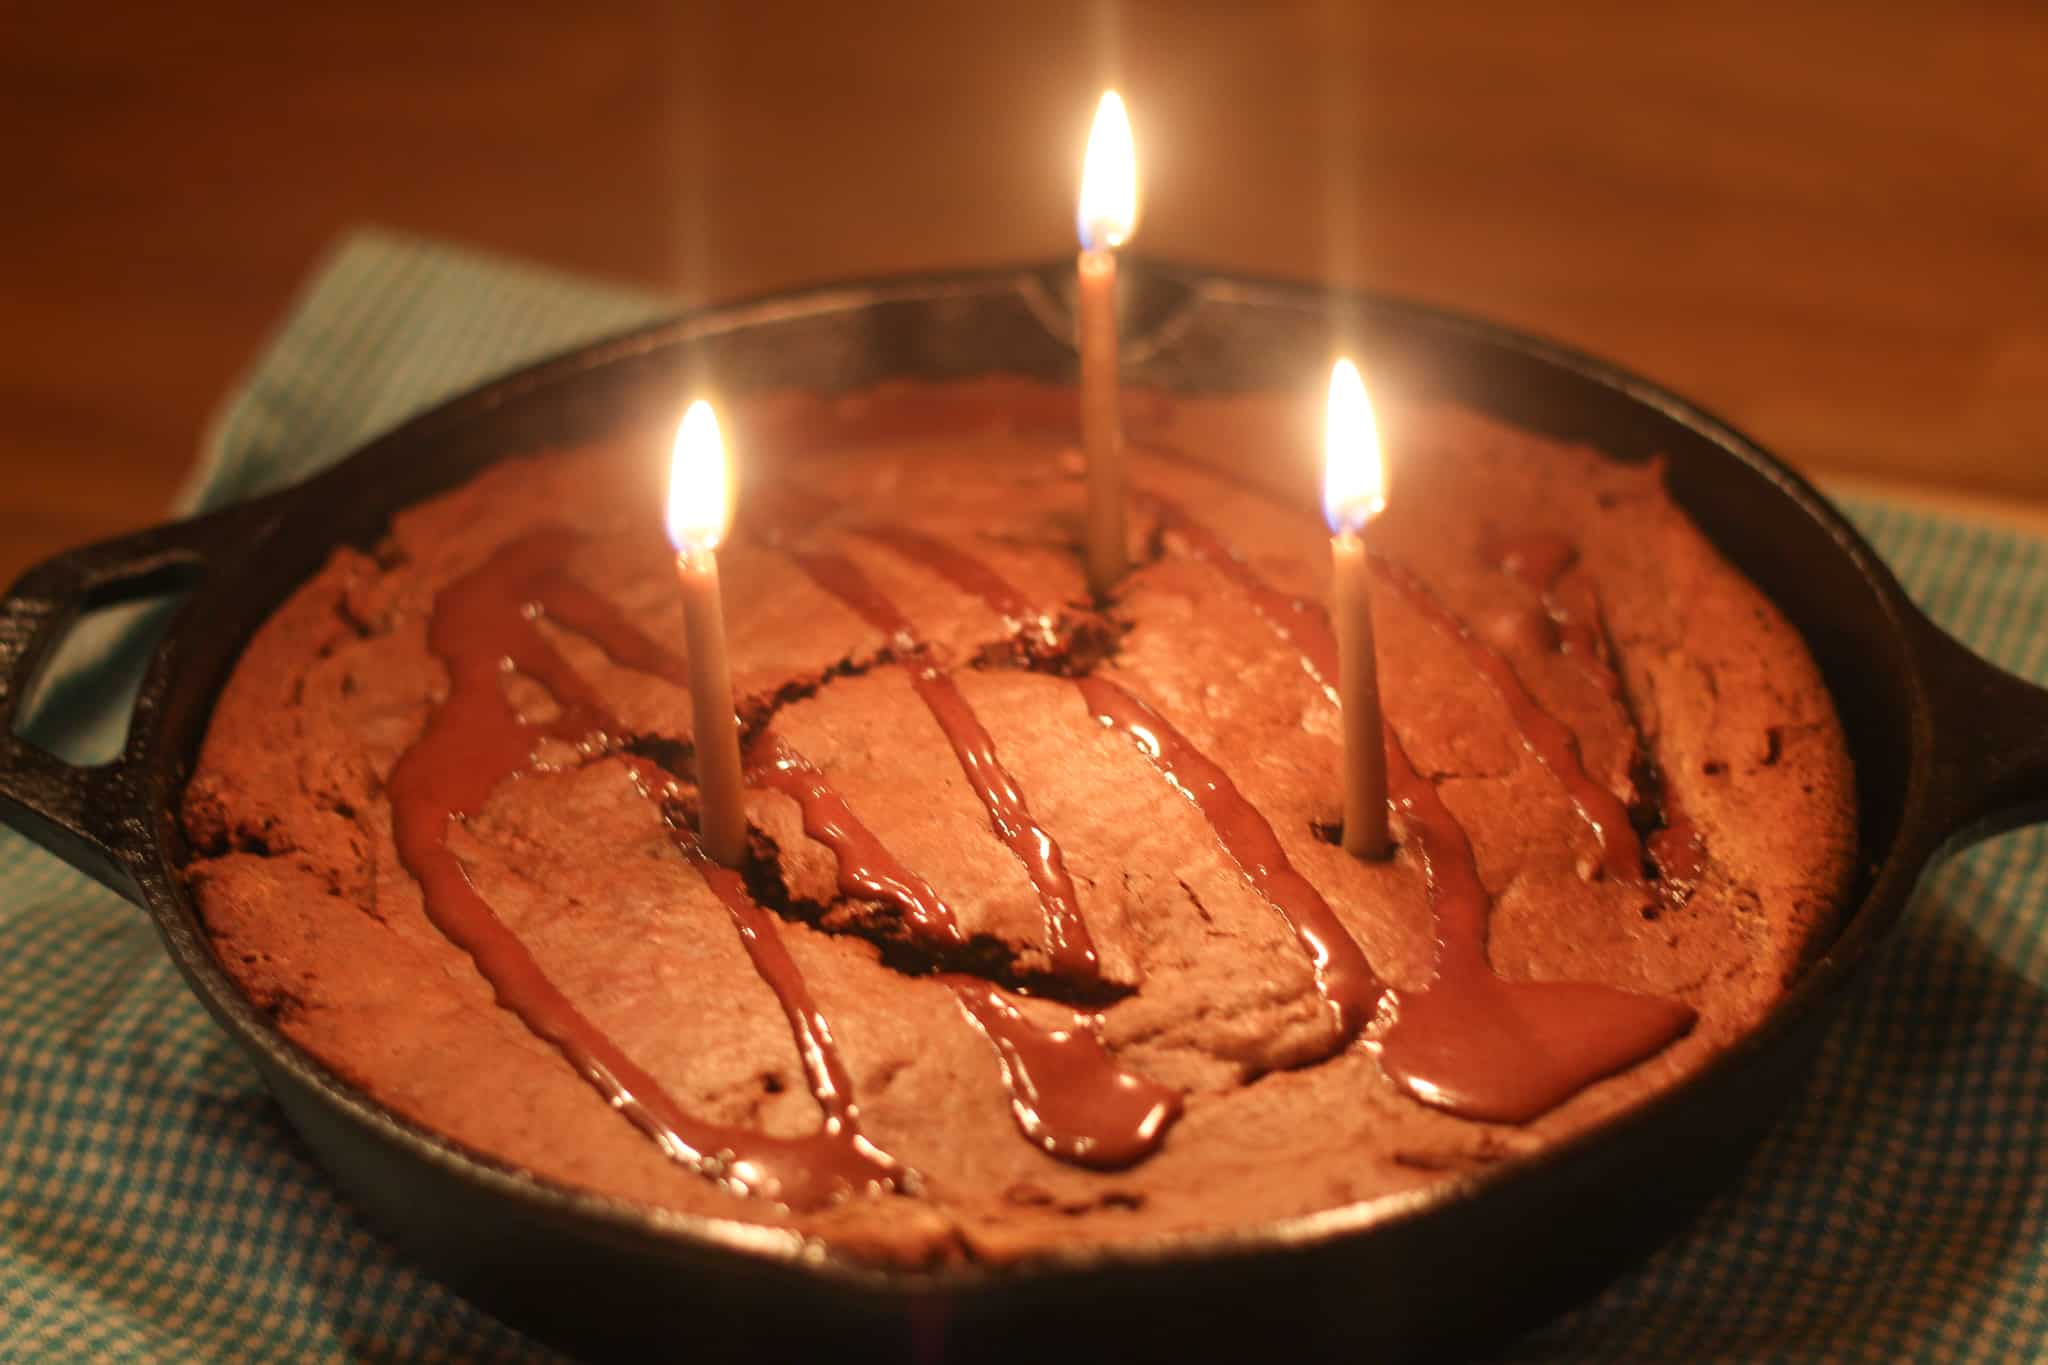
Want to try a unique and delicious birthday cake? Cast iron sourdough chocolate cake is simple to make and always a crowd-pleaser!


What a fun and special thing to make. I love it. I’ve always wanted to try candle making. I like the dip method.
Thanks Rachel! Dipping candles is such a nice, relaxing craft. And starting with tiny candles is a great way to get your feet wet!
I love this idea! My husband has a big milestone this year, I think he’d love this.,
Such a neat idea. I need to remember this!
Thank you! You should have some beautifully colored wax, I’d be interested to see!
Thanks Kerry!
Great job with instructions!
Thank you Teresa!