Sourdough Boule Recipe
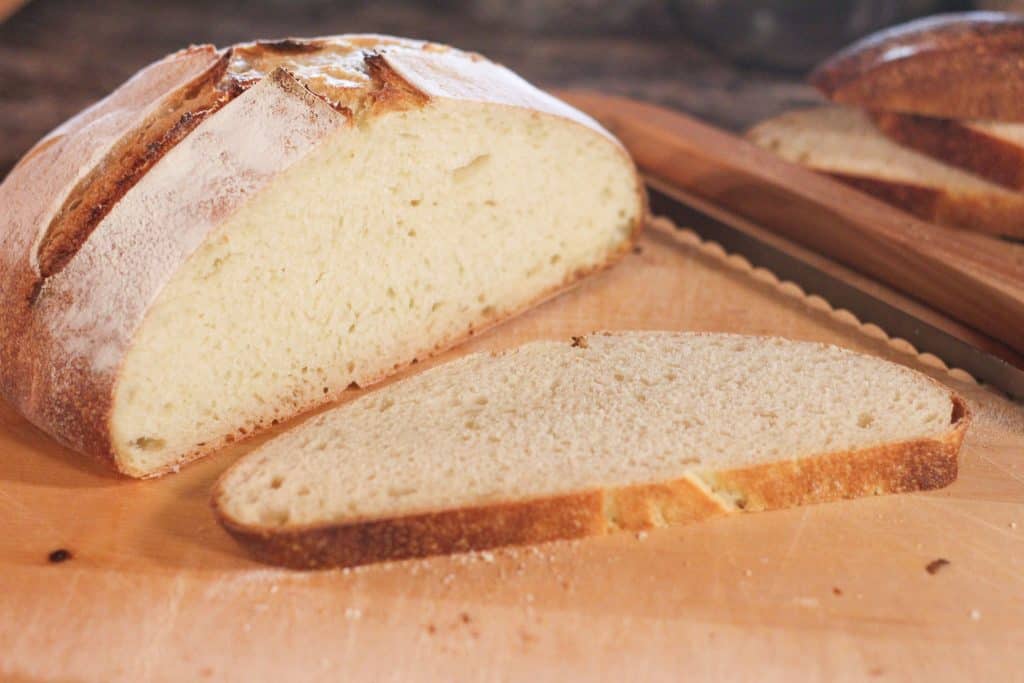
Everyone needs a trusty recipe for a beautiful loaf of artisan bread. This sourdough boule recipe is just that and our family has been enjoying it for years! Crusty on the outside, soft and fluffy on the inside with a sourdough scent and taste that your family will love. Read on for instructions, it’s easier than you think!

Years ago, when we first made the move to Alaska, I knew that I had to learn how to bake sourdough bread. Especially after my husband made a request for it! I started buying it at a local bakery while I figured out how to maintain and use a starter of my own.
After many months of trial and error and learning, I had an active starter and could successfully make beautiful and delicious loaves of sourdough bread for our family. This has been my tried-and-true sourdough boule recipe for many years and I’m happy to share it with you!
Some sourdough recipes don’t require the starter to be active and bubbly in order to give rise. Waffles, pancakes, biscuits, desserts, and similar recipes can be made using a starter that wasn’t fed on time.
However, when baking a loaf of bread such as this, you need to make sure that your starter is bubbly, active, and ready to go. If you have been storing it in the fridge in between baking, as I do, you will want to pull it out a day ahead of time and feed it at least twice before making this recipe. I will share timelinethat I follow below for feeding and baking.
Baking a perfect loaf of simple sourdough bread may seem difficult, but it doesn’t have to be! Give this recipe a try and enjoy yourself. You will reap the rewards of your time and effort when you slice into your crusty loaf and marvel at the smell and taste!
Ingredients for Sourdough Boule Recipe
You will only need a few basic ingredients to make a beautiful sourdough boule!
- Active Sourdough Starter– Feed your starter the morning before and then the night before you want to make this recipe. Then it will be active in bubbly the morning that you want to bake. I feed my starter a little more flour than water instead of equal parts of both. I just like a thicker starter.
- Water- Room temperature is best.
- Oil- I use olive oil but feel free to use your favorite oil.
- Salt- I use fine sea salt but you can use your favorite table salt.
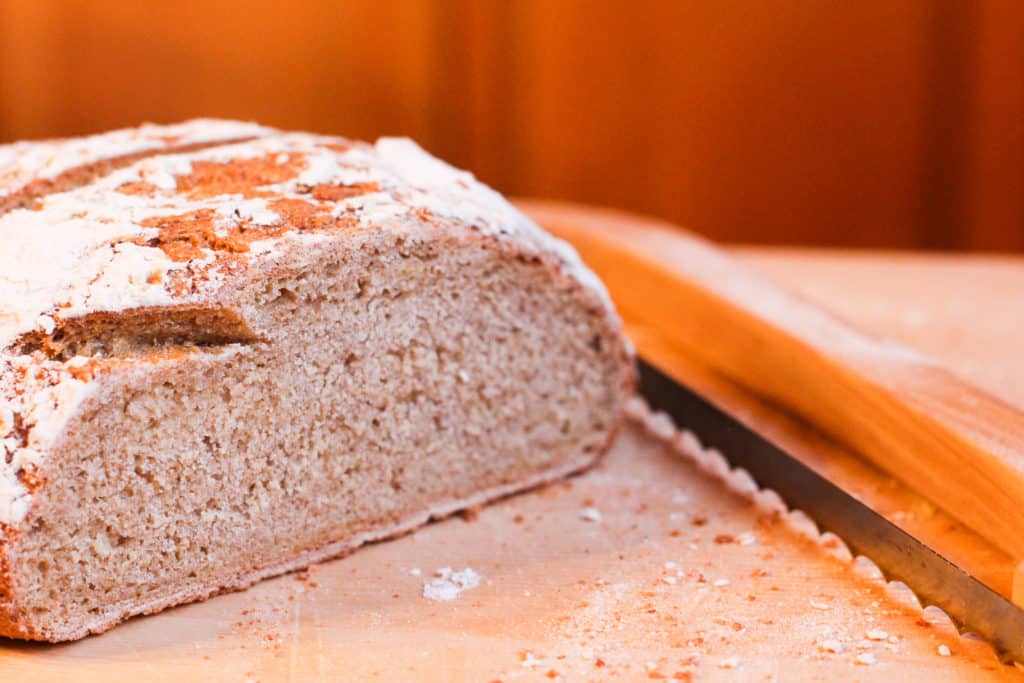
- Flour- I typically use a high-quality all-purpose white flour for this recipe. I have also used freshly milled whole wheat flour with success, it just produces a denser loaf. Sometimes I mix them half and half for a fluffier whole wheat loaf.
I use a small kitchen scale to weigh all of my ingredients. This makes for more accurrate measurements for the best results. Simply place the mixing bowl onto the scale, zero (or tare) the scale, and ad the first ingredient. Then zero again to add the next ingredient and so on.
I’ve also included standard measurements in the recipe in case you don’t have a kitchen scale.
Tools You Will Need
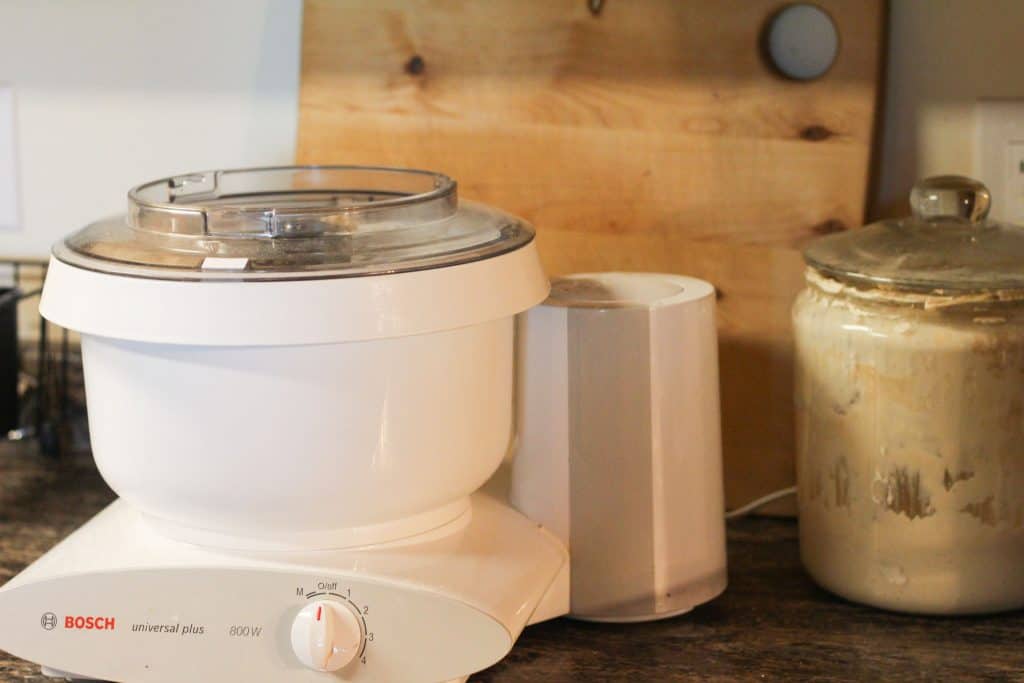
- Stand mixer or large mixing bowl- I love mixing with my Bosch mixer but sometimes it’s also nice to knead slowly by hand. Either method is fine, whatever you prefer.
- Kitchen scale- I have found greater success when baking sourdough bread if I use a scale and get my measurements as exact as possible. A small kitchen scale is an inexpensive investment and worth having in your kitchen.
- Non-metal bowl for proofing- It’s always best to avoid proofing in metal bowls when baking with sourdough so use a glass or other non-metal mixing bowl for proofing.
- 2 Banneton baskets- Banneton baskets are nice to have when baking sourdough boules. If you don’t have one yet (I have 2 for this recipe) then you can do your second proofing or final rise in a small bowl instead.
- Enamel or regular cast iron Dutch oven with a lid or a baking stone and pot- A Dutch oven works great for baking beautiful artisan loaves and gives you that crusty finish. If you don’t have a Dutch oven, simply use a baking stone and then cover the loaf with an upside-down stock pot. It must be a smaller pot so that it’s short enough to fit in the oven.

Timeline for Baking Sourdough Boule Recipe
Here is the timeline that I follow for making this sourdough boule recipe:
- Pull sourdough out of the fridge (if it has been stored there) the morning before the baking day and feed it with a little flour and water. You will need about 2 cups of starter for this recipe so I will feed mine a cup of flour and a little less than a cup of water. Stir and let it sit on the counter all day.
- That night before you go to bed, feed your starter again. I’ll do another cup of flour and a little less than a cup of water. Stir and let it sit on the counter all night.
- When you wake up in the morning, your starter should be nice and bubbly and ready to go! Follow the recipe to mix up the dough and it will be ready to bake by the late afternoon or early evening.
If you prefer, you can adjust the timeline to fit your schedule better. Here’s another option:
- The night before you want to start the dough, feed your starter and let it sit on the counter all night.
- The following morning, feed your starter again and let it sit all day.
- By the evening, it should be bubbly and ready to go. Before you go to bed, mix up the dough according to the recipe. Let the dough proof in the bowl all night.
- In the morning, seperate the dough and put into the baskets according to the recipe and allow to sit for a couple of hours.
- By late morning, the dough will be ready to bake.
Whether you bake later in the day or early in the morning, you can make this recipe work for you so that baking sourdough bread isn’t a hassle!

How to Make Sourdough Boule Recipe Dough
Make sure your sourdough starter is fed the night before you want to make your bread. It should be active and bubbly in the morning.
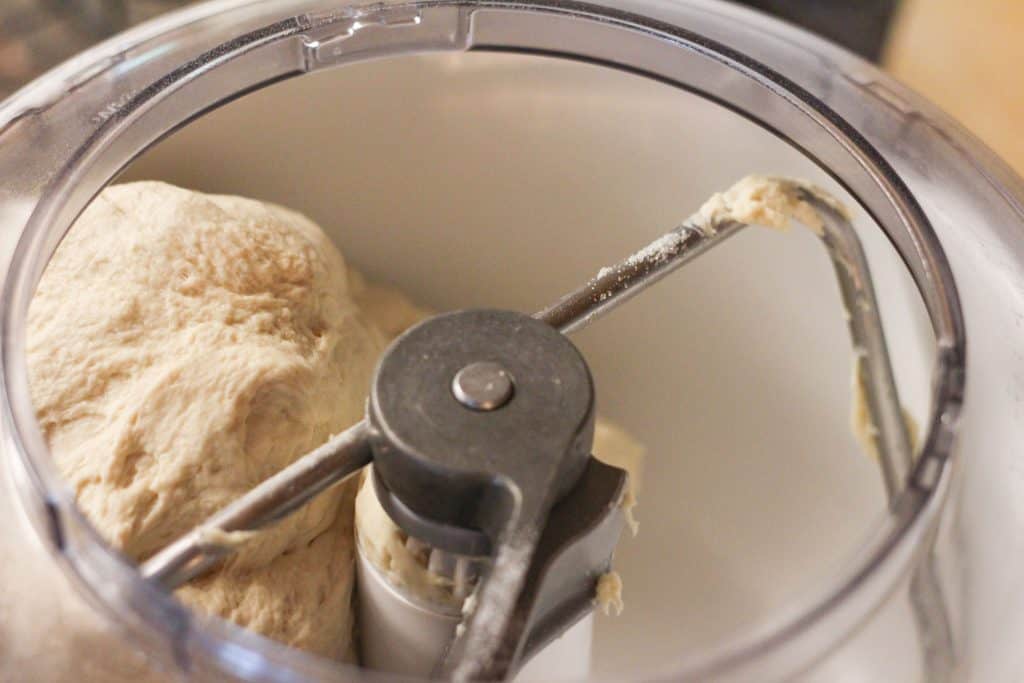
In the morning, measure out the active starter, room temperature water, flour, and oil into the bowl of a stand mixer. Not the salt. You can also use a large, non-metal mixing bowl and mix the dough by hand. A kitchen scale makes measuring easier and more accurate but you can also use measuring cups and spoons.
Run the mixer for just a couple of minutes, until the flour and other ingredients are fully incorporated. Turn the mixer off and allow the dough to rest for 20 minutes.
After the 20 minute rest, add the salt and turn the mixer on again for 2 or 3 minutes until the salt is fully incorporated. It will be a slightly sticky dough.
Turn the mixer off and either leave the dough in the mixer bowl (if it’s non-metal) or place the dough into a glass or other non-metal large bowl. Cover with a lid, beeswax wrap, or plastic wrap so that the top of the dough doesn’t form a skin. Allow it to sit in a warm place for 6 hours. Set a timer so you don’t forget!
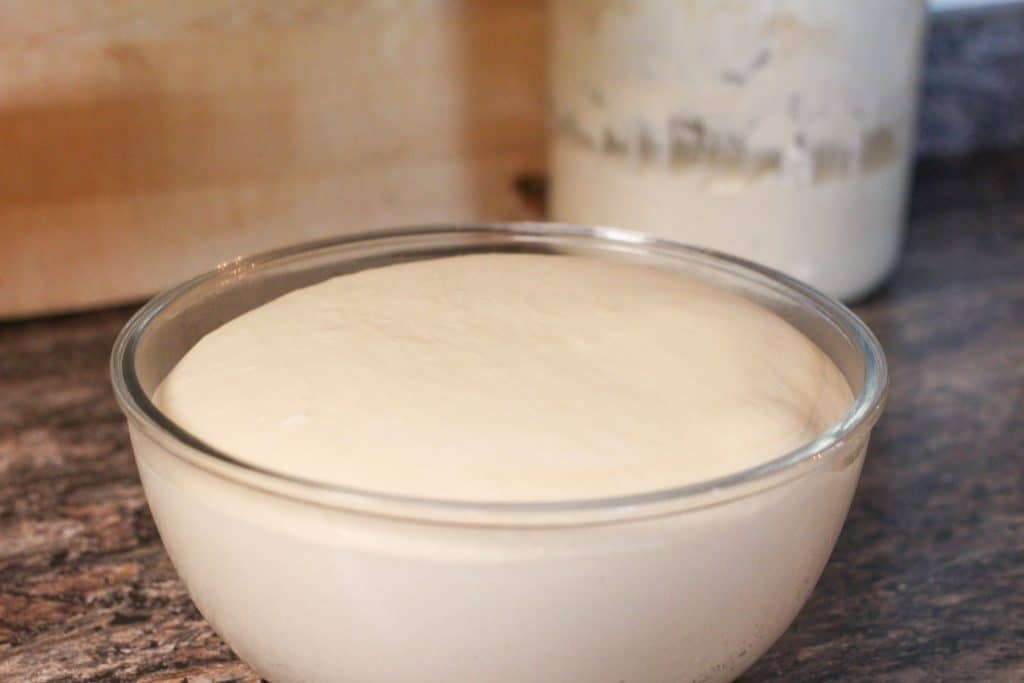
If you are making your dough at night, then it can sit all night until the following morning, or 10-12 hours.
After the first rise, turn the dough out onto a clean work surface. Seperate the dough in half using a bench scraper, sharp knife, or your hands.

Take each half and form into a tight dough ball, turning the ball in a circular motion and tucking it in tightly as you go so it has a nice round shape. Allow them to sit on the work surface for 10 minutes to rest.

Meanwhile, lightly flour your banneton baskets.
After the 10 minutes is up, gently pick up each ball and place dough upside down into the basket.
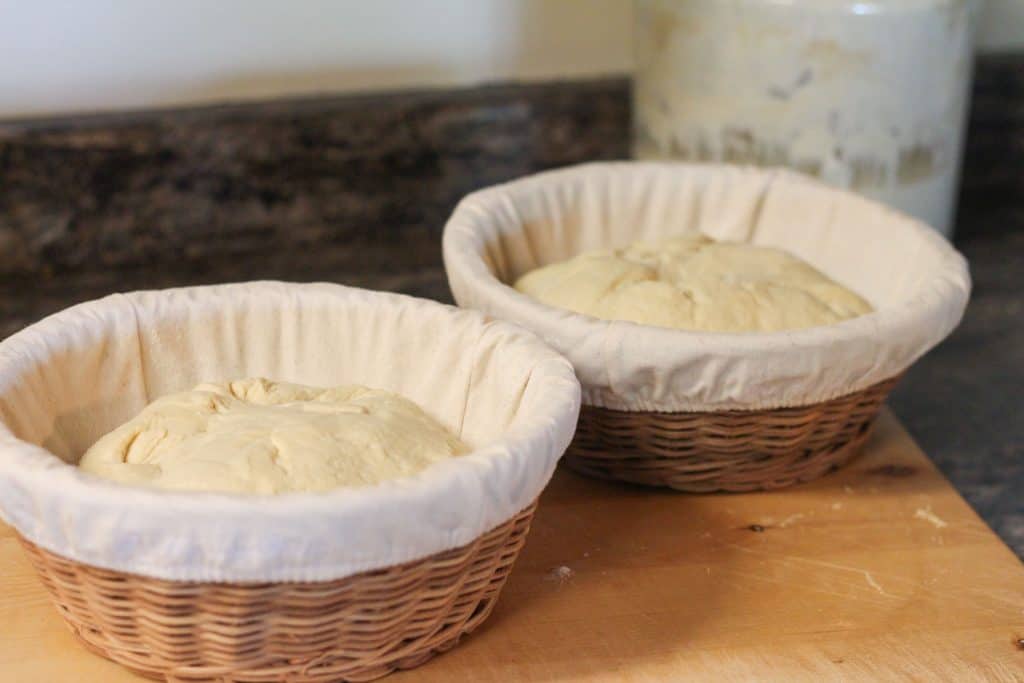
Cover both of them with a lid, damp kitchen towel, beeswax wrap, or plastic wrap so that the dough doesn’t form a skin. You can also place each basket inside a large plastic bag closed with a rubber band. Allow them to sit in a warm place for 2 hours.

How to Bake a Sourdough Boule
When your timer for the 2 hours goes off, turn on your oven and preheat to a temperature of 450 degrees F. Place your baking stone or cast iron dutch oven into the oven to preheat as well. Your oven rack should be in the center or slightly below the center of the oven. Set a timer for 30 minutes.
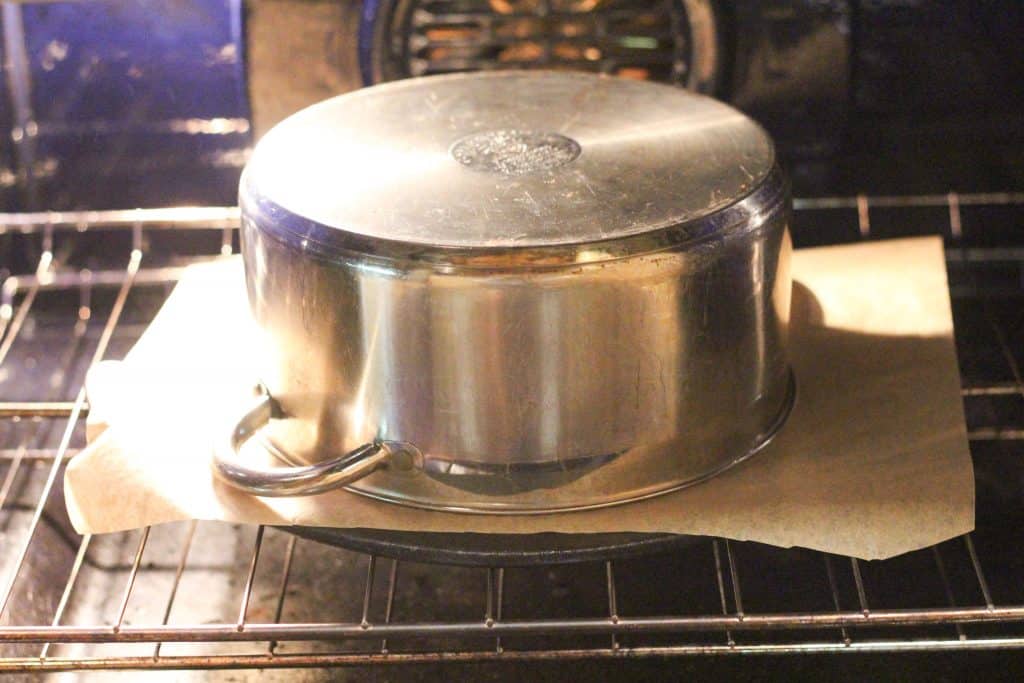
If you’re using a baking stone and a soup pot to cover the bread, place the soup pot into the oven during the last 5 minutes of preheating so it can get hot as well.
Meanwhile, cut two pieces of parchment paper (about 12 inch squares) that you’ll be placing the dough on for baking. I like to put the parchment paper onto a cookie sheet or a pizza peel so that I can easily slide the paper and the dough into the oven.
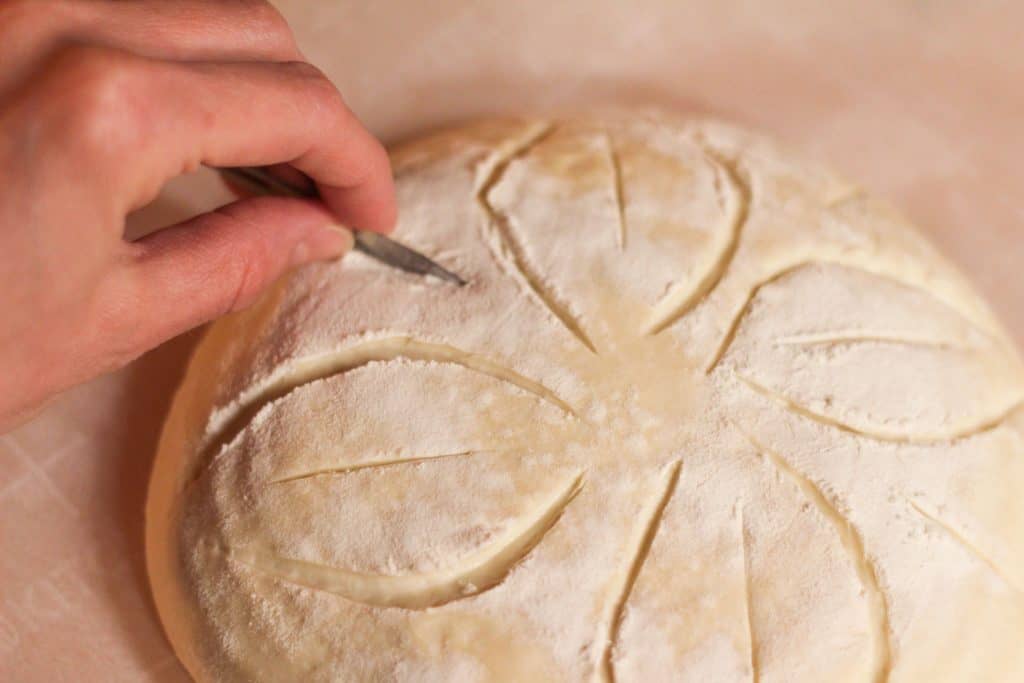
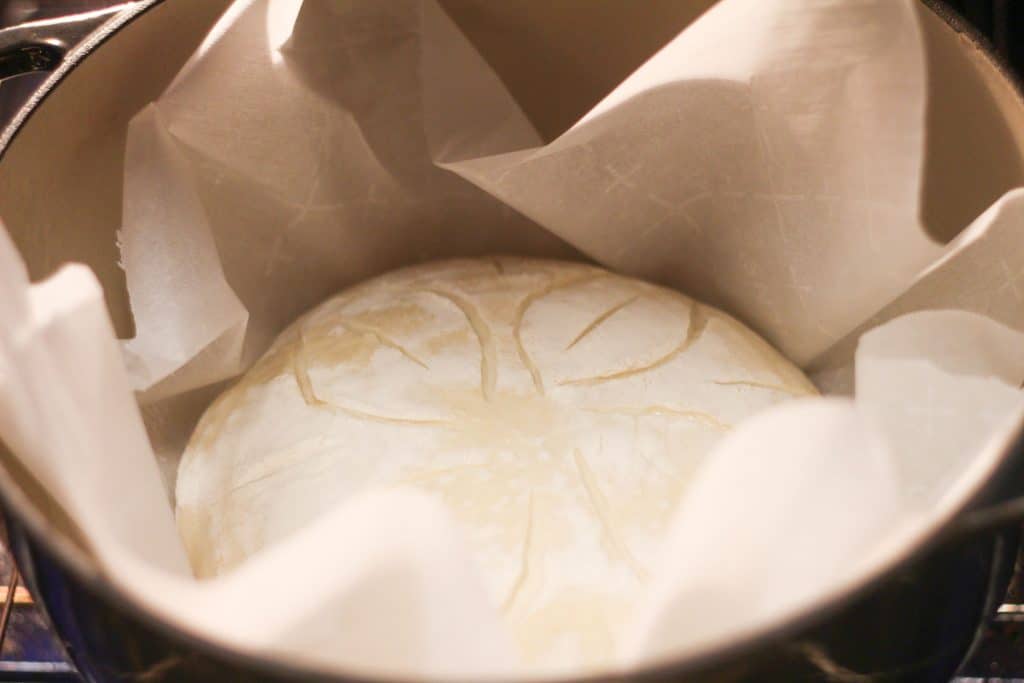
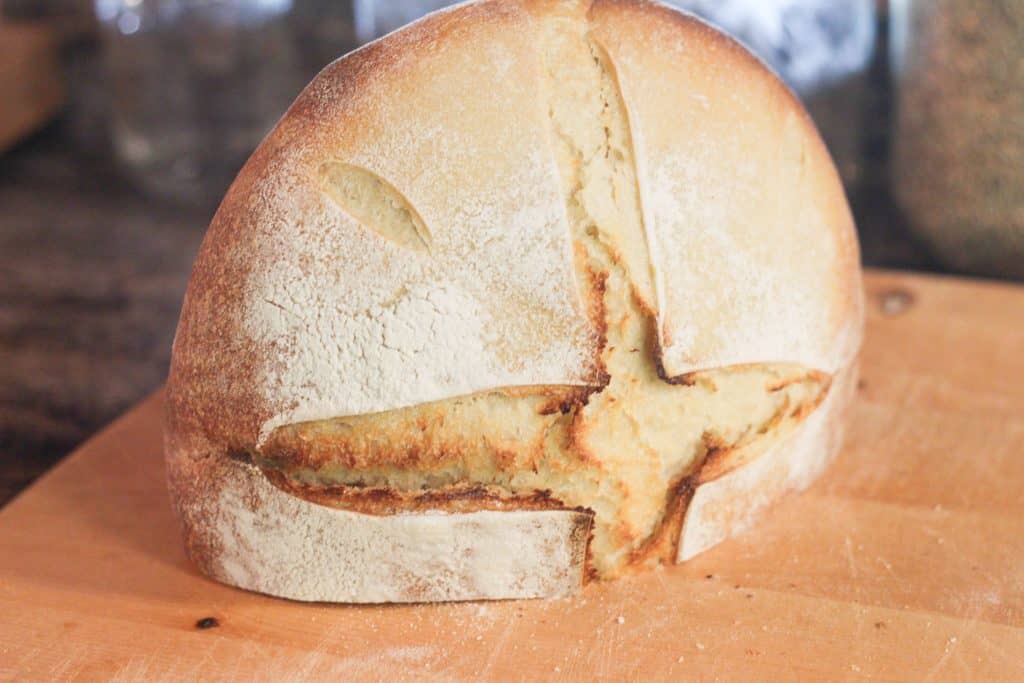
After the oven has been preheating for 30 minutes, gently turn one of the dough balls out onto a piece of parchment paper. Use a sharp knife or bread lame to make several scores into the top of the dough.
Very carefully and using an oven mitt, open the oven and remove the lid of the dutch oven or the pot from baking stone. Carefully slide the dough on the parchment into the dutch oven or onto the baking stone.
Quickly replace the lid or cover with the upside down pot and close the oven. Set a timer for 20 minutes.
When the timer goes off, remove the lid or pot and decrease the oven temperature to 425 degrees F. Set a timer for 15 minutes.
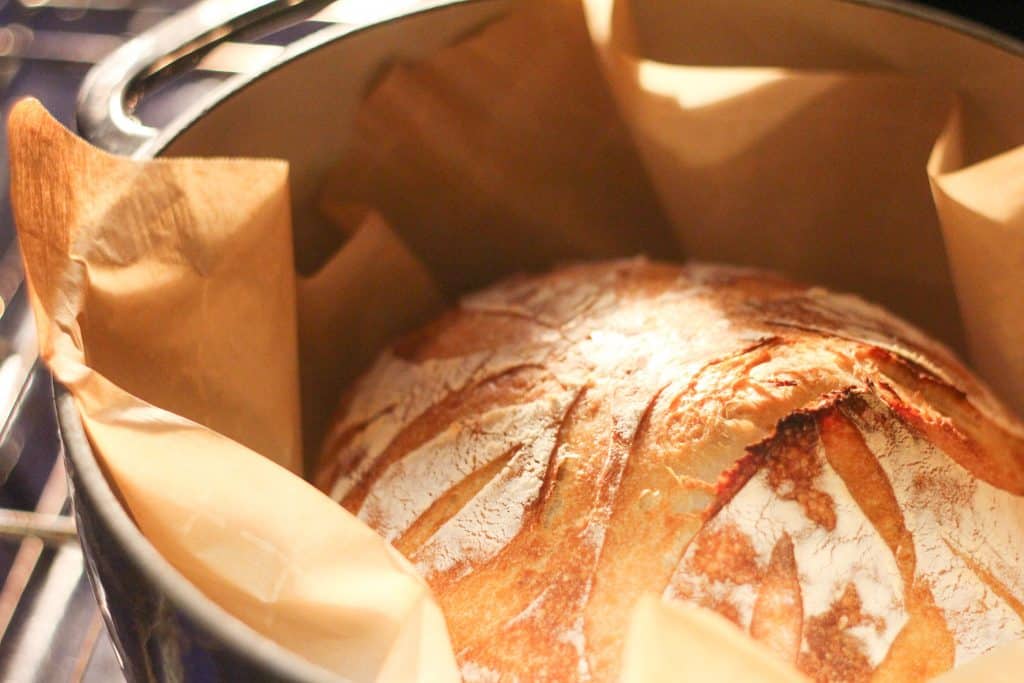
Keep an eye on the loaf and if it starts getting too brown, cover with a piece of foil or turn the oven temperature down to 400 degrees F while it finishes baking.
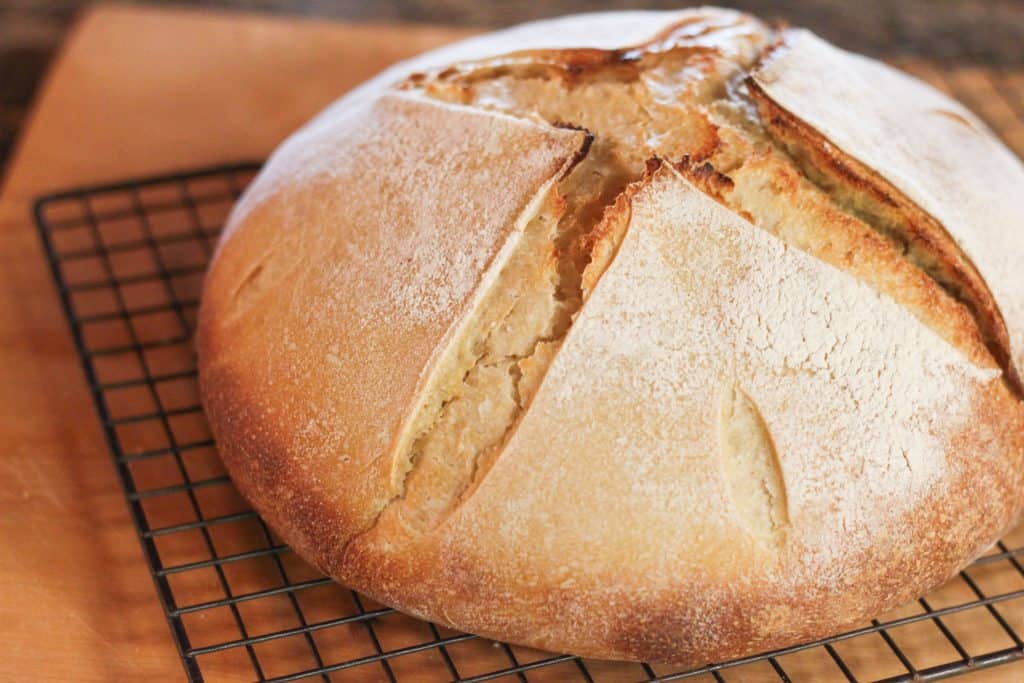
Check the loaf after 15 minutes. It should be golden brown and have an internal temperature of 200 degrees F. If it isn’t quite done, leave it in the oven for another 5 minutes and check again.
Remove the loaf and place on a wire rack to cool.
Put the lid back in the oven and increase the oven temperature back to 450 degrees F. Allow it to warm up for 5 to 10 minutes.
Follow the same steps to bake the second loaf.
How to Enjoy and Store a Sourdough Boule
- Allow the loaves to cool completely before cutting. This is difficult to do! And to be honest, I rarely can resist cutting into a freshly baked loaf for a fresh and warm piece of bread. Delicious!
- Use a serrated bread knife to slice up your boule. The crust is very crisp and can be difficult to saw through so a nice bread knife is helpful.
- Store on a wooden cutting board, cut side down. Or in a linen bread bag. Read this post for more information on storing your homemade bread.
- I love baking two loaves at once. I always wrap one (when it’s completely cool) in a cotton pillowcase and put it in the freezer to enjoy when the first loaf is gone. Read this post for more instructions on freezing your homemade bread.
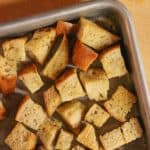
- This sourdough boule recipe makes the best bread for countless meals! Some of our favorite ways to enjoy this recipe include grilled sandwiches, toasted with homemade butter or cream cheese, homeamde garlic bread with dinner, homemade croutons in our salad, and so much more!
- Don’t waste your bread if it doesn’t get eaten within a few days! Read this post for lots of ideas on how to use all of your homemade sourdough bread.
Baking this beautiful sourdough boule recipe does take time and effort but once you taste the delicous bread, you’ll be glad that you took the time. I like to make this recipe at the beginning of the week so that we have sourdough bread to enjoy throughout the week for breakfast with eggs or sandwiches for lunch.
My advice for sourdough is always to not take it too seriously! It can be complicated but give it a try and enjoy yourself! If a loaf doesn’t turn out, it can still be eaten an enjoyed in many ways and then try again!
I hope you find this recipe fairly simple with consistent and tasty results! Enjoy!

Sourdough Boule Recipe
Print Recipe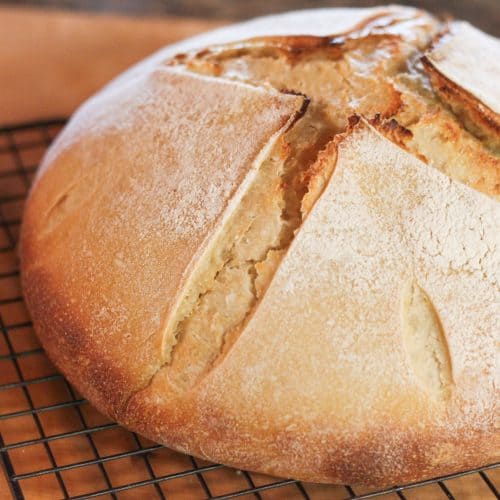
Equipment
- Stand mixer (or large mixing bowl)
- Kitchen scale or measuring cups and spoons
- Non-metal bowl (for proofing)
- Banneton baskets
- Enamel cast iron dutch oven or baking stone and large pot
Ingredients
- 18 oz Active sourdough starter (2 cups)
- 16 oz Water (2 cups)
- .6 oz Olive oil (4 tsp)
- 36 oz Flour (8 cups)
- .8 oz Salt (4 tsp)
Instructions
- Combine active starter, room temperature water, flour, and oil in stand mixer and mix until combined.
- Allow to sit for 20 minutes then add the salt and mix until combined.
- Put dough in a non-metal bowl, cover, and sit at room temperature for 6 hours.
- After the 6 hours, remove the dough onto a work surface and separate into two halves. Form each half into a tight ball and allow to sit undisturbed for 10 minutes. Flour the banneton baskets.
- Gently place each ball of dough into a basket upside down. Cover and allow to sit for 2 hours.
- After 2 hours, preheat oven to 450 degrees with dutch oven in it for 30 minutes.
- Place one ball of dough onto a piece of parchment paper and score using a sharp knife or bread lame.
- Carefully remove the dutch oven lid, place the dough on the parchment into the dutch oven, replace the lid, and close the oven door. Bake for 20 minutes.
- After 20 minutes, remove the dutch oven lid from the oven and decrease the oven temperature to 425 degrees F.
- Bake for another 15 minutes or until the loaf is lightly browned and has an internal temperature of 200 degrees F. Allow to cool on a wire rack.
- Increase oven temperature back to 450 degrees F and put the lid back on the dutch oven. Repeat instructions for second loaf.