How to Use a Grain Mill
Freshly milled flour is a treat to have in the kitchen when baking. The taste, aroma, and nutritional value are just a few of the benefits. Here is some information about flour, wheat berries, and how to use a grain mill.

Years ago when I was learning how to bake bread from scratch, I heard about milling grain. I never even knew that I could do that! I only knew about the flour sold in bags at the store.
But it made sense. People have been milling their own grains far longer than factories have.
I started doing some research to learn more and found a small co-op in our community that sold wheat berries and I purchased a grain mill there as well. All these years later and I still enjoy milling my own flour at home!

Milling your own grain allows you to enjoy the flavor and scent of freshly milled flour, along with the health benefits. It takes some getting used to as the flour you mill at home behaves a bit differently than the flour that has been sitting on a store shelf.
But with a little practice, you will come to love the delicious bread and baked goods that you make using freshly milled flour!
What is a Grain Mill?
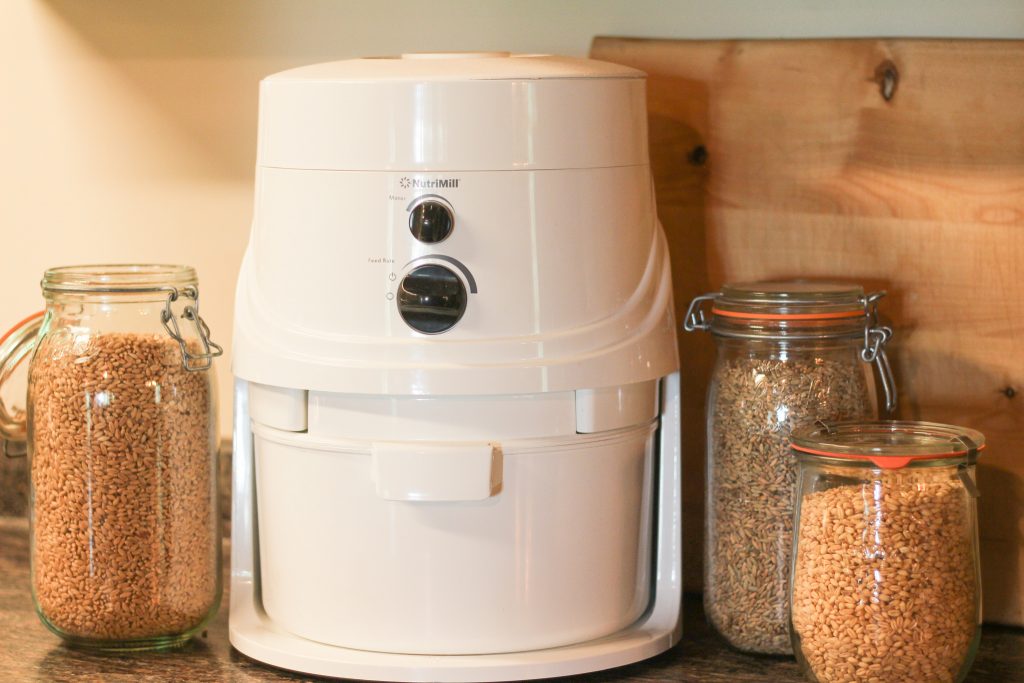
A grain mill is either a manual or electrical machine that crushes wheat berries into flour. There are several different styles of grain mills so you can choose the one that would work best for you. I have a NutriMill Classic and still love it after over five years of use.
There are also manual mills that you can get. I would like to have one for use during our frequent winter power outages! Choose a mill that fits your needs in the kitchen.

Pros of using a grain mill:
- Easy to use
- Mills grains quickly
- Freshly milled flour is more nutritious than older flour
- You can mill many different types of grains including einkorn, spelt, rye, and red or white wheat
- Buying wheat berries in bulk can cost less than buying flour
Cons of using a grain mill:
- Initial investment can be high depending on the mill you choose
- Finding a place to buy wheat berries might be difficult in your area
- Making space to store the mill (counter or cabinet)
- Cleaning the mill’s flour bin after use
- Some grains can be expensive and sold in small amounts
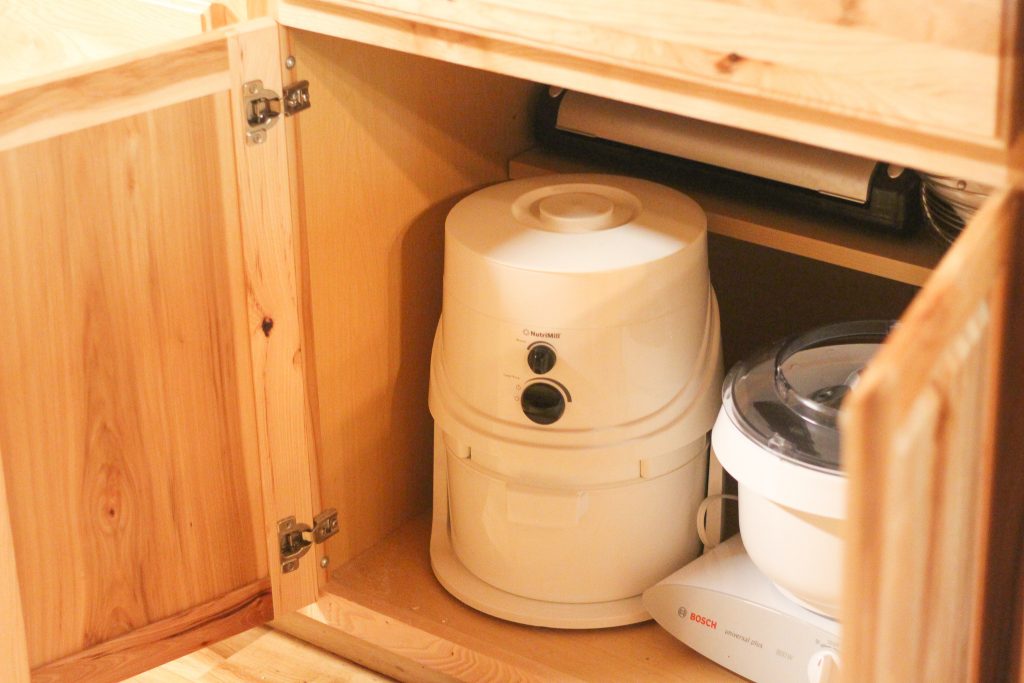
Some grain mills are small and fit nicely on the countertop. Others, like mine, are a bit larger. Although it could be kept on the counter, I keep mine tucked away in a cabinet next to my large mixer. It’s easy to access so I can just pull it out and put it on the counter when I’m ready to use it.
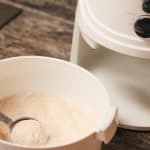
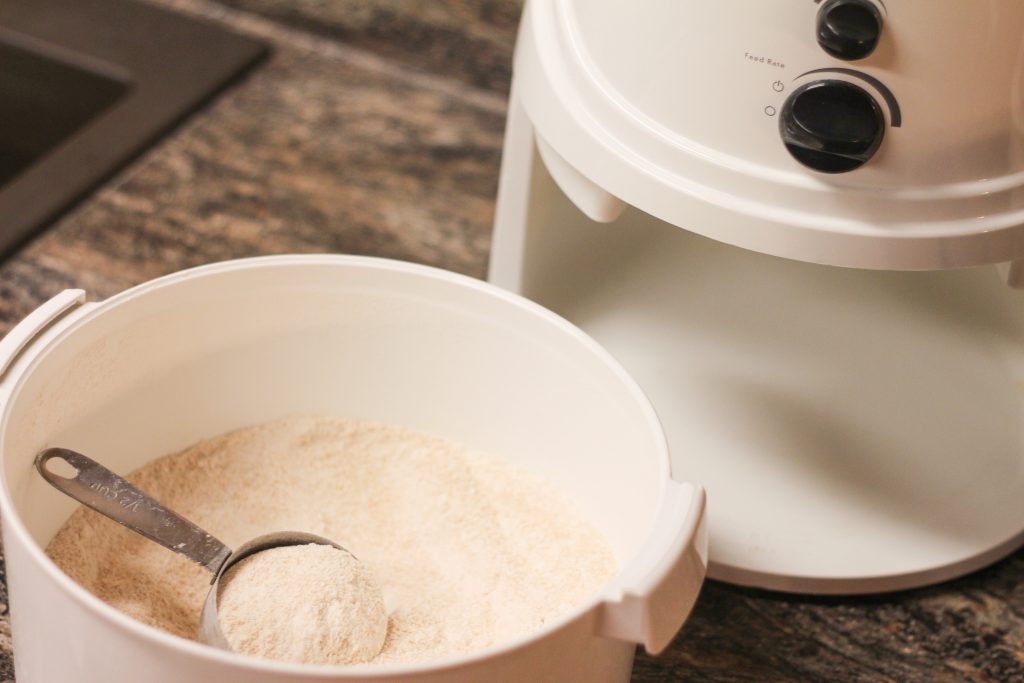
Some mills do not include a bin for the flour, you just place a bowl in front of it. The style that I have contains the flour in a bin and I make sure to wash and completely dry the bin after I’ve emptied the flour from it.
Once you research and choose a mill that will work best for you, you’ll need some grains to start milling to make flour!
What are Wheat Berries?
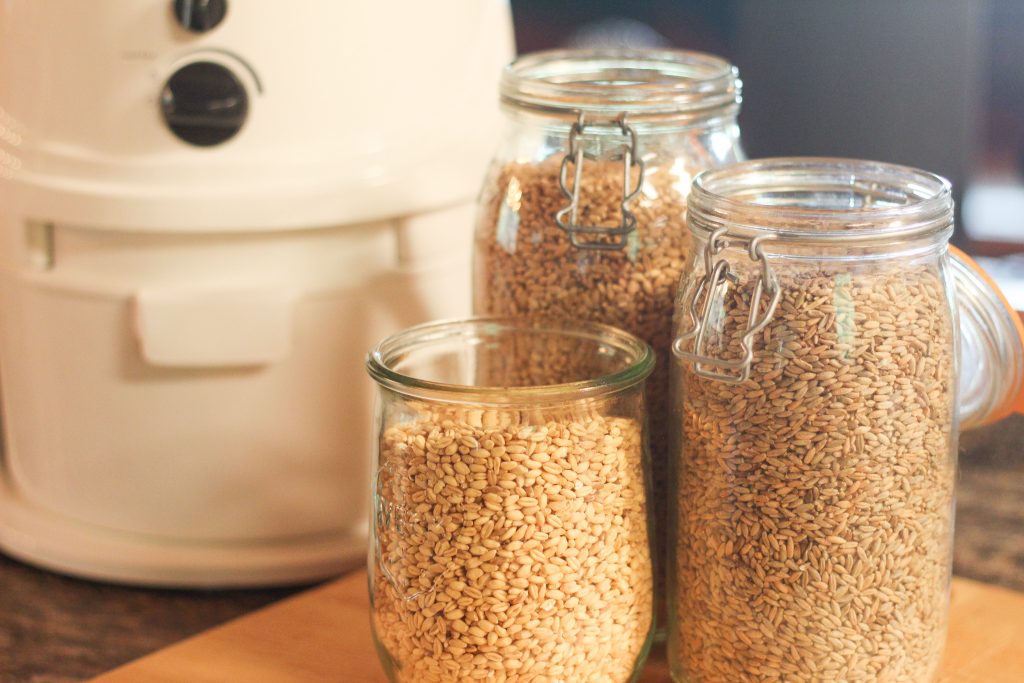
Wheat berries are grains that are milled into flour. They contain the entire whole grain which is the germ, bran, and endosperm of the wheat.
They are packed full of nutrients including vitamins, minerals, fiber, and healthy fats. Once grinded up, the nutrients are released. Freshly milled flour is more nutritious because it hasn’t been sitting on a store shelf, losing nutritional value.
Store wheat berries in a completely airtight container to keep critters away from them. I purchase 50-pound bags of wheat berries and then transfer them into large food-grade containers for long-term storage.
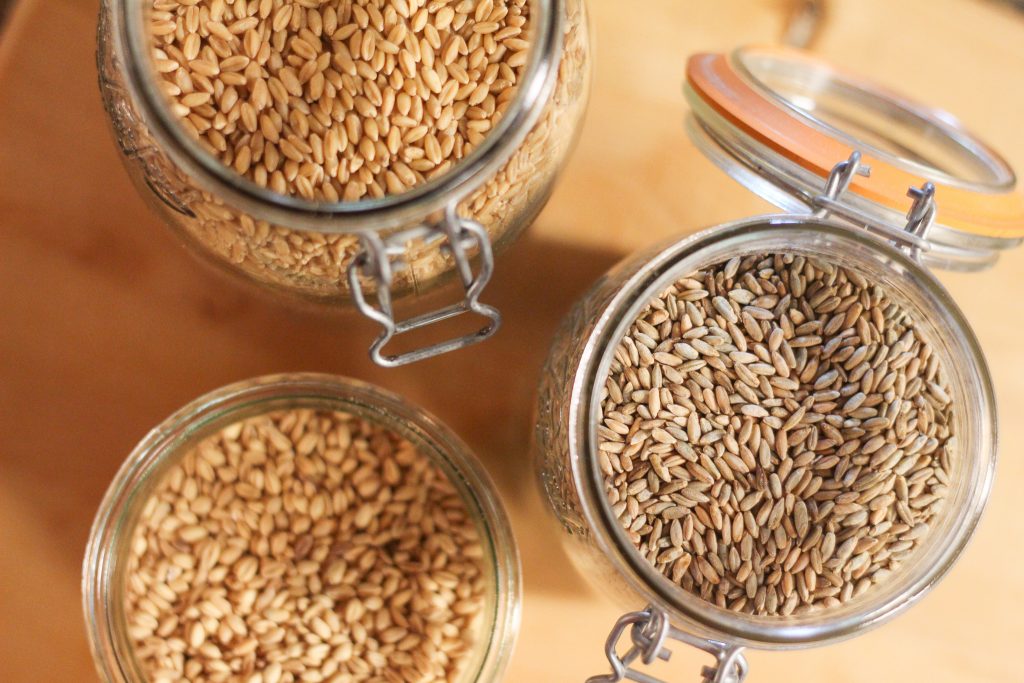
I like to keep a few jars on my counter to have a small amount of grains handy. You can also vacuum seal and freeze wheat berries. They will keep just about forever either way!
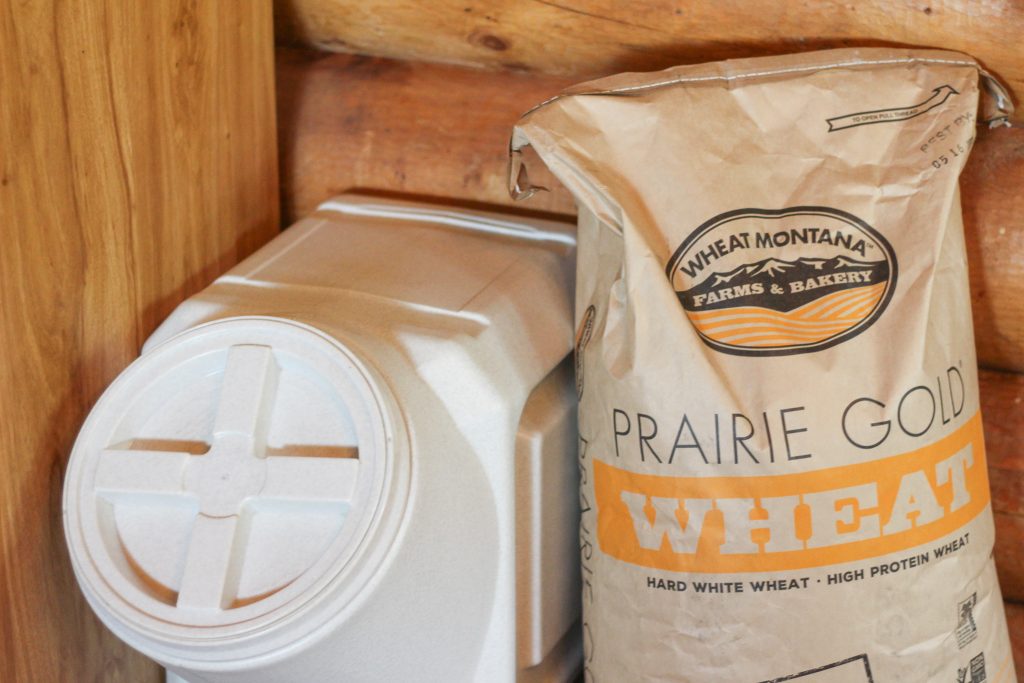
My favorite berries to use for everyday bread and other recipes is hard white wheat. Hard red wheat is much stronger so I don’t use those as often. Soft white wheat is best for pastries as it is much lighter.
Experiment with other grains such as spelt, einkorn, rye, and more. See which grains you and your family prefer to bake with!
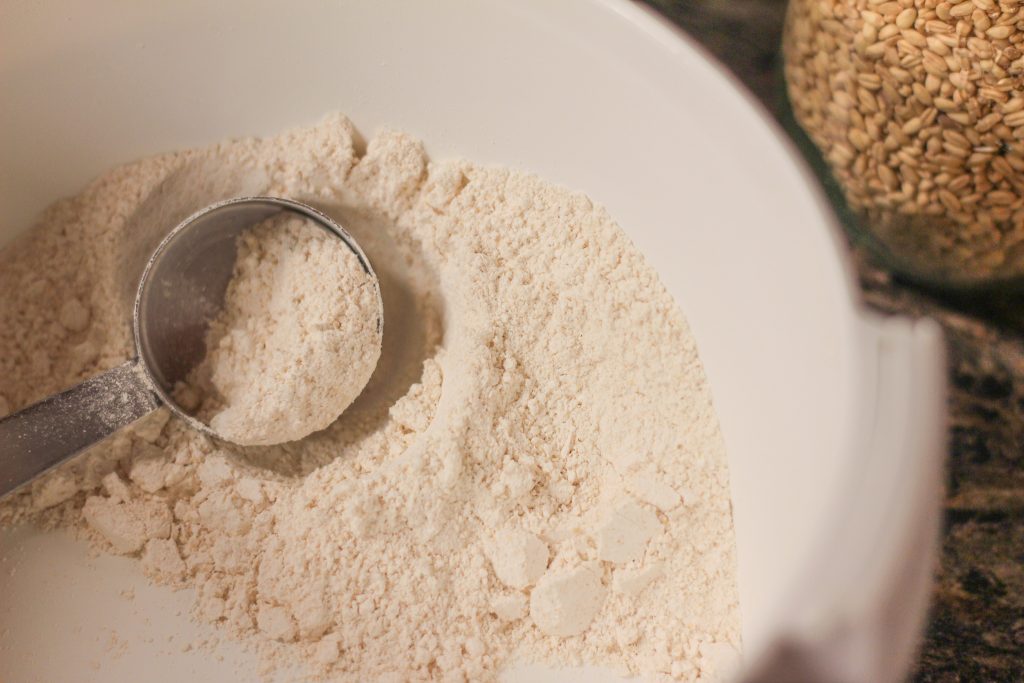
How to Use a Grain Mill
To use a grain mill, simply pour the desired amount of wheat berries into the top of the mill and turn it on! Be sure to follow the instructions of your exact mill. If you are using a manual mill, you’ll be the one turning it.
The flour will come out the bottom, either into a bin or a bowl that you have set out, depending on the type of mill that you purchased.
Listen carefully as the sound of the electric mill will change when the grains have finished going through, telling you to turn it off. That’s it!
How to Use Freshly Milled Flour
The one challenge of using a grain mill that I learned over time was how to use the freshly milled flour.
Freshly milled flour has not been sitting and compressing like store-bought flour. It is fluffy and full of air. I noticed that my batters and doughs were often very wet because of this.
I have found that using an extra 1 to 2 tablespoons of freshly milled flour does the trick for most recipes.
Use freshly milled flour as you would any other flour to bake anything you want! Cookies, pie crust, desserts, bread, buns, and more. I even use it when making gravy or thickening stews.
How to Store Freshly Milled Flour
Freshly milled flour is just that, fresh! All fresh foods will spoil if not stored correctly and flour is no different.
It is best to use freshly milled flour right after milling when it’s at its peak of nutritional value. Try to mill just what you’ll need for the recipe you’re making instead of milling a lot of flour at one time and saving it for later.
However, it can be hard to judge how much you might need so leftover flour will be inevitable. No problem. Store your milled flour in an airtight container. It will keep at room temperature for up to 3 days. If you need a little more time, put it in your fridge for up to a week. It can also be frozen for up to 6 months.
If you enjoy baking and want to make healthy, homemade foods from scratch for your family, a grain mill would be an excellent addition to your kitchen!
Pin it for later