Drying Herbs – 4 Simple Ways
Grow your own herbs and them preserve them to use the rest of the year! Here are directions for drying herbs four simple ways: hanging, laying, dehydrating, and microwaving.
Herbs are one of the easiest crops to grow in a home garden. You don’t even need a garden to grow them! Most herbs grow well in pots or containers. They are the perfect way to get your hands dirty and learn some gardening and homesteading skills, no matter how much or how little land you have.
Herbs can be grown using pre-started plants form your local greenhouse or from seeds. Find some small pots or containers and grow a few different herbs. Choose herbs that you cook with frequently so that you know you’ll use them.
Herbs grow well and the more you cut from them, the more they will continue to give you. Of course, using fresh herbs is the best and most delicious way to enjoy them.
But you will want to have some to use during the winter until you can grow more the following year. Drying herbs is a great way to preserve your bounty and always have homegrown herbs on hand when you’re cooking. Here are four simple ways to do it!
Hanging Herbs to Dry
When imagining a beautiful, old-fashioned kitchen, herbs hanging in little bundles will usually be included. There’s just something so lovely about having the herbs you grew so carefully on display while you dry and preserve them. They add color and charm to the kitchen.
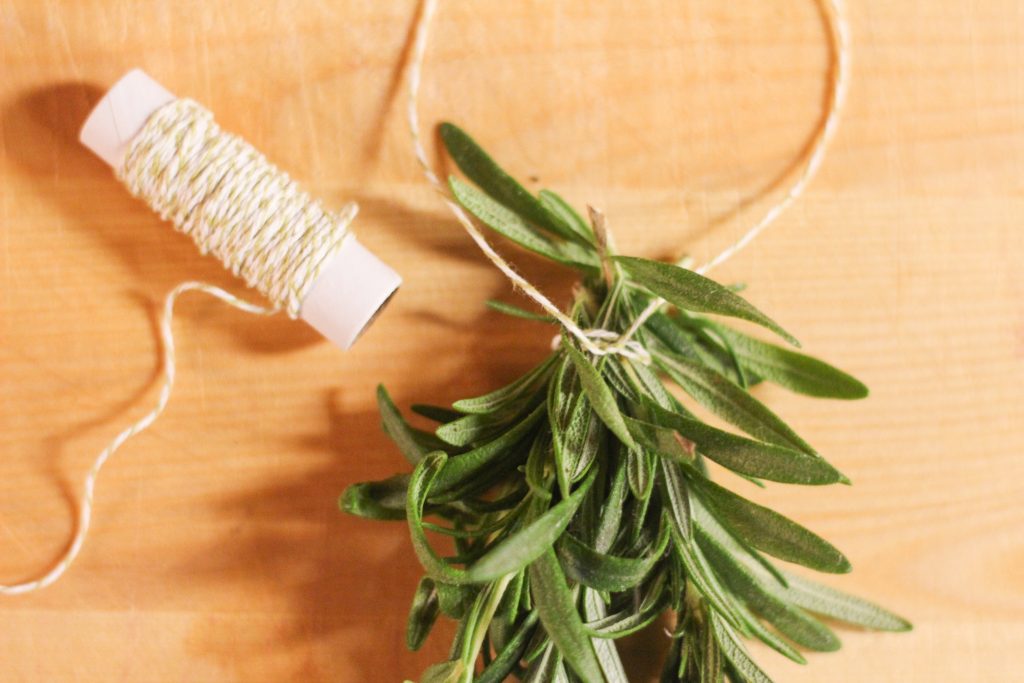
Hanging herbs to dry is a simple process that only takes a few minutes. Simply cut several stems, bundle them into a small bouquet, and tie them together.
Any type of thin twine or ribbon will do the trick. Leave a few inches of twine for hanging.

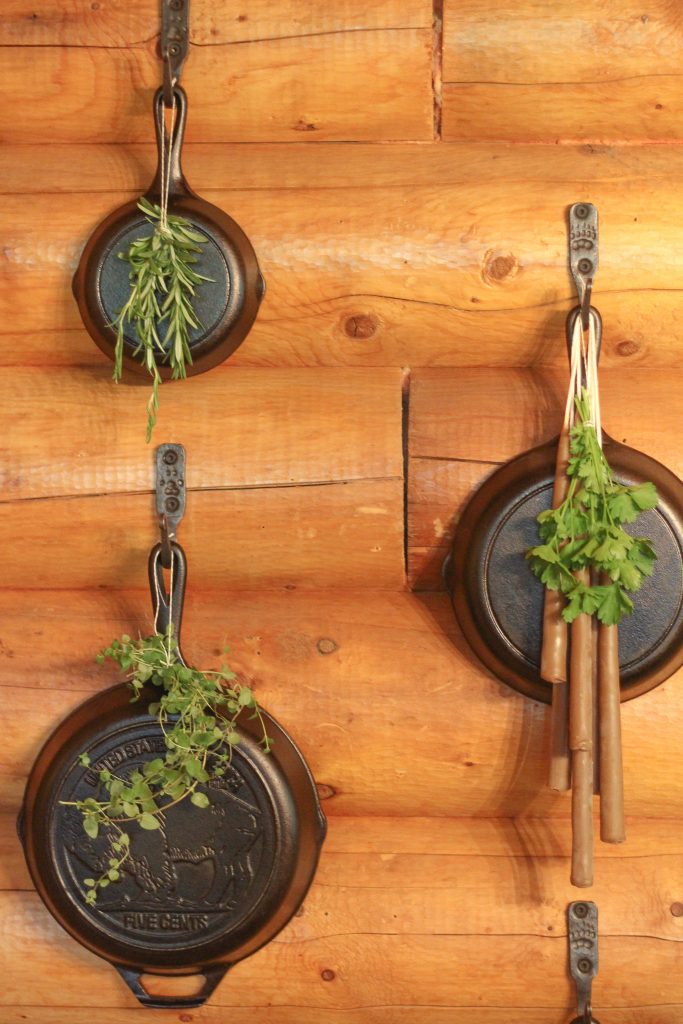
Hang the bundles of herbs by the twine out of direct sunlight in a well-ventilated area. I like to hang mine all around the kitchen on hooks where my cast iron and beeswax tapered candles hang and even on the corners of shelves.
The more you trim the herbs you grow, the more they will produce for you all summer long. As my bundles of herbs dry, I replace them with a new bundle to dry and grow my collection of dried herbs to use during the winter.
Laying Herbs Out to Dry
Hanging herbs to dry does cause more loss of flavor and scent since it takes so long for them to dry. I don’t mind this as I just really enjoy them hanging all over my kitchen.
However, laying herbs flat to dry takes less time and leaves them with more flavor. It’s a personal preference!
This method is simple as well. Lay the herbs out in a single layer on a sheet pan or tray. Even a screen from a window will do.
Set the tray in a shady spot, not in direct sunlight, and allow herbs to dry. This will take anywhere from a couple of days to a week or so, depending on the weather where you’re located.
Drying Herbs in a Dehydrator
Herbs can be dried in a dehydrator, too, if you have one. Spread the herbs out on the dehydrator trays.
Set the dehydrator to 95 degrees F. Allow the herbs to dry for several hours, until they are nice and crispy.
Drying Herbs in a Microwave
Drying herbs out naturally takes quite a bit of time. If you want to get your herbs dried out quickly, the microwave is the way to go. They will be dried out and ready in just a few minutes.
Start by spreading the herbs out in a single layer on a paper towel in the microwave. Start by microwaving in 1 minute increments, until the herbs start to wrinkle and dry up.
Then switch to 30 second increments, until the herbs are completely dry. Remove from the microwave and allow to cool completely before storing.
Please note that you must be very careful using this method, as the herbs can catch fire if you overcook them! That’s why it’s important to use short increments of time and check the herbs in between. Never leave the running microwave unattended!
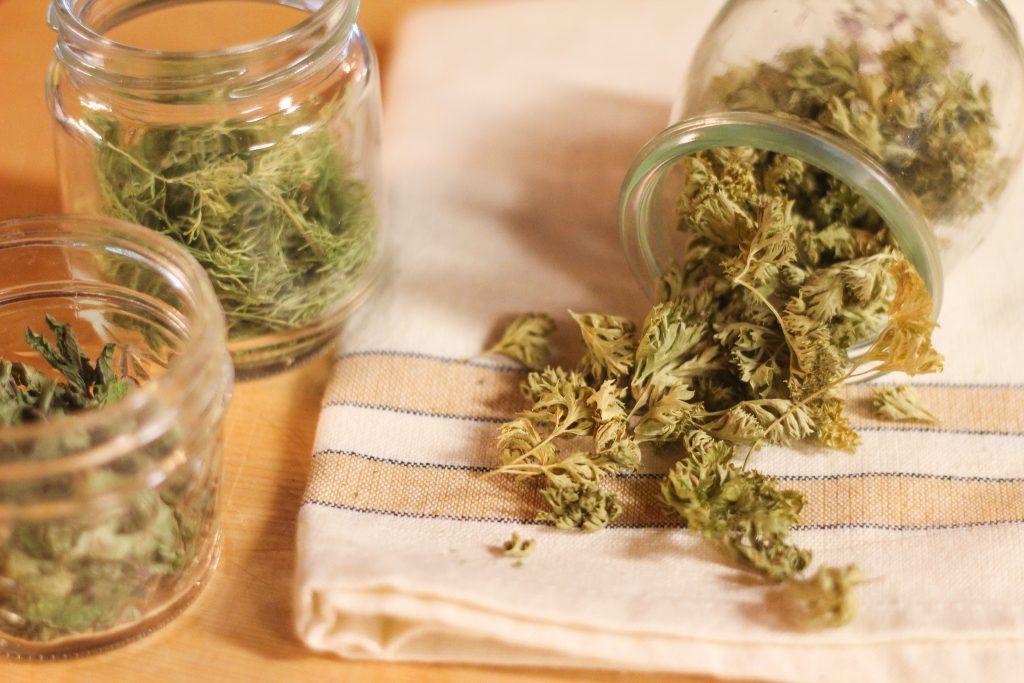
Storing Dry Herbs
Before storage, make sure dried herbs are completely dry. Remove the leaves from the stems.
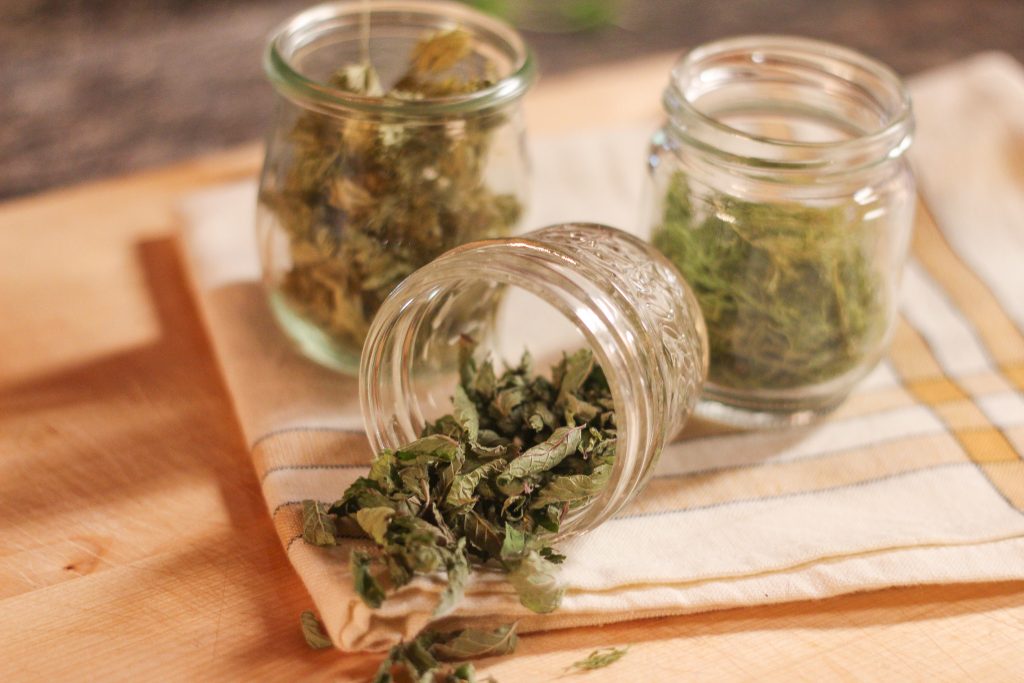
Store dry herbs in an airtight jar. The smaller the jar the better to help maintain flavor.
Be sure to label the jar just in case you forget all of the different herbs you are storing!
Keep jars of dry herbs in a cool, dark place, such as a cabinet.
Dried herbs will last up to a year so be sure to use them by the following summer when you will be harvesting a new batch of herbs!

Best Herbs for Drying
Not all herbs do well being dried. Chives, for instance, are preserved much better by freezing. Here are some common herbs that you can grow in your home garden that dry very well:
- Basil
- Bay
- Dill
- Mint
- Oregano
- Parsley
- Rosemary
- Sage
- Tarragon
- Thyme

Drying isn’t the only way to preserve herbs. Here are some ways to freeze your herbs as well.
Opening your cabinet to find little jars of herbs that you grew and then dried is a treat. Make the meals on your family’s table even more meaningful…and tasty!