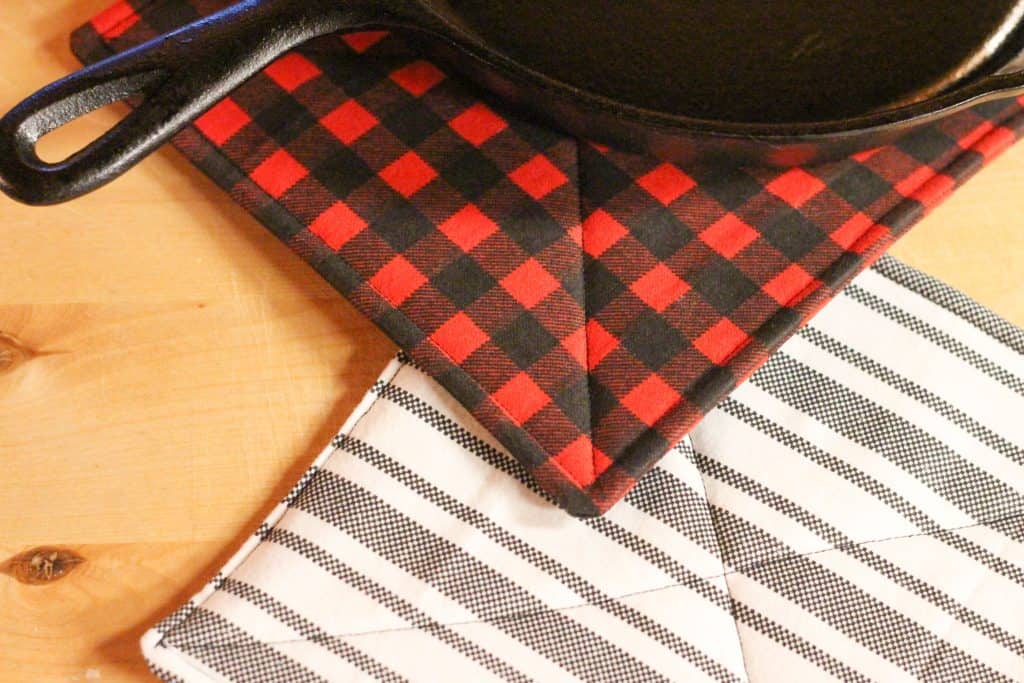
DIY Pot Holder
Just a few supplies and basic sewing tools are all you’ll need to make this DIY pot holder. Choose your own fabric to match your decor or make it for a gift! This is a quick project for beginners and young sewers alike.
I really enjoy sewing, especially with my girls. It has always been important to me to teach them how to sew. We’re always on the lookout for new projects to try including pillows, table runners, cloth napkins, aprons, and this easy potholder.
This DIY square pot holder is such a quick and simple sewing project. And everyone uses pot holders! Make a few to match the style of your kitchen or one for each holiday.
It also makes a thoughtful, great gift. For someone moving into a new home, a bridal shower, birthday, Christmas, or the perfect hostess gift. Made in the recipient’s favorite colors and style will make it one-of-a-kind.
This is a simple project that doesn’t require any special tools. Just basic sewing supplies and a small amount of fabric. You’ll love having a homemade pot holder as the perfect addition to your kitchen.

Materials for a DIY Pot Holder
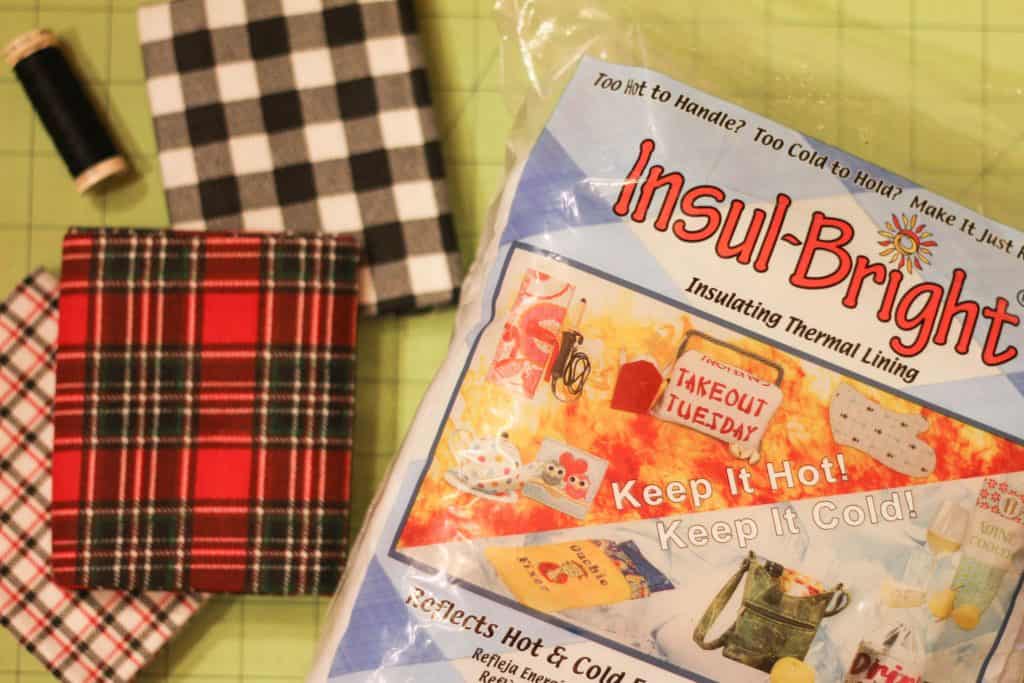
- Two 9 by 9-inch pieces of fabric- Quilting-weight cotton fabric will work or something thicker, such as flannel or even drop cloth. This is a great sewing project for using up fabric scraps.
- Two 9-inch pieces of Insul-Brite- This heat-resistant, insulating fabric works differently than regular cotton batting when making hot pads, oven mitts, insulated lunch bags, and other projects you need to keep hot or cold.
- One 2 by 4-inch piece of fabric- For the loop to hang your pot holder. This is optional depending on your preference.
- Coordinating thread- Use a good quality cotton thread.
Tools You Will Need
- Sewing machine
- Cutting mat, ruler, and rotary cutter
- Fabric scissors
- Sewing pins
- Iron and ironing board
How to Make a DIY Pot Holder
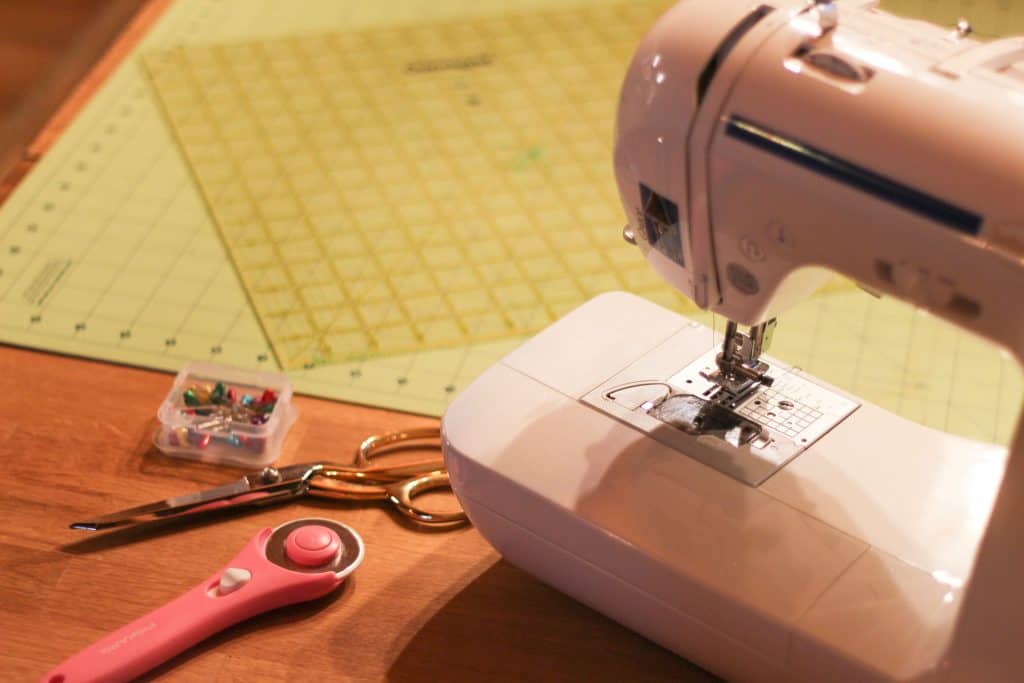
The first step is setting up your work surface. Plug in and thread your machine. Lay out your cutting mat and get your rotary cutter, scissors, and pins. Set up your ironing board and heat up your iron.
Cut the Fabric- Cut out both pieces of your chosen fabric and Insulbrite and the piece of fabric for the handle.
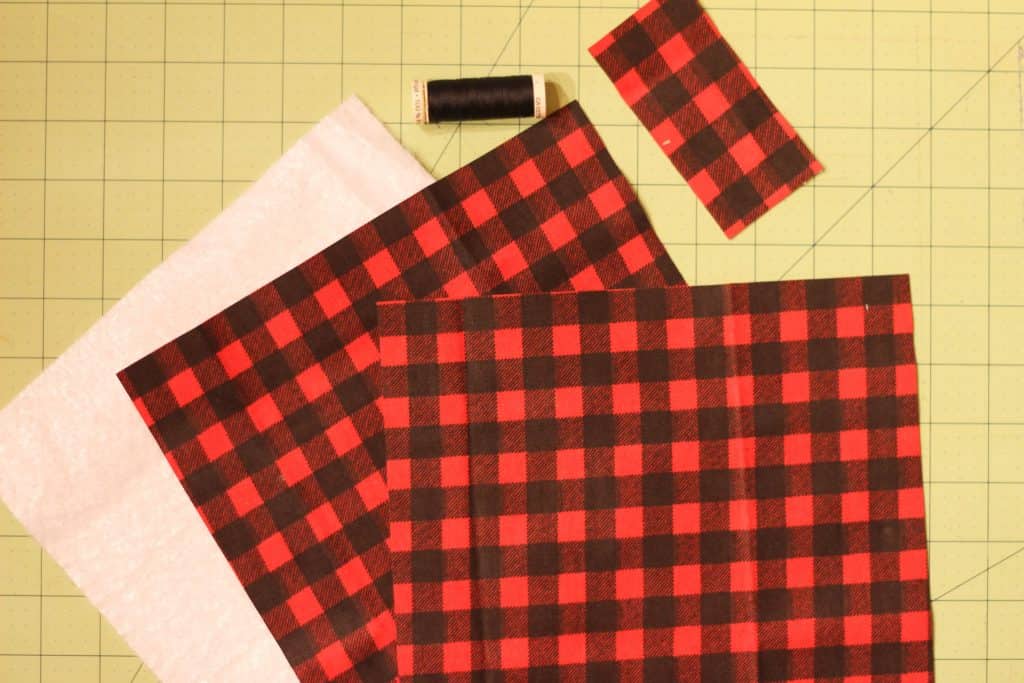
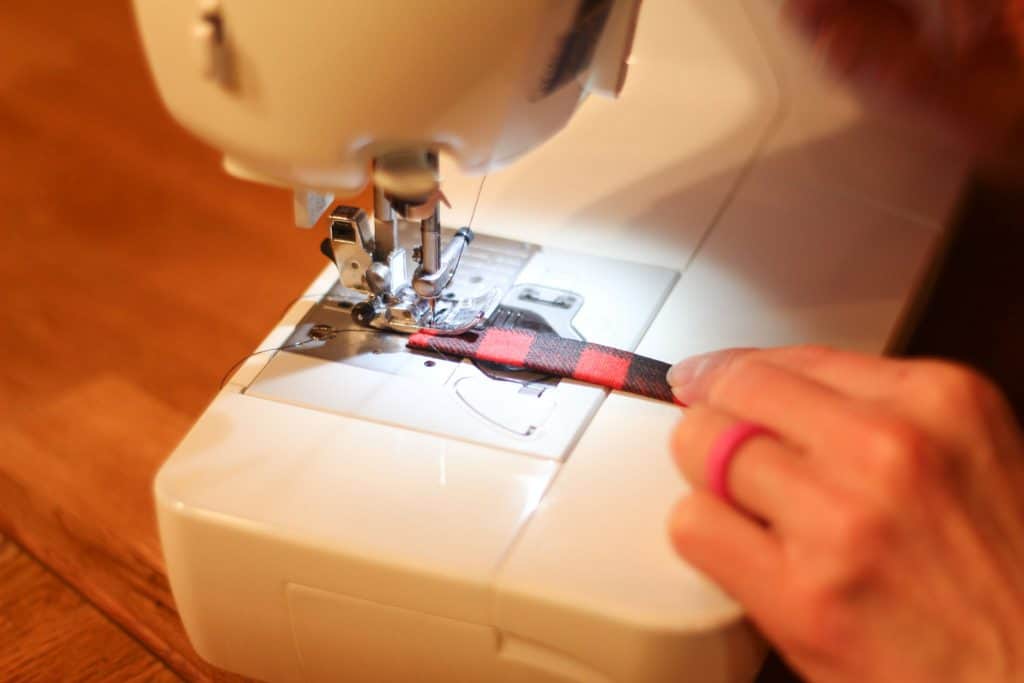
Make the Handle- Start with the piece for the handle. Fold it in half lengthwise and iron it flat. Then, unfold it, fold the two long sides in so they meet in the middle where the crease is, and iron it flat. Finally, fold it in half lengthwise again without opening up the two sides you just flattened. Now the raw edges are hidden. Stitch straight down to keep the two folded edges together.

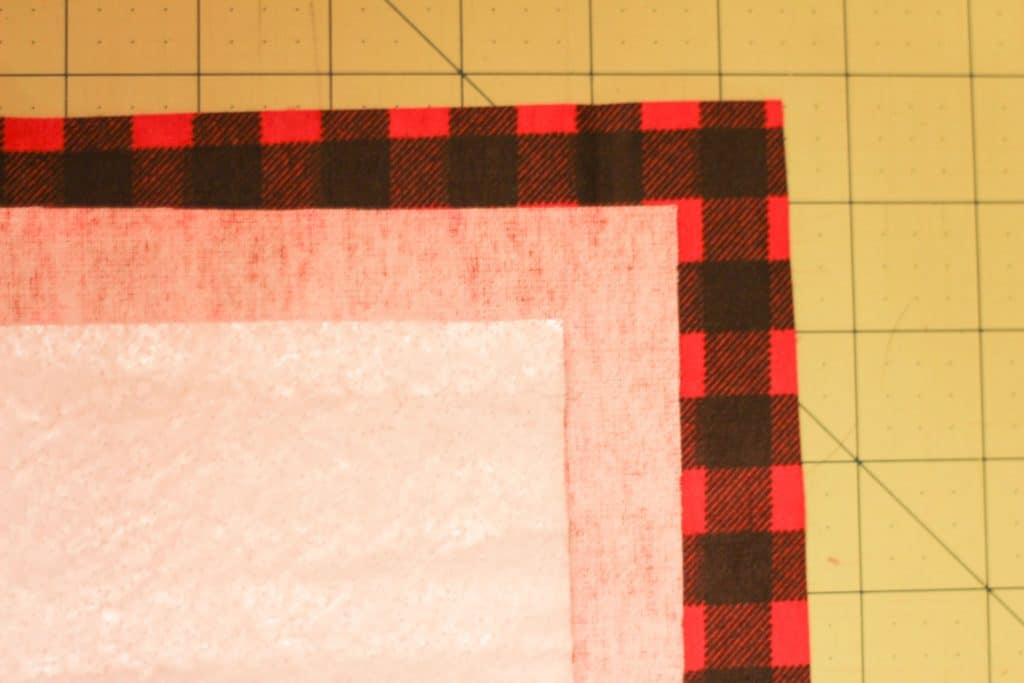
Stack the Pieces- Stack the pieces of the potholder in this order: The first piece of fabric on the bottom with the right side facing up. On top of that place the handle piece, folded in half with the ends lining up with the raw edges of the bottom piece. Place the second piece of fabric, the wrong side facing up, on top. Next, the two pieces of Insulbrite.
Pin- Pin around the fabric sandwich that you made to keep everything in place, especially the handle. Make sure the handle is tucked inside so that only the ends and not the loop get sewn.
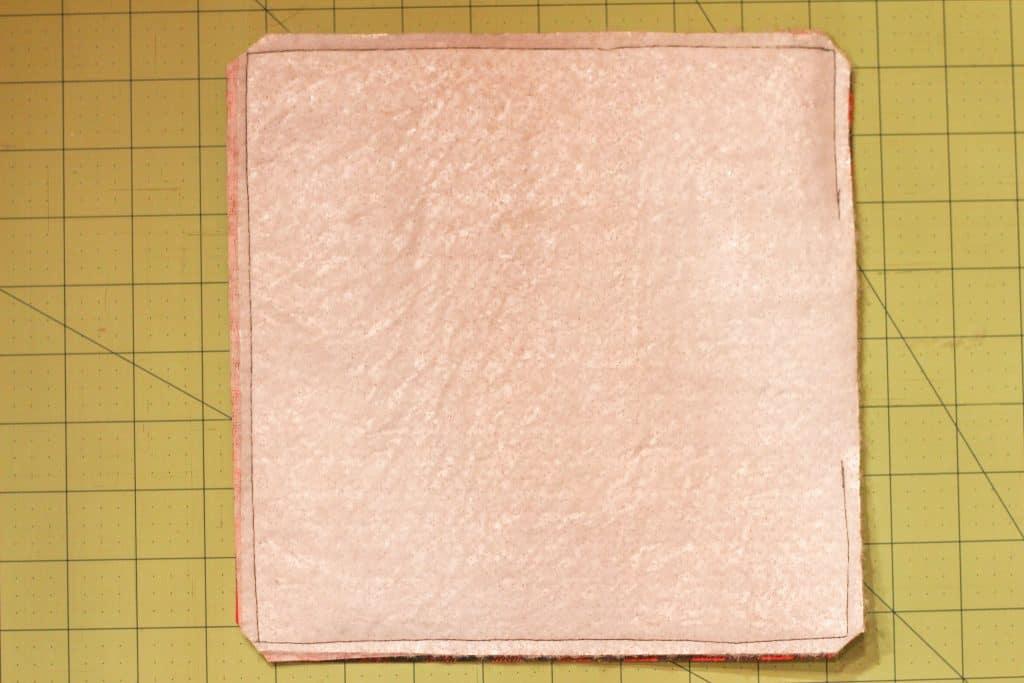
Stitch- Using a 1/2 inch seam allowance, stitch around the four sides, leaving a 4-inch opening on one side for turning. Backstitch on each side of the opening.

Trim Corners- When using bulkier fabrics, it’s a good idea to trim the corners off before turning the right side out. Very carefully use sewing scissors to cut each corner off close to the stitching.
Turn- Through the opening that you left, turn the pot holder right side out. Carefully push the corners of the potholder out. Iron it flat and fold the raw edges of the opening in and iron then pin the opening closed.
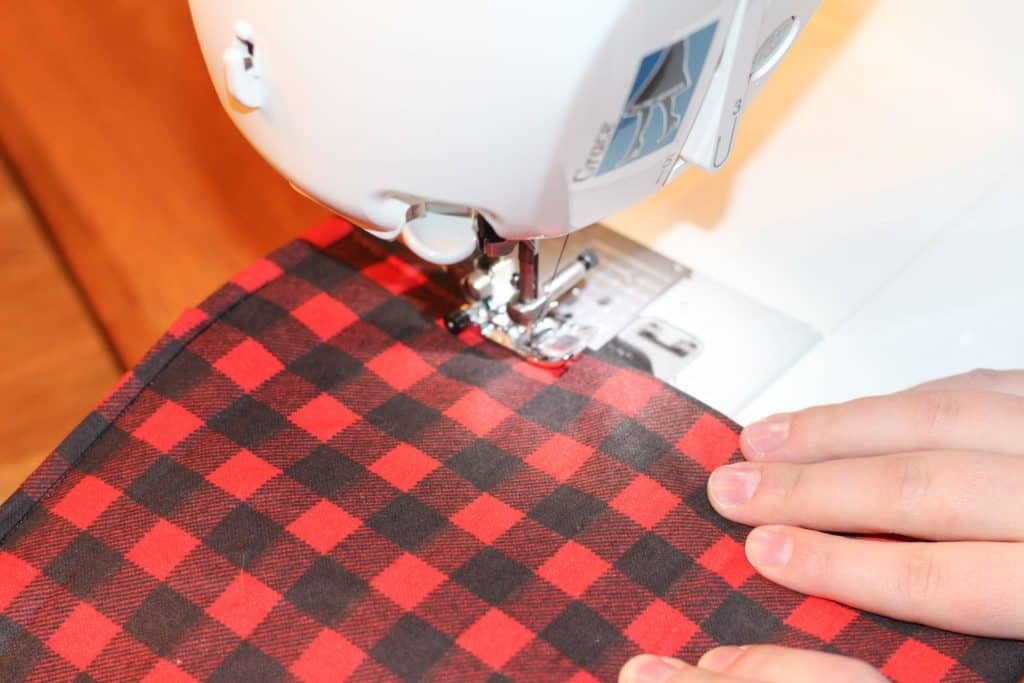
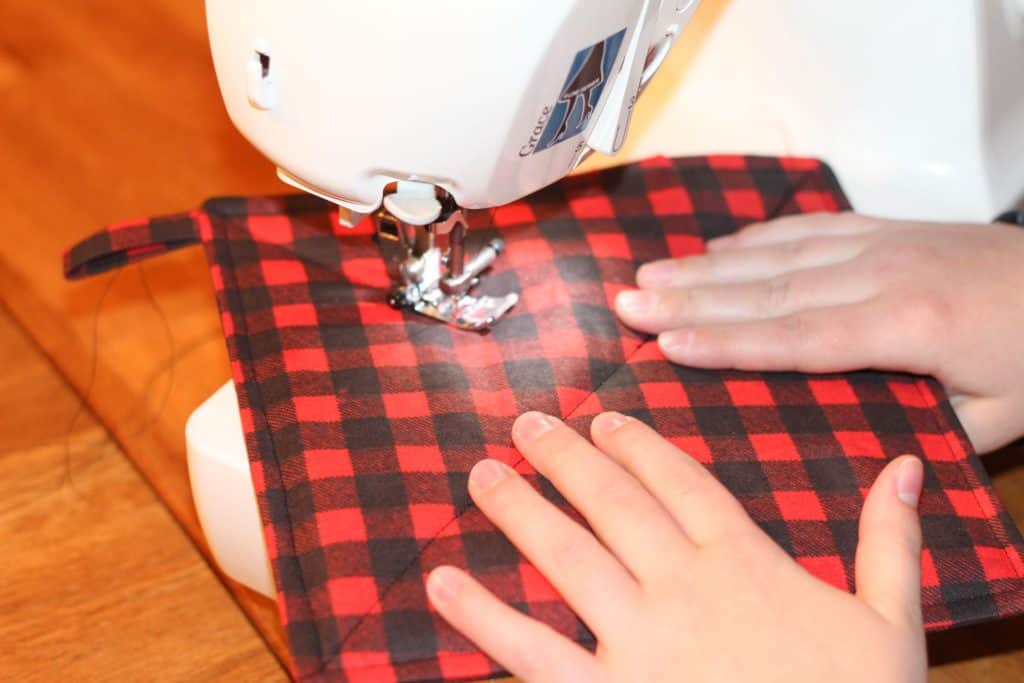
Top Stitch- Using a 1/4 inch seam allowance, top stitch all the way around the outside edges of the pot holder, including the opening. Be sure the handle is out of the way so you don’t accidentally stitch it down.
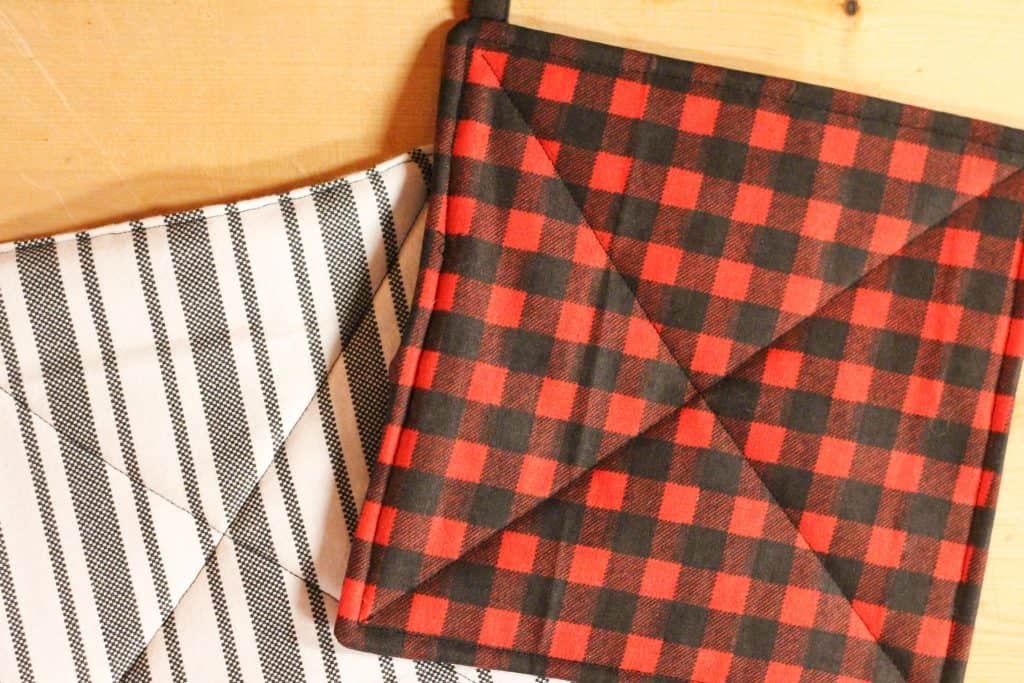
Optional Extra Top Stitching- Your pot holder can be finished now or you can do optional top stitching through the center, just to help hold the layers in place even more. The easiest way to do this is to stitch a line from the opposite corners to make a large X or you can stitch from the center of opposite sides to make a plus sign.
Your pot holder is ready for use! If it gets dirty over time, simply toss it in the wash with your towels to clean it up.
Ways to Customize a DIY Pot Holder
The options are endless with this easy project! Here are some ways to make it your own:
- Use a different fabric on each side instead of the same fabric on both sides.
- Choose a different fabric for the hanging loop or use ribbon instead.
- Skip the handle if you don’t plan on hanging your pot holder.
- Change the size or shape of your pot holder. You can make little potholders or larger ones, depending on how you want to use them. Change the shape to something unique such as a hexagon, or you can even make a round potholder.
- Make a quilt square using two or more fabrics instead of just one piece of fabric per side. You can use two different fabrics and sew them together down the middle or use four squares of fabric. You can even add an extra piece of fabric to make hand pockets.
- Make up your own design for the top stitching quilting lines or use a fancy stitch setting on your machine.
- Make a cute DIY pot holder for every holiday or different time of year.
How to Use DIY Pot Holder
A DIY pot holder can be used just like a store-bought pot holder. Pot holders are mainly used for:
- Removing a hot pan or cookie sheets from the oven.
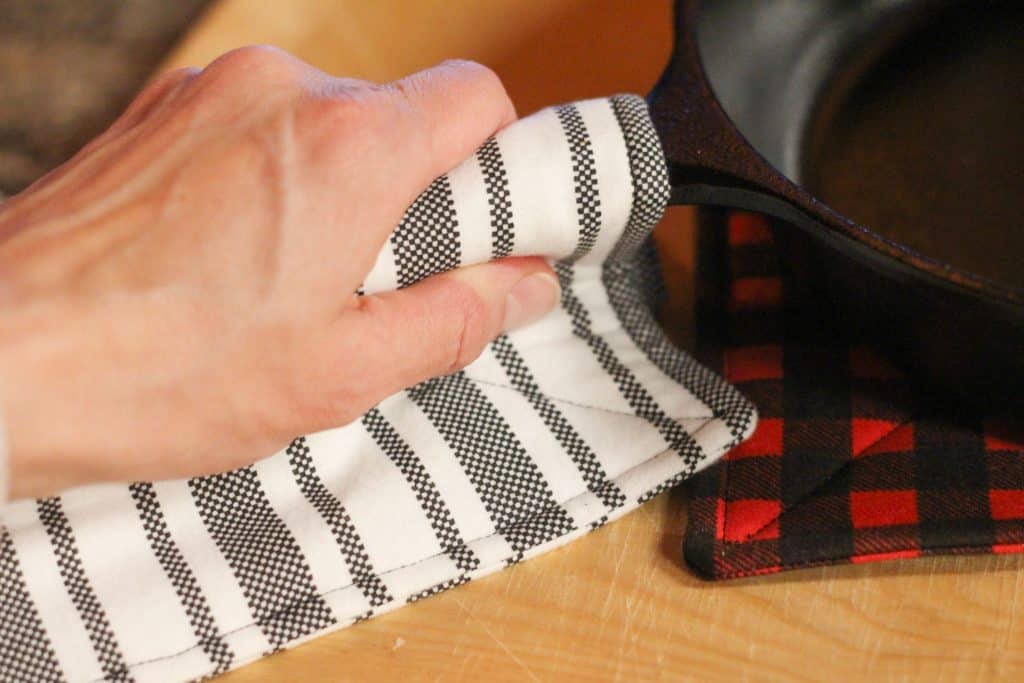
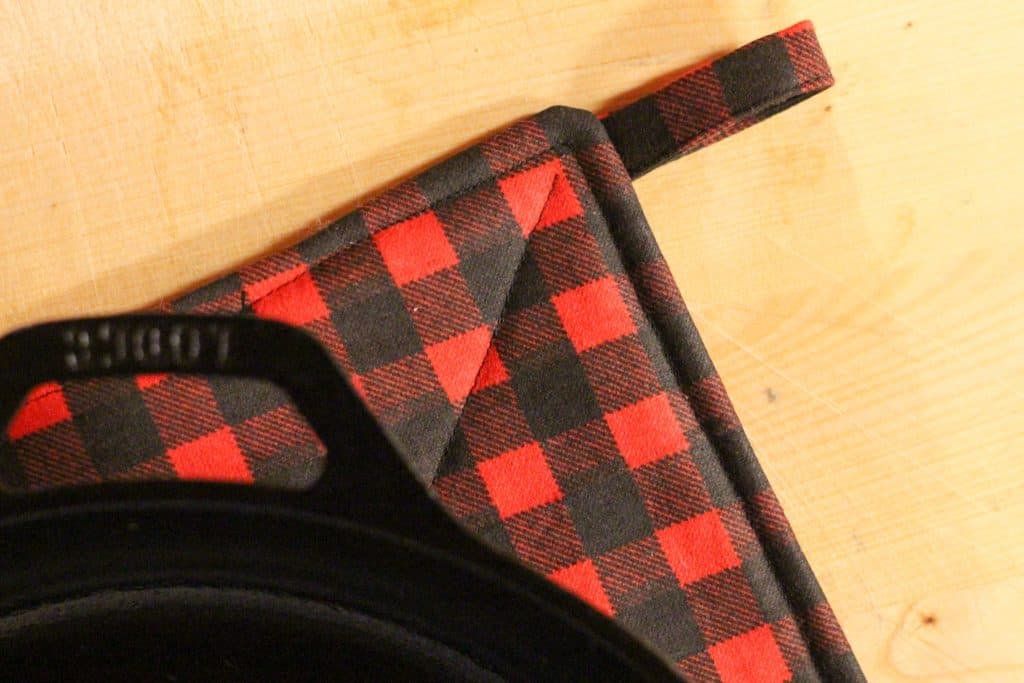
- Grabbing hot dishes, such as cast iron handles, from the stovetop.
- Setting hot dishes on when putting them on the table for serving.
- Grabbing a hot lid from a pot on the stove.
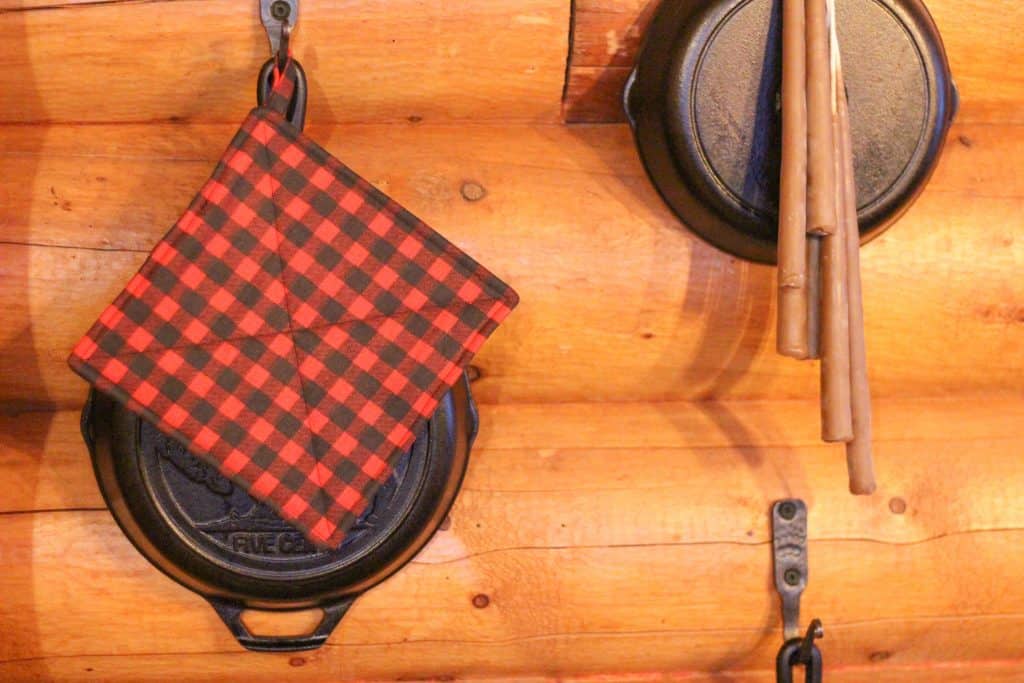
- Hanging up for home decor and easy access.
This simple potholder is a great project for anyone who loves to fill their home with handmade, useful items. It’s quick, easy, and a great way to use up that extra fabric you have. Once you whip up one, you’ll want to make more in all of your favorite fabrics!

DIY Pot Holder
Equipment
- Sewing machine
- Cutting mat and rotary cutter optional
- Fabric scissors
- Sewing pins
- Iron and ironing board
Materials
- 2 9 by 9 in. pieces of fabric
- 2 9 by 9 in. pieces of Insul-Brite
- 1 2 by 4 in. piece of fabric for the hanging loop
- 1 spool coordinating cotton thread
Instructions
- Set up and thread your sewing machine. Heat up your iron.
- Cut out both pieces of your chosen fabric and Insulbrite and the piece of fabric for the handle.
- Start with the piece for the handle. Fold it in half lengthwise and iron it flat. Then, unfold it, fold the two long sides in so they meet in the middle where the crease is, and iron it flat. Finally, fold it in half lengthwise again without opening up the two sides you just flattened. Now the raw edges are hidden. Stitch straight down to keep the two folded edges together.
- Stack the pieces of the potholder in this order: The first piece of fabric on the bottom with the right side facing up. On top of that place the handle piece, folded in half with the ends lining up with the raw edges of the bottom piece. Place the second piece of fabric, the wrong side facing up, on top. Next, the two pieces of Insulbrite.
- Pin around the fabric sandwich that you made to keep everything in place, especially the handle. Make sure the handle is tucked inside so that only the ends and not the loop get sewn.
- Using a 1/2-inch seam allowance, stitch around the four sides, leaving a 4-inch opening on one side for turning. Backstitch on each side of the opening.
- When using bulkier fabrics, it's a good idea to trim the corners off before turning the right side out. Very carefully use sewing scissors to cut each corner off close to the stitching.
- Through the opening that you left, turn the pot holder right side out. Carefully push the corners of the potholder out. Iron it flat and fold the raw edges of the opening in and iron then pin the opening closed.
- Using a 1/4 inch seam allowance, top stitch all the way around the outside edges of the pot holder, including the opening. Be sure the handle is out of the way so you don't accidentally stitch it down.
- Your pot holder can be finished now or you can do optional top stitching through the center, just to help hold the layers in place even more. The easiest way to do this is to stitch a line from the opposite corners to make a large X or you can stitch from the center of opposite sides to make a plus sign.
- Your pot holder is ready for use! If it gets dirty over time, simply toss it in the wash with your towels to clean it up.