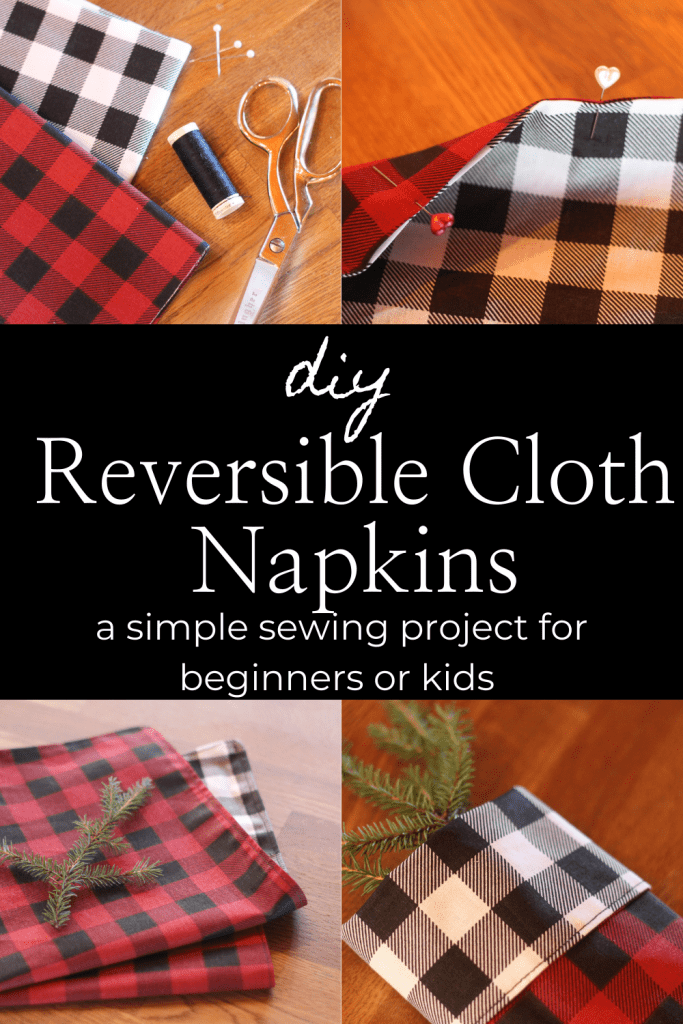
DIY Reversible Cloth Napkins
These DIY reversible cloth napkins are a quick and easy sewing project to whip up. Great for beginners as well as children learning how to sew. So simple yet the options are endless!

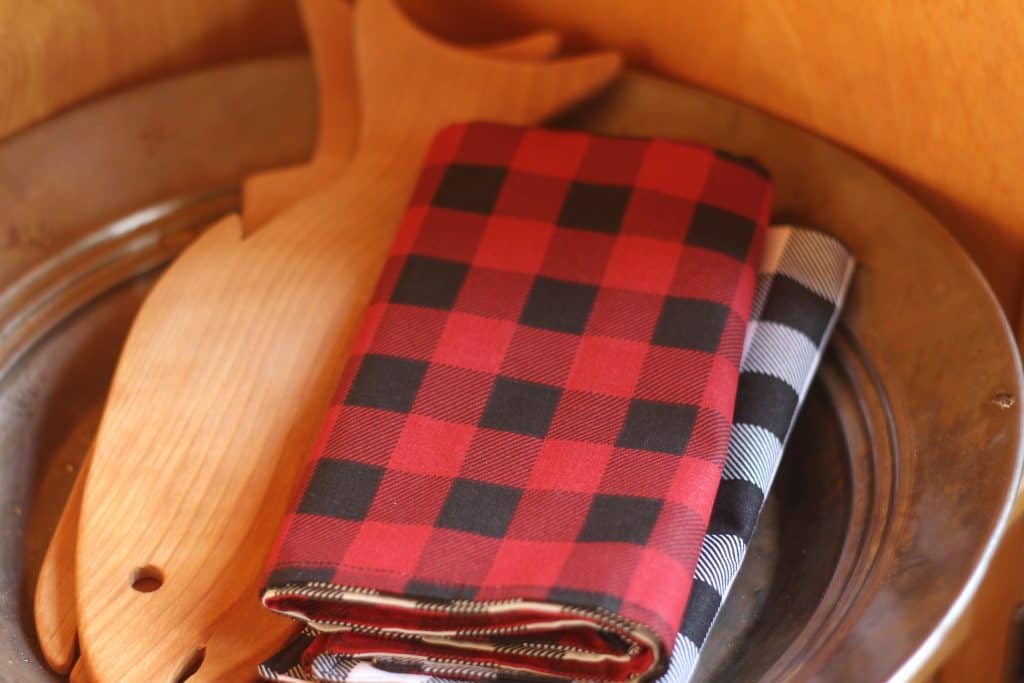
Over ten years ago I sewed my husband and I our first set of cloth napkins. We still use them today. I have always loved the way they feel and hold up so I’ve been using the same method ever since. I like that they’re double-sided and nice and thick, I don’t have to iron them after washing either.
Cloth napkins are not only beautiful but a great way to reduce the waste and cost of disposable napkins from the store. To save even more, use fabric scraps that you already have on hand.
This is a great project for a beginning sewer and also for children learning how to sew. This is one of the first projects that I did with my girls when teaching them how to sew!
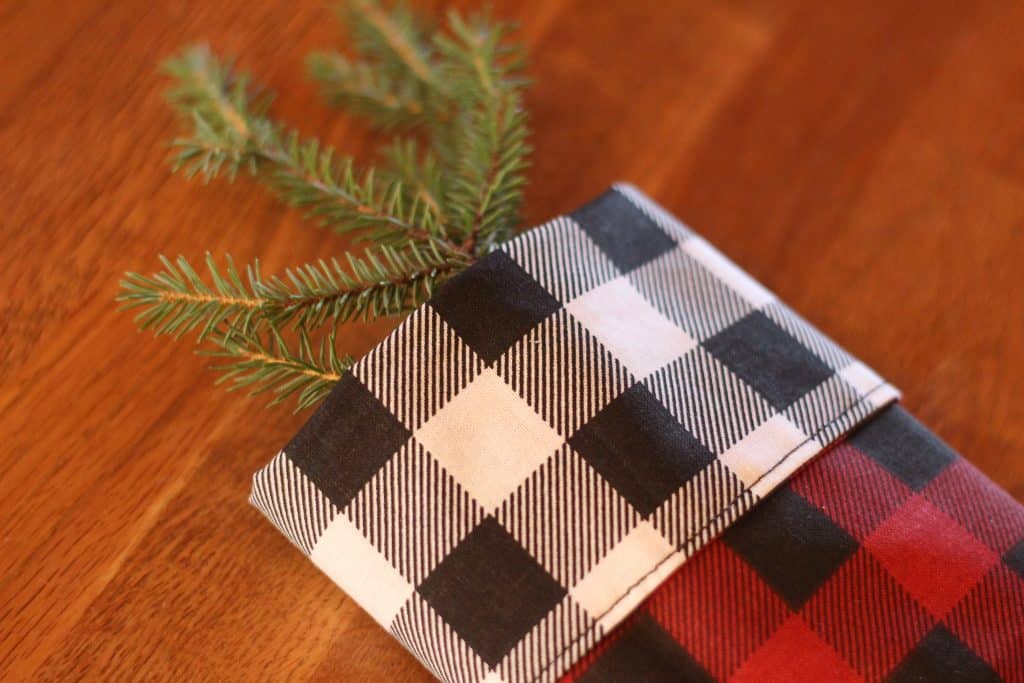
It’s fun to pick out different fabrics to suite your needs. Warm colors and patterns for the fall, Christmas fabrics to match your decor style, florals for spring, and so on. I always let the girls choose their own fabrics, this way we can tell everyone’s napkins apart when we set the table.
Materials You Will Need
- 1 yard each of two different quilting weight cotton fabrics (this will make four napkins)
- Spool of coordinating thread
Tools You Will Need
- Sewing machine
- Fabric scissors
- Fabric pins
- Rotary cutter
- Cutting mat
- Rotary cutting ruler

Be sure to wash, dry, and iron your fabrics before beginning.
How to Make DIY Reversible Cloth Napkins
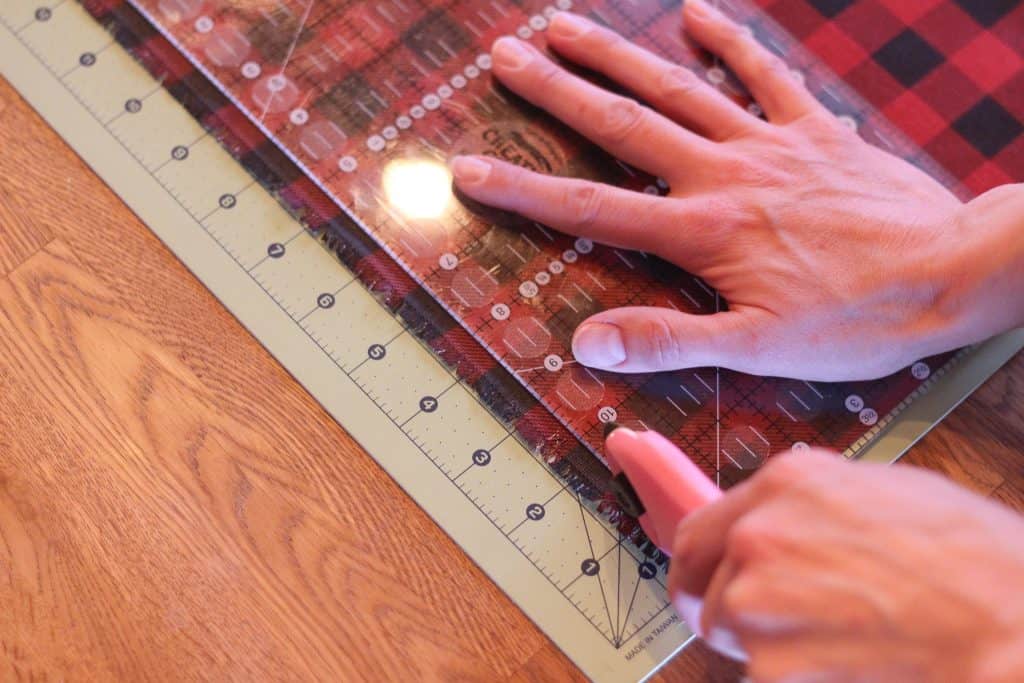
Start by cutting out your fabric in 17 inch squares. Each yard will produce four squares for eight total, which will make four napkins. Use additional fabric if you have a larger family and need more!
If you don’t have a rotary blade and cutting mat, it’s easy to use fabric scissors instead. Simply cut out a 17 inch square out of freezer paper, pin it to the fabric, and cut it out.
Take two pieces of fabric, one of each pattern, and lay them right sides together. If you are using fabric with directional patterns, be sure to line them up the same way. Pin around the outer edges every few inches.

Starting in the middle of one side, using a 1/4 inch seam allowance, stitch all the way around, stopping 3 to 4 inches from where you started, leaving an opening.
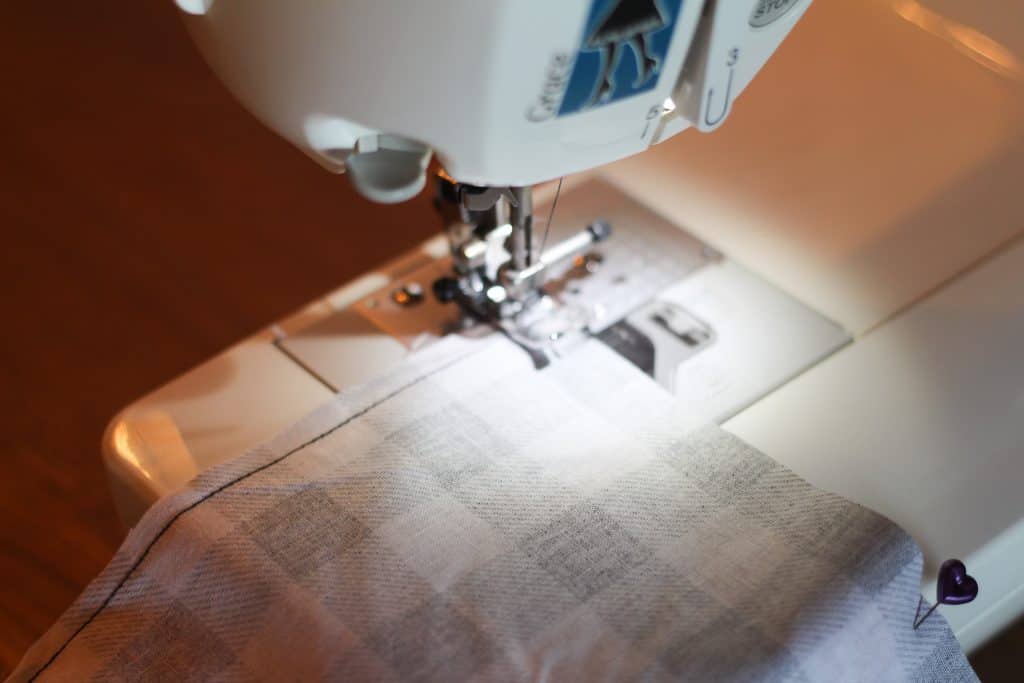
Be sure to backstitch at both ends! Clip any extra threads.
Using fabric scissors, trim the tip off of each corner, being careful not to cut into the thread. This will help prevent too much bunching in the corners so they lay flatter.

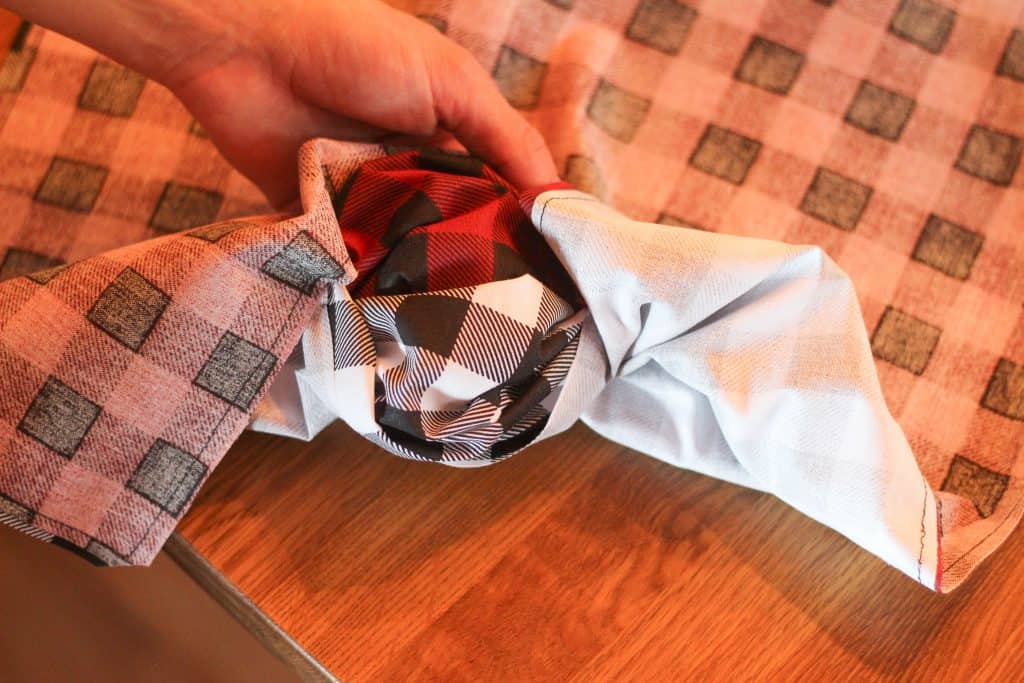
Very gently, turn the fabrics right side out through the opening. Be sure to push the corners out well, using your finger or a tool such as a knitting needle.
Using an iron, press the fabric pieces all over, being sure to tuck the edges of the opening under.

Pin the opening closed with a fews pins, making sure that there are no fabric edges sticking out.
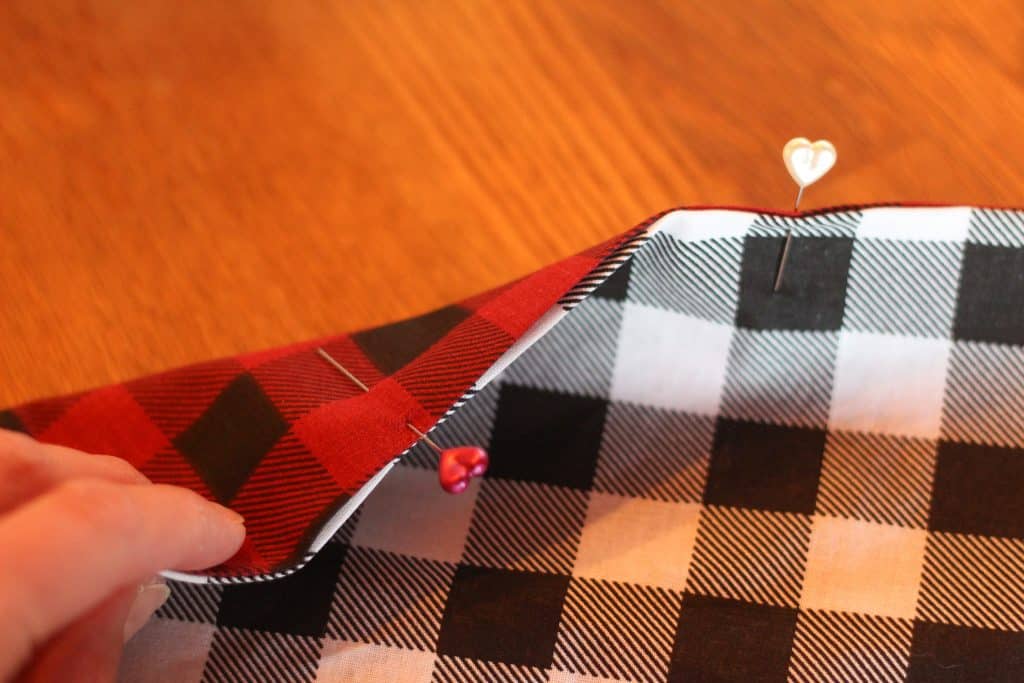
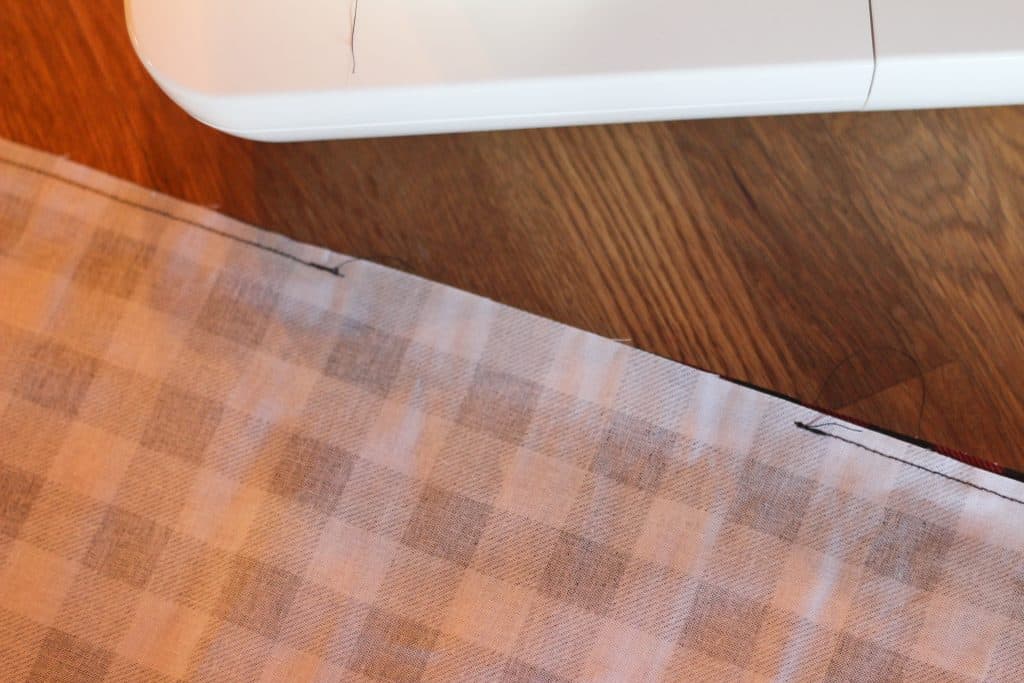
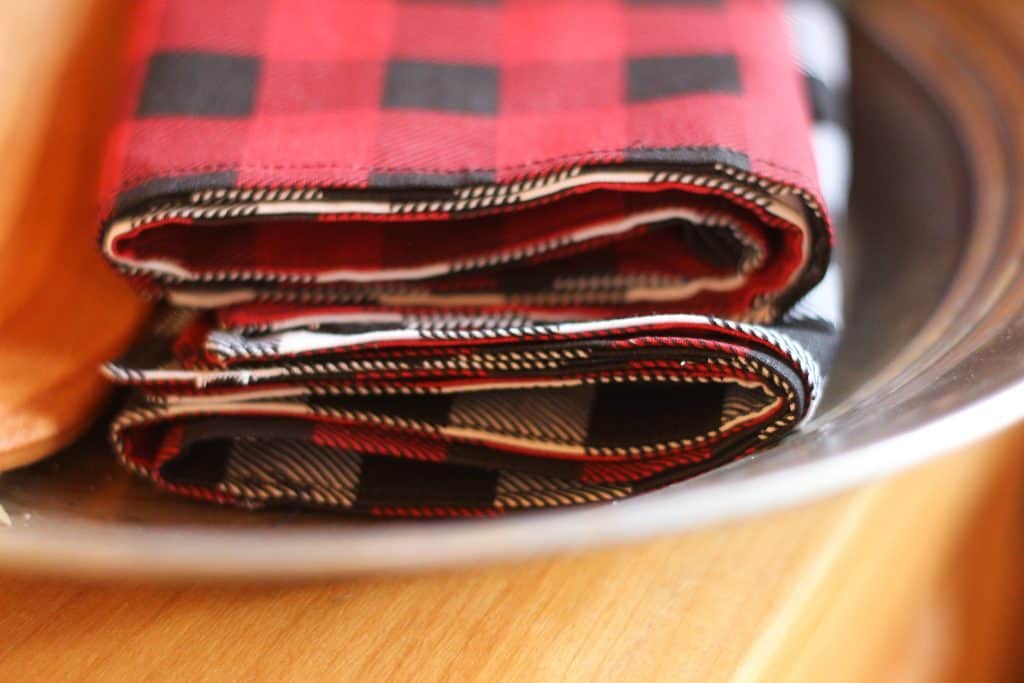
Finally, topstitch using a 1/8 inch seam allowance all the way around the napkin.
Trim loose threads and you’re all done! Repeat for additional napkins.
How to Clean Cloth Napkins
There are no special requirements for washing these napkins. I just throw ours into the washing machine along with the towels every few days to clean them up. Because they’re reversible, they can be folded on either side and reused over a couple of days.
You may choose to iron your napkins but I never have. I have found that making them with two layers of fabric prevents them from bunching up like cloth napkins often do after being washed. I just shake them out and fold them up so they’re ready for the next meal.
More Ideas for DIY Reversible Cloth Napkins
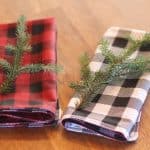
- Make a set for every season! The girls and I have made a set for fall, Christmas, and to keep in the camper. They always enjoy choosing their own fabrics at the store for different holidays. And then we have our basic set to use the rest of the year.
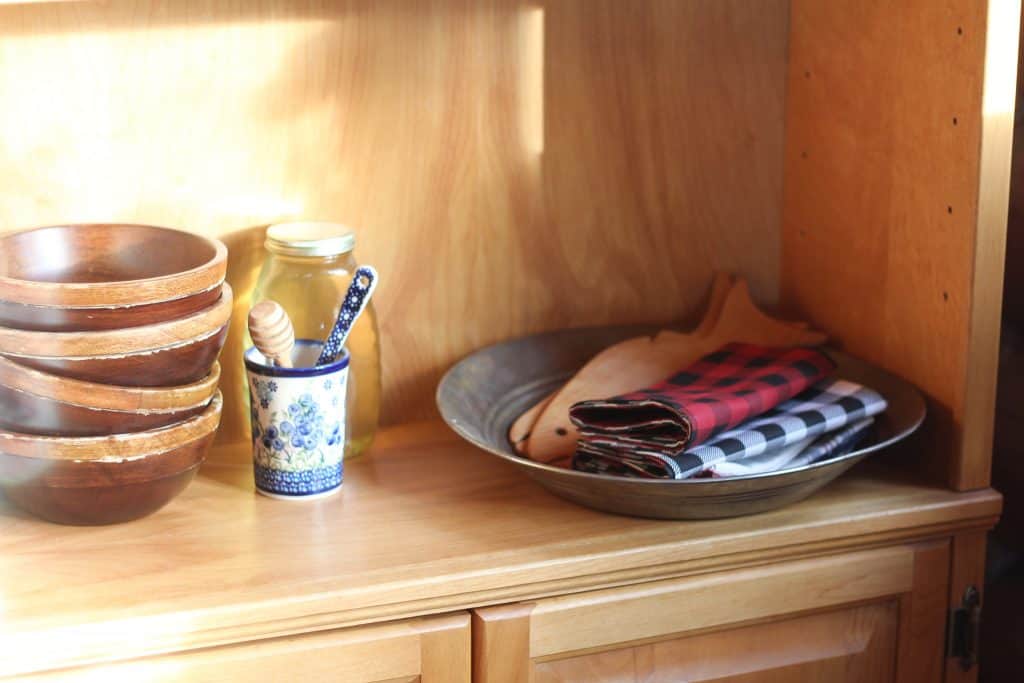
- Make extra for guests! I have made a few extra napkins here and there to be sure that we have plenty when friends come for dinner. I keep them in a basket in a cabinet in our kitchen for whenever we need them. It’s also nice to have extras in case someone really gets theirs dirty and needs a replacement until I can get it washed!
- Make as gifts! These make a great gift for family and friends. The girls made a set for their grandparents when they bought a new camper, they’re a great handmade gift that kids can make. Make a set to use as a housewarming gift!
- Make matching napkin rings! We made a set of napkins rings out of birch logs, you can find the tutorial for those in this post. I heard a great idea once to make different napkin rings to help each family member know which napkin is theirs. Since we use different fabrics to tell our napkins apart, we don’t need to do this but if you want all of the napkins to match, this would be perfect.
I hope you enjoy sewing some cloth napkins for your family or as a gift. Maybe it will be a fun project for you and your children to do together. Or a way to use that fabric you love but aren’t sure what to do with yet. Either way, they are a dining room staple and add beauty and meaning to the table when made by you!
Pin it for later
DIY Reversible Cloth Napkins
Equipment
- Sewing machine
- Fabric scissors
- Fabric pins
- Cutting mat
- Rotary cutter
- Ruler
Materials
- 2 yards Quilting weight cotton fabric in two different patterns (1 yard each)
- 1 spool Coordinating thread
Instructions
- Be sure to wash, dry, and iron your fabric before beginning.
- Cut fabric into 17 inch squares using a rotary cutter. Each yard of fabric will produce four squares, for a total of 8 squares to make four napkins.
- If you don't have a rotary cutter, simply cut out a 17 inch square using freezer paper, pin to the fabric, and cut out.
- Take 2 pieces of fabric, one of each pattern, and line them up right sides together. Pin around the edges every few inches.
- Starting in the middle of one side and using a 1/4 inch seam allowance, stitch all the way around the fabric, stopping 3 to 4 inches before where you started, leaving an opening.
- Using fabric scissors, trim threads and cut the tips off of each corner, being careful not to cut into the stitches.
- Turn fabrics right side out through the opening, taking care to push the corners out well.
- Using an iron, press all the way around the fabric. Make sure to tuck under the edges of the opening and press.
- Using fabric pins, pin closed the opening.
- With a 1/8 inch seam allowance, topstitch all the way around the edges of the napkin, making sure the opening gets closed.
- Repeat to make remaining napkins. Clean in washing machine with towels, no need to iron.

Thanks for the inspiration. Now I now know what I want to do with all that fabric I’ve been “saving.” 😁
Thank you Melanie:) I’ve made so many of these, such a quick and easy project for random fabric!