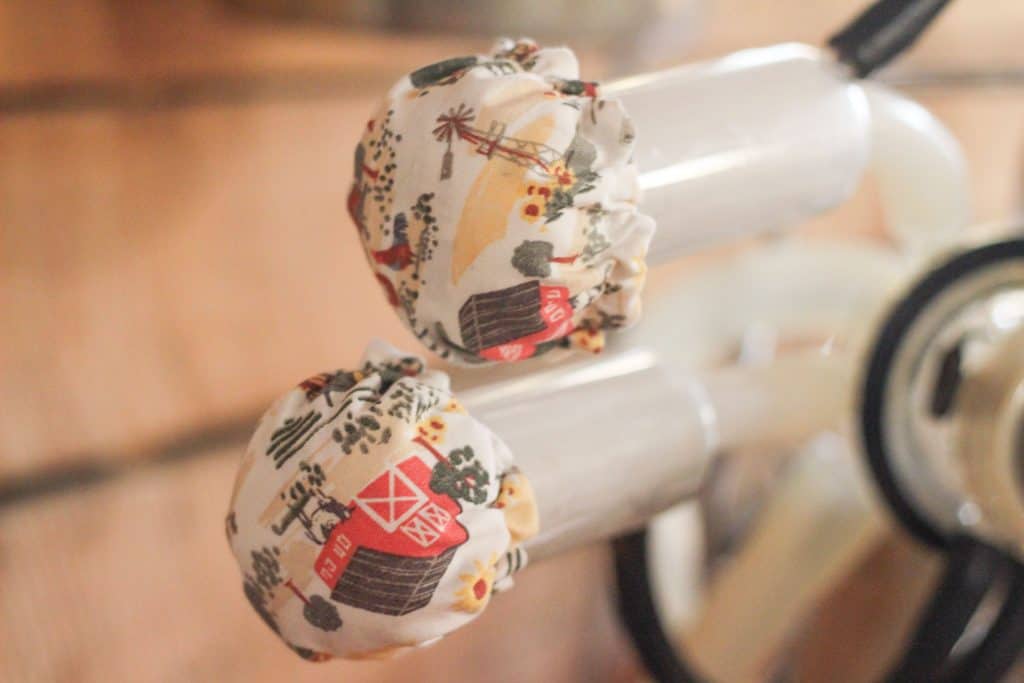
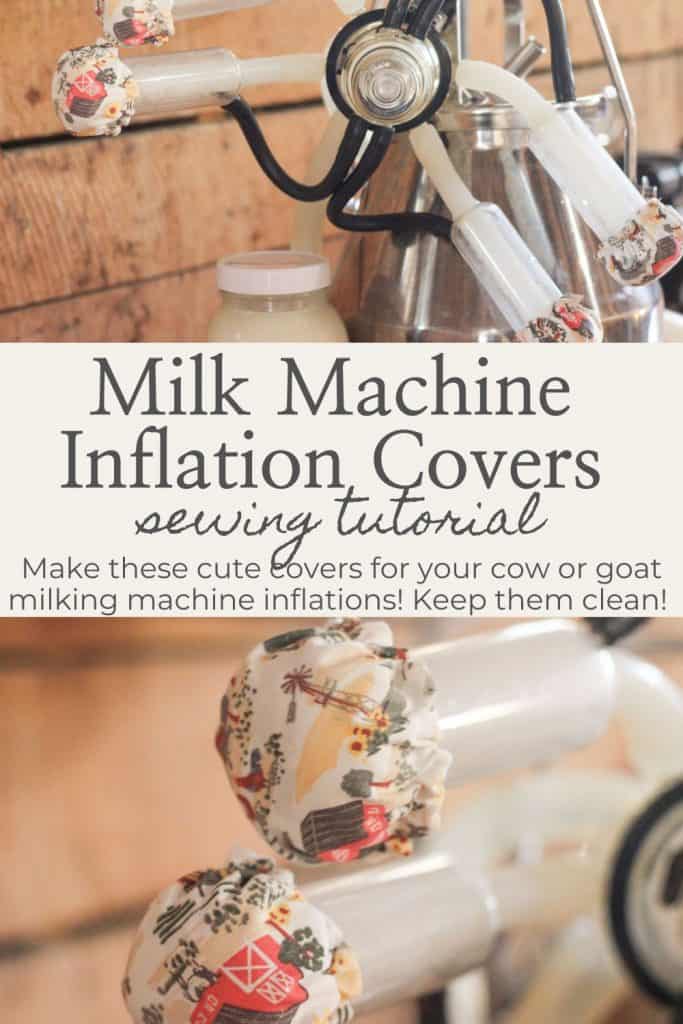
Milk Machine Inflation Covers
Keeping all of your equipment clean when milking a cow or a goat is of utmost importance. These milk machine inflation covers do the job and they’re so simple to sew up!

When we were training our first milk cow, Honey, to be milked, we wanted her to be used to a machine as well as hand-milking. Although I enjoy hand-milking both of our cows from time to time, I use our small milking machine most often.
Having a milking machine is nice for several reasons. Of course, it’s much faster than hand-milking, even including the time it takes to clean the machine afterward. This is nice during the long, cold winter months when I would like to milk both cows and get back inside quickly!
We also wanted our cows to be used to being milked by the machine in case we needed someone else to milk them. It can be difficult to find someone willing to hand milk two cows but with a machine, they can easily be shown how to work it to milk for us in a pinch.
Thankfully, we have a couple of experienced friends on call in case we need someone to step in and milk for us. Also, our daughters know how to use the machine and milk for me if I’m unwell or not home.
If you have or plan on getting a dairy animal, whether a goat or a cow, you might or might not have a milking machine. Although hand-milking is wonderful and I enjoy it, I am so thankful to have a machine and recommend investing in one.
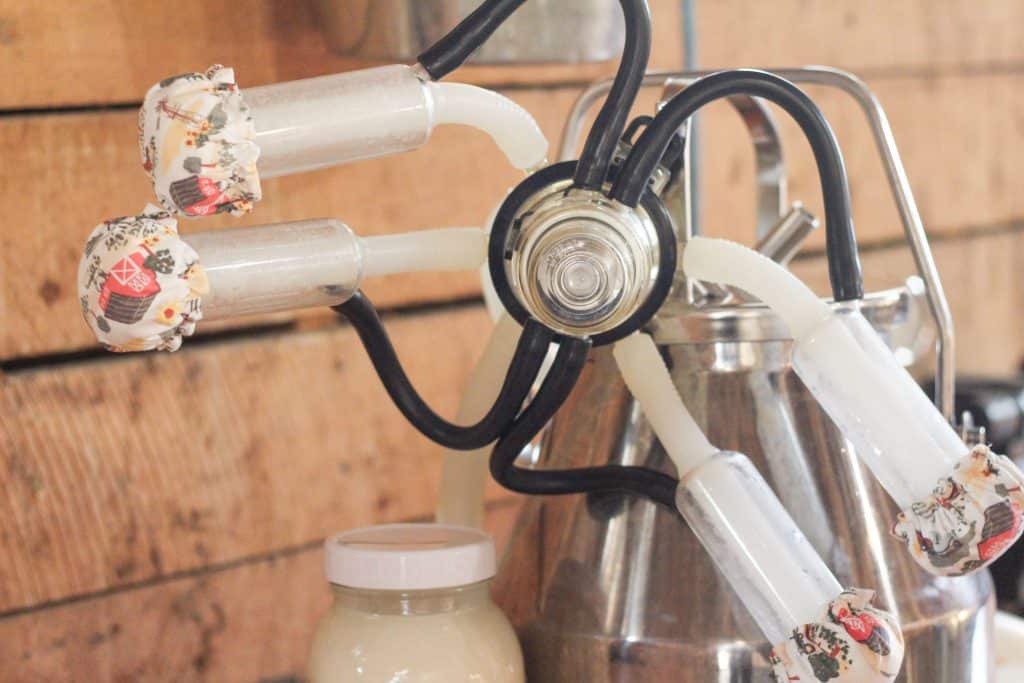
Not everyone has the same setup but we have to walk from our house down our driveway to our barn to milk. I like to keep the inflations, the part that goes on the cow’s teat to milk her, nice and clean while we’re walking to the barn.
I came up with these milk machine inflation covers and they work great! They’re a quick and simple sewing project and I’ll show you how I make them!
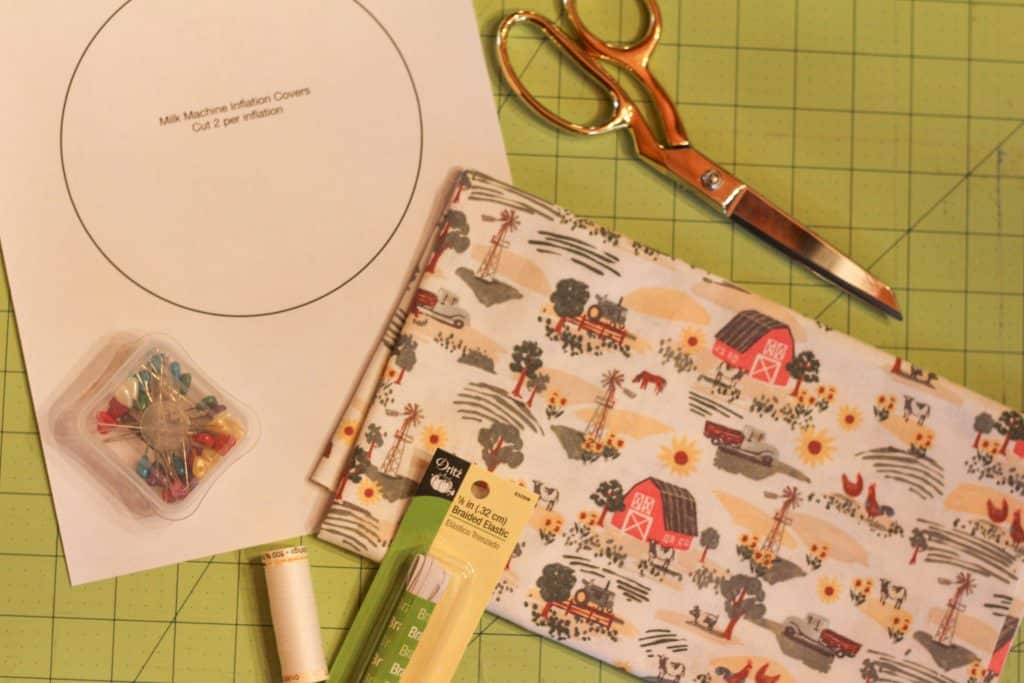
Materials for DIY Milk Machine Inflation Covers
- 1/4 Yard of Fabric- Just regular, quilting-weight cotton fabric is all you need!
- 1/8 of an inch elastic- You will need about 15 inches per cover, even though quite a bit will be trimmed off.
- Thread- I always use a high-quality, 100% cotton thread in my machine.
- Pattern– Print off the pattern for this project right here!
Tools You Will Need
You will only need a few basic sewing tools for this project!
- Sewing machine
- Fabric scissors
- Pinking shears
- Sewing pins
- Safety pin
- Iron
How to Make Milk Machine Inflation Covers
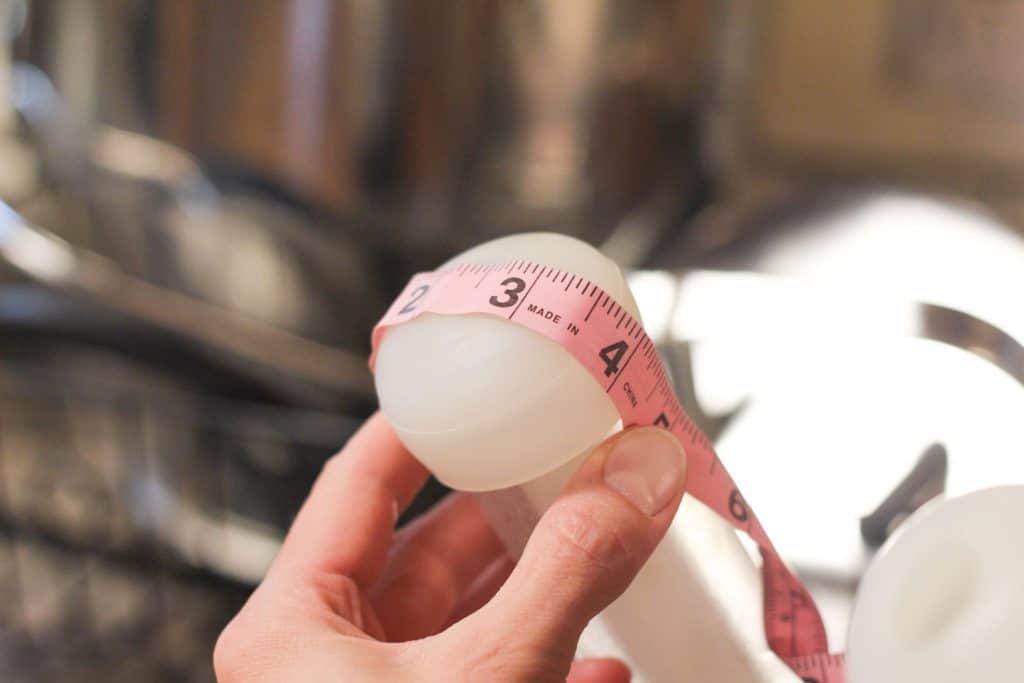
Print off the pattern and cut it out. Although most milk machines are fairly similar, double-check the measurement of your particular inflations. Mine measure 4 1/2 inches from side to side, as in the photo below. If your inflations are much smaller or larger, you can adjust the pattern as needed.
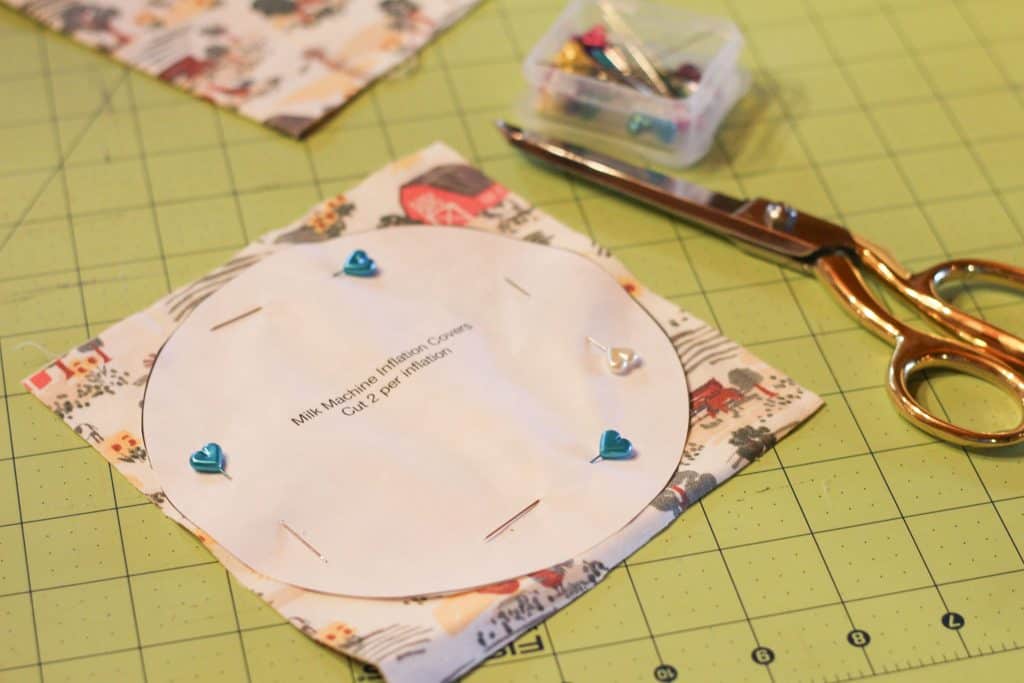
Pin the pattern piece onto two layers of your fabric. Cut out the fabric and you’ll have two circle pieces.
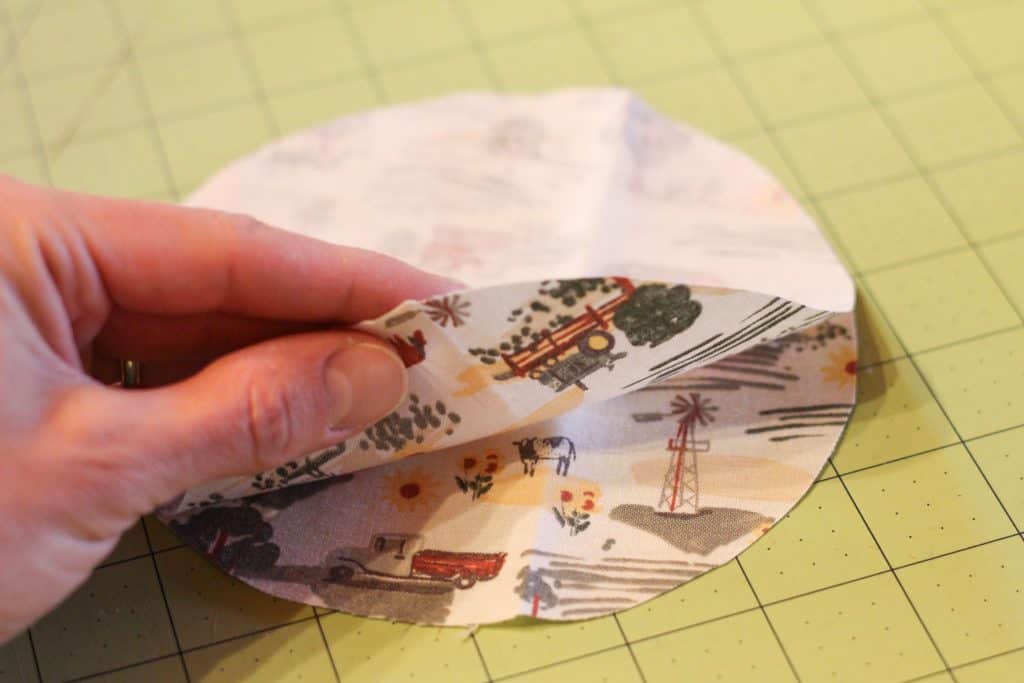
Take the two fabric pieces and put them right sides together.
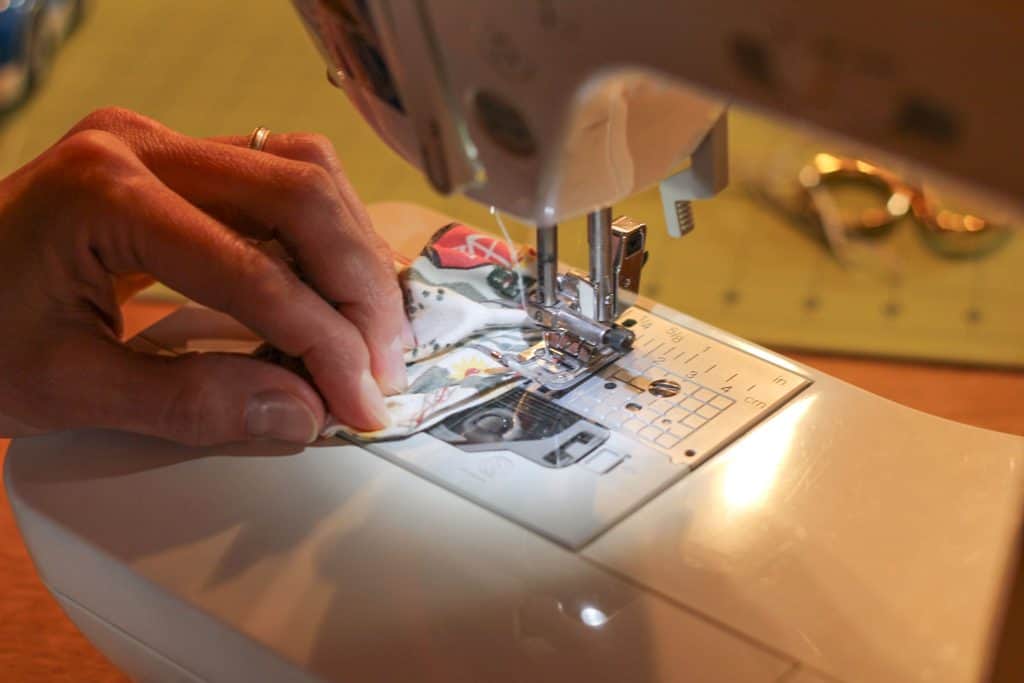
Stitch a 1/4-inch seam around the circle, leaving a 1 to 1 1/2-inch opening, and backstitching at both ends.
Trim threads and then cut around the outside of the circle using pinking shears.

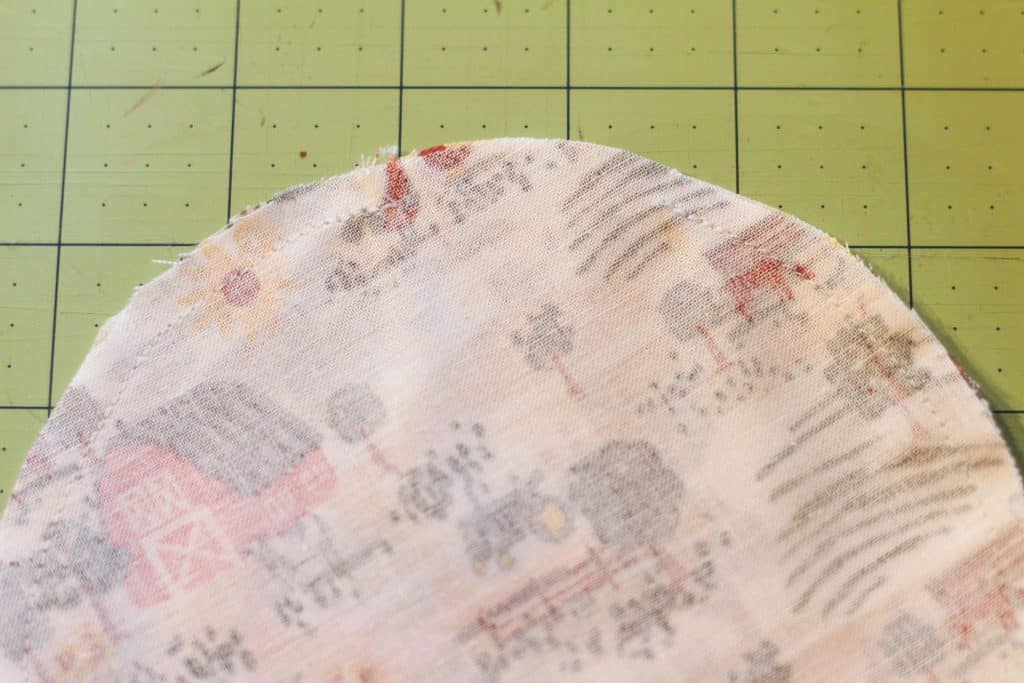
Turn right side out through the opening and iron flat.
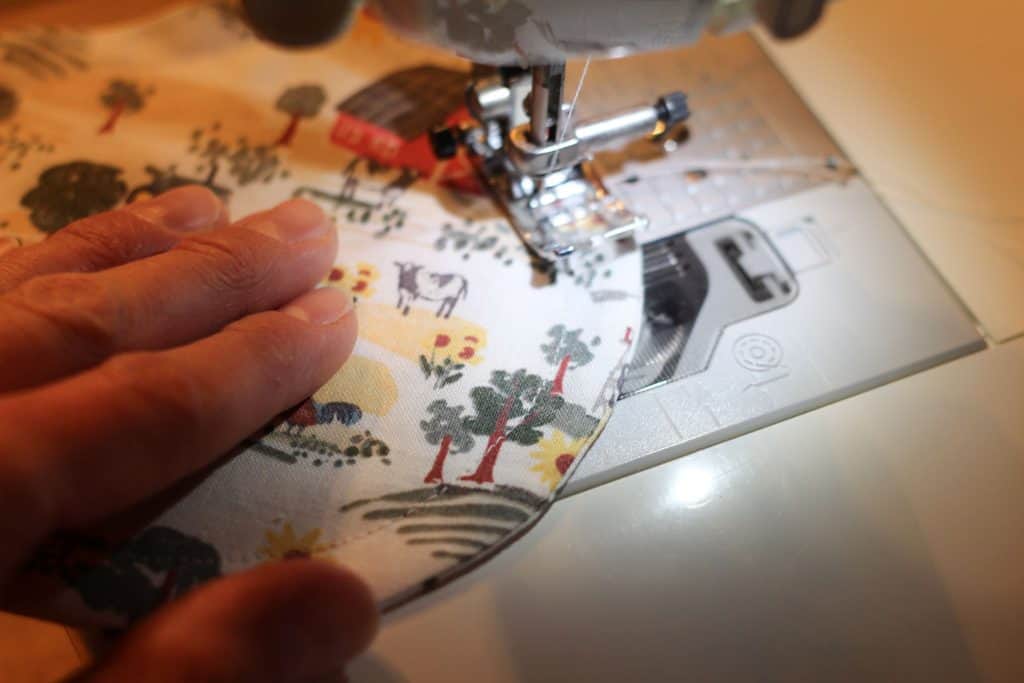
Stitch a 1/2-inch seam ALL the way around the circle.
Take a piece of elastic and insert a safety pin into one end. Feed the safety pin and elastic through the opening in the circle, all the way around and back through the opening.
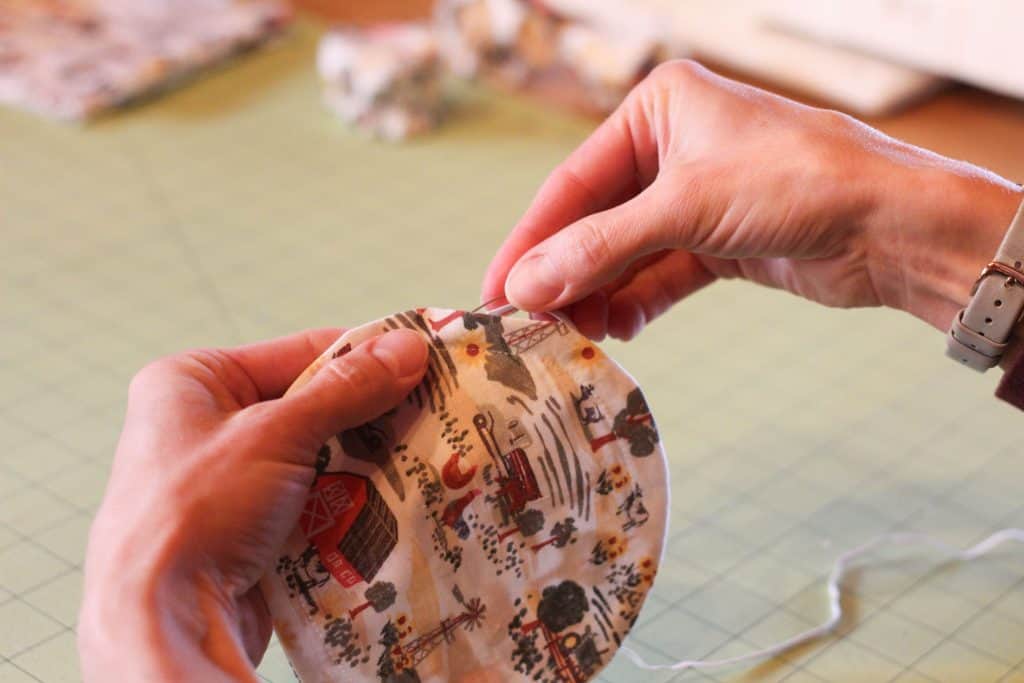
Pull the elastic through, leaving a small tail at each end. Remove the safety pin.

Pull the elastic to bunch up the fabric. I like to put the cover on the inflation to make sure I’m pulling it the right amount so it’s somewhat tight around the inflation.
Hold the elastic or pin it in place at the correct length.
Sew the pieces of elastic together where you pinned or held them. Go over them several times with the machine to make sure they hold together.

Trim the ends of the elastic and tuck it into the casing in the circle.
Sew the opening of the circle closed either on your machine or by hand.
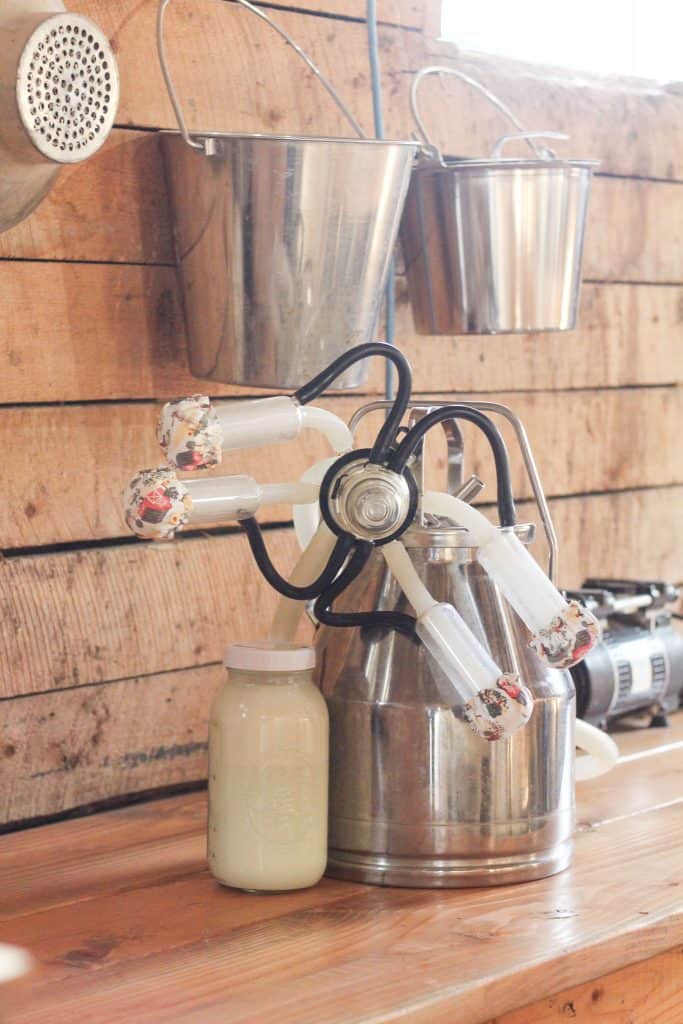
If you have a cow milking machine, you will need to make four of these covers. If you only have a two-inflation machine for small cows or goats, you will only need to make two covers.
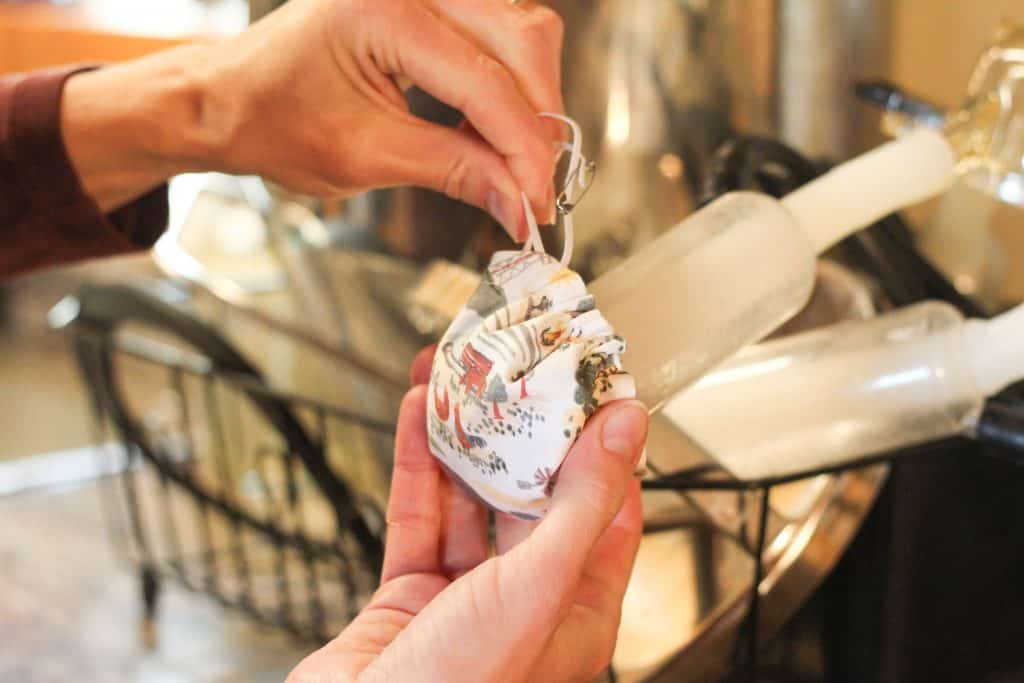
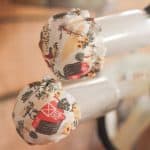
They should easily slip on and off the inflations to keep them nice and clean!

Use and Care
Now you have adorable and functional covers for your milk machine inflations! Here’s how to use and care for them:
- Use these to cover the inflations prior to milking, when they’re nice and clean.
- Do not put them back on the inflations after milking because the inflations are no longer clean.
- Do not put them on the inflations right after washing because the inflations need to air dry first.
- Wash as needed either by hand or in the washing machine with regular laundry.
These also make a nice gift! Do you have a friend planning on getting a milk cow or goat or already has one? Whip them up a set of these for their machine and they’ll be thrilled!
This project can be adjusted to make jar covers! Use the same steps, just increase the size of the pattern circle depending on the size of the jar. Make cute, customized jar covers for yourself or a thoughtful gift!
I hope you enjoy making and using these milk machine inflation covers! I needed a solution for keeping my inflations clean before milking and these work great.
Milk Machine Inflation Covers
Equipment
- Sewing machine
- Fabric scissors
- Pinking shears
- Sewing pins
- Safety pin
- Iron
Materials
- 1/4 yard Cotton fabric
- 60 inches 1/8 inch elastic
- 1 spool Thread
Instructions
- Print off the pattern and cut it out. Using fabric scissors, cut out 2 circles of fabric per inflation using the pattern.
- Place 2 circles of fabric right sides together and sew around using a 1/4-inch seam allowance and leave a 1-inch space for turning. Backstitch at both ends. Cut around the outside of the entire circle using pinking shears, being careful not to cut the stitches.
- Turn right side out and press, turning in and pressing the opening as well.
- Sew a 1/2-inch seam all the way around the circle. Trim threads. This creates the pocket for the elastic.
- Cut a 15-inch piece of elastic and attach a safety pin to one end. Feed the safety pin and elastic through the opening, all the way around the circle, and back out through the opening.
- Pull the elastic tight and pin. Place the cover on an inflation if able to adjust the elastic as needed. Stitch the elastic pieces together at the pin using several stitches. Trim the excess and tuck back into the circle.
- Sew the opening closed either using your sewing machine or by hand.
- Repeat for remaining covers.