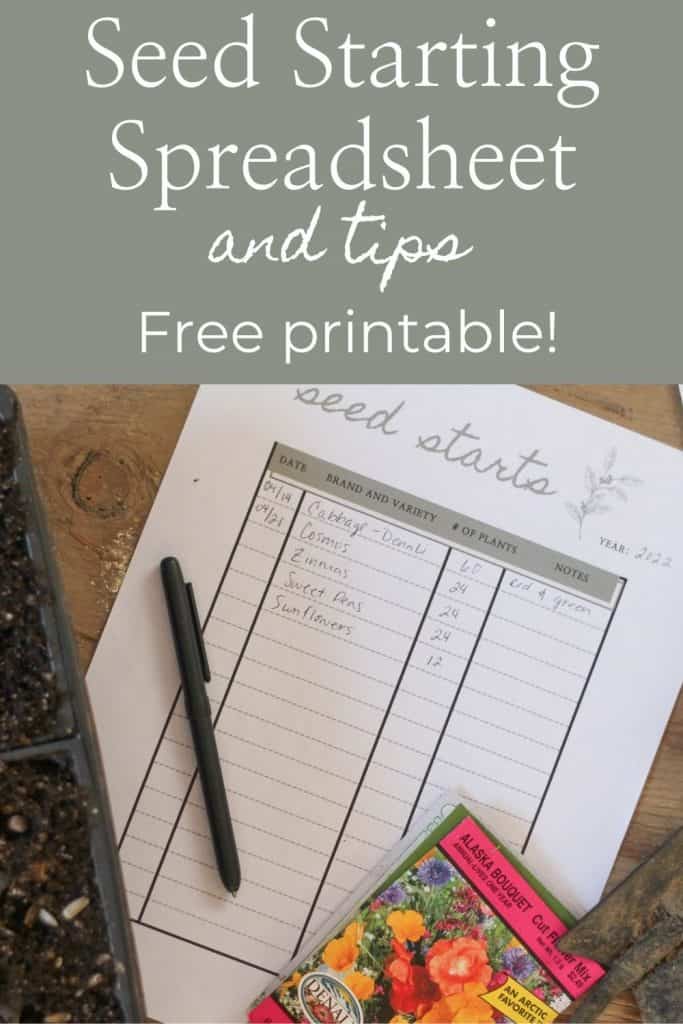
Seed Starting Spreadsheet and Tips
As winter ends and the snow begins to melt, long before the garden is ready, seeds are sprouting indoors. Keeping track of the seeds that I start each year helps me improve my garden over time. Here’s a printable seed starting spreadsheet and some tips to get you going this spring!
Here in the Interior of Alaska, we’re in garden zone 2 so planting in the ground doesn’t happen until the end of May. Snow still covers our garden by several feet and even though the days are sunny and warm (in the 50’s) we still dip below freezing some nights.
We must wait another month to really get our gardens going but there’s work to be done in the meantime. Starting seeds indoors is a budget friendly way to begin growing plants ahead of time so they’re ready to go in the ground when it’s time.
Buying plant starts at the local nursery is quick and easy but also expensive. I do always purchase several plant starts from a few nurseries in town every year, just in case some of my seedlings don’t work out. Or if they have varieties that I didn’t start on my own.
However, I try to start as much as I can using seeds. A packet of seeds costs less than a single plant and will provide a lot more plants. You can also tuck them away to be used another year if you don’t use all of the seeds.
Seed starting can be tricky and doesn’t always work out but for me, it’s worth the effort. I enjoy getting my hands in the soil and caring for the seedlings as I watch them grow. It makes the anticipation of spring even better.
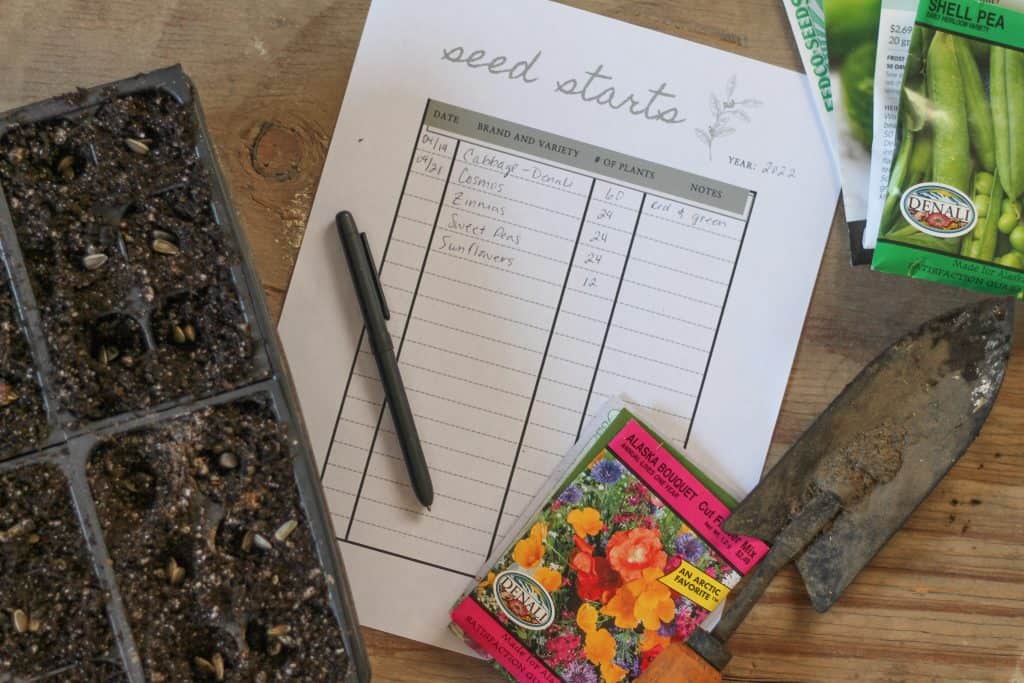
As I start seeds, I keep a record of the date, the variety and brand, how many plants, and any other notes I might want to make. This way, I can look back each year to see what I did, what I didn’t do, and what I might want to change in order to improve my garden.
I’m sharing with you my printable seed starting spreadsheet and some tips to get you going!
Buying Seeds
I keep a small tub of seed packets that still have seeds in them in a cool, dry, dark place during the winter. I pull it out a month or so before spring to go through it and see what I have and what I need to purchase for the current year.
Keeping good gardening records helps with this task. I can check and see which varieties grew well in my garden. Or ones that didn’t so I can try something new. Over the years, I have found favorites of certain varieties but also like trying some new seeds every year.
When purchasing seeds, be sure to:
- Make sure they will grow well in your garden zone. You can find a map of the USDA plant hardiness zones here.
- Check the date on the package to be sure they aren’t old and expired.
- Try different varieties from different brands to see what grows best in your area.
- Ask experienced gardeners what their favorite varieties and brands are.
- Be realistic! Have fun but be realistic about what you will actually plant and want to grow.
- Check local nurseries or feed stores for local seeds.
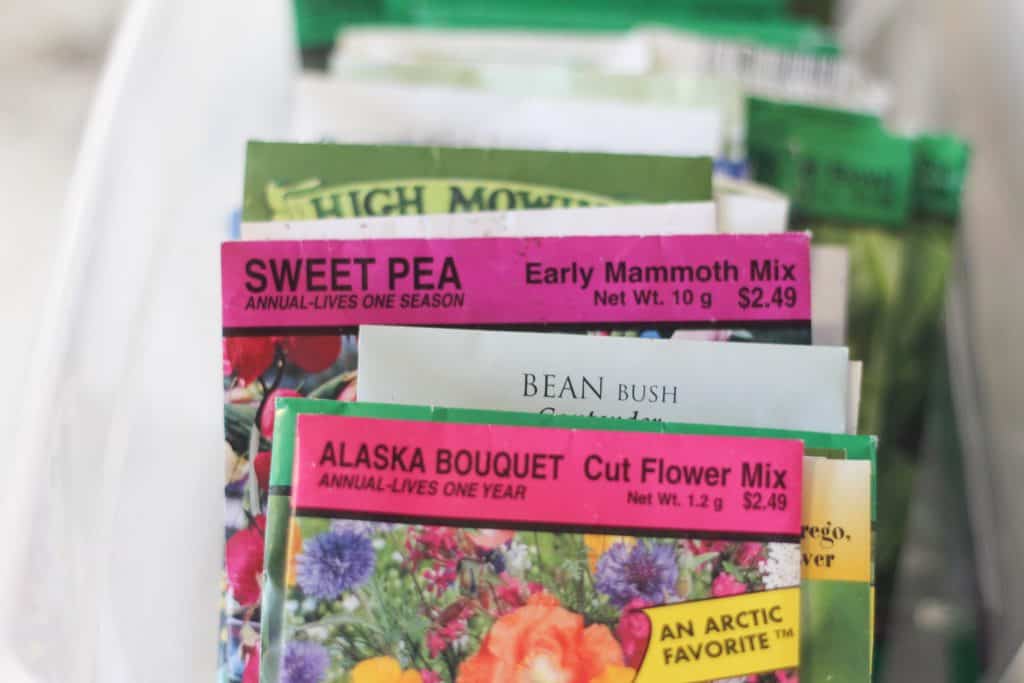
Here are some of my favorite places to purchase seeds:
- Denali Seed Company – Seeds specifically for growing in Alaska!
- Seeds and Soil Farm – Another Alaskan seed company.
- Fedco Seeds
- Territorial Seed Company
There are countless other brands of seeds and places to purchase them. Make a list of what you want to grow, how much you want to grow, and have fun shopping around!
Seed Starting Trays and Equipment
Before seed starting time arrives, make sure to purchase and have ready the equipment that you’ll need. This includes:
- Seed starting trays of varying sizes, bottom trays, and lids.
- Seed starting soil.
- A place for the seed trays to go. I use a set of plastic garage shelves purchased from the hardware store. Can also be a large table or windowsill.
- Grow lights, if using, and any extension cords or surge protectors needed.
- Large container for mixing soil.
- A way to mark the varieties after planting so that you know what is in each tray. A label taped to the side of the tray or popsicle sticks stuck into the soil will do.
Have everything ready to go and set up for when you want to start seeds.
Over the years, I have collected many containers and trays for starting seeds. Some have been purchased from the nursery and some are containers from plant starts that I purchased. If using previously used containers, be sure to clean them really well.
Seedling Soil
Seedlings need special soil to get the seeds germinated. Use a seed starting soil that can be purchased from a local nursery or hardware store.
Potting soil should be used when the plants have grown larger and are ready to be transplanted to larger containers.
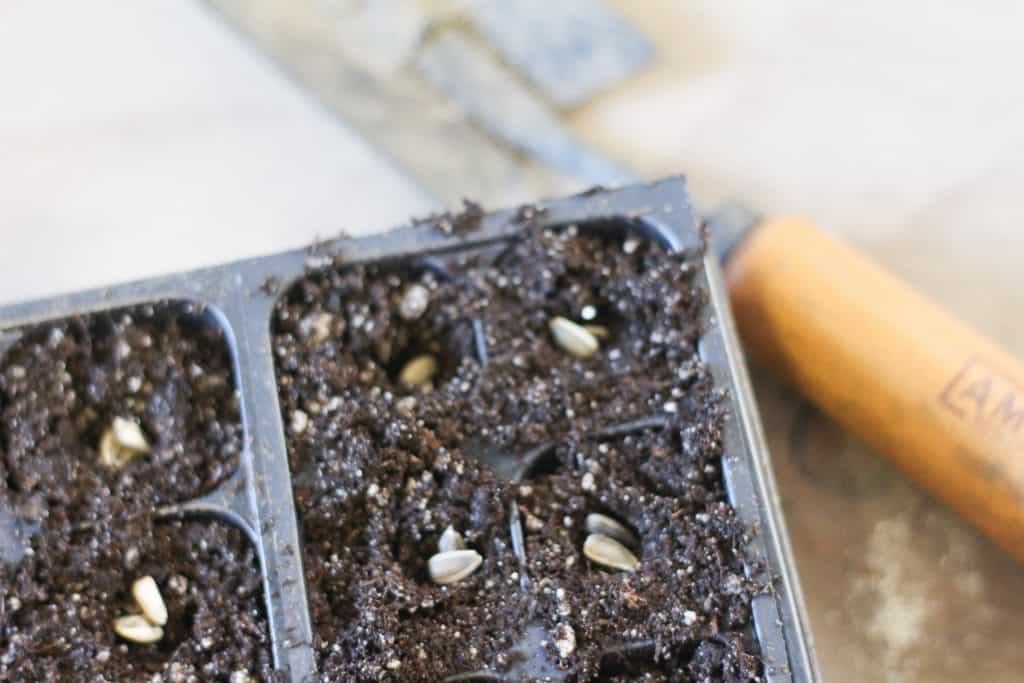
Fill a large container with some of the soil and mix in some water to get it nice and damp before filling your trays. You do’t want to put seeds into dry soil.

Follow the planting directions on the seed packet to know how deep to plant the seeds and how to care for them. Be sure to mark the tray somehow so you know what you planted and where.

Grow Lights for Seed Starting
Using grow lights is not a requirement for starting seeds so don’t let that stop you. They can be expensive and cumbersome if you don’t have a convenient area to hang them.
Seeds can still start using natural light or bright lights in your home or garage. However, grow lights do help and are nice to have.
We have some led grow lights that are small and lightweight. I can hook them onto the underside of the plastic shelves that I keep my seed trays on.
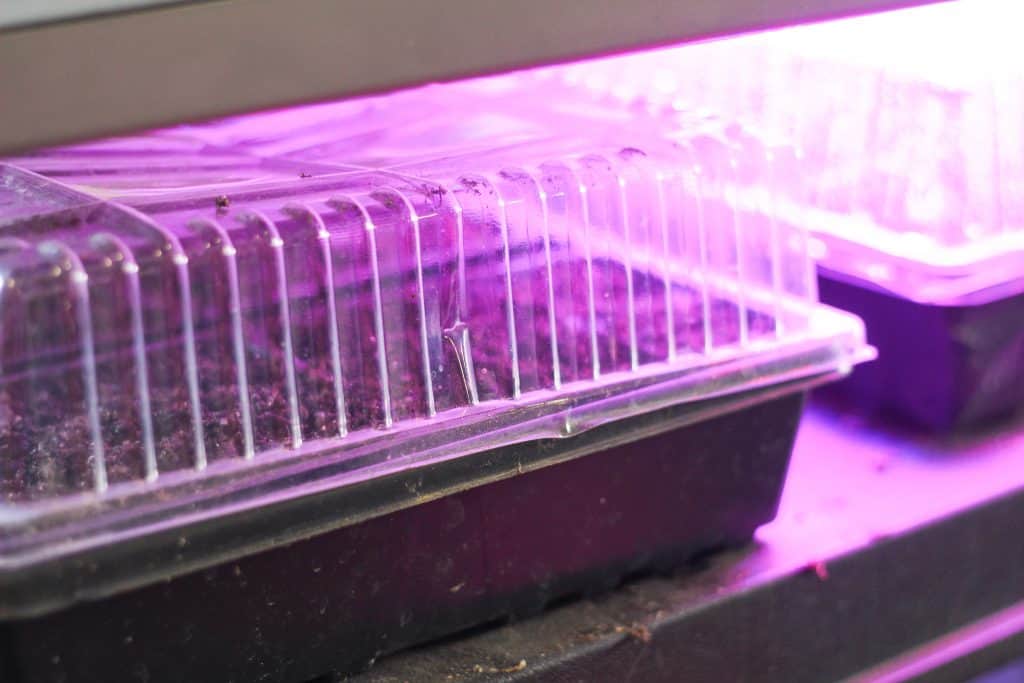
Keep grow lights on all day and then turn them off at night. Hang them right over the trays and then raise them as the seeds grow. If they are hung too high, the plants can get leggy (thin stems) trying to reach way up to the light.
Try a set of grow lights and see how you like them. You can always purchase additional ones over time as your garden grows and you find out what works best for you.
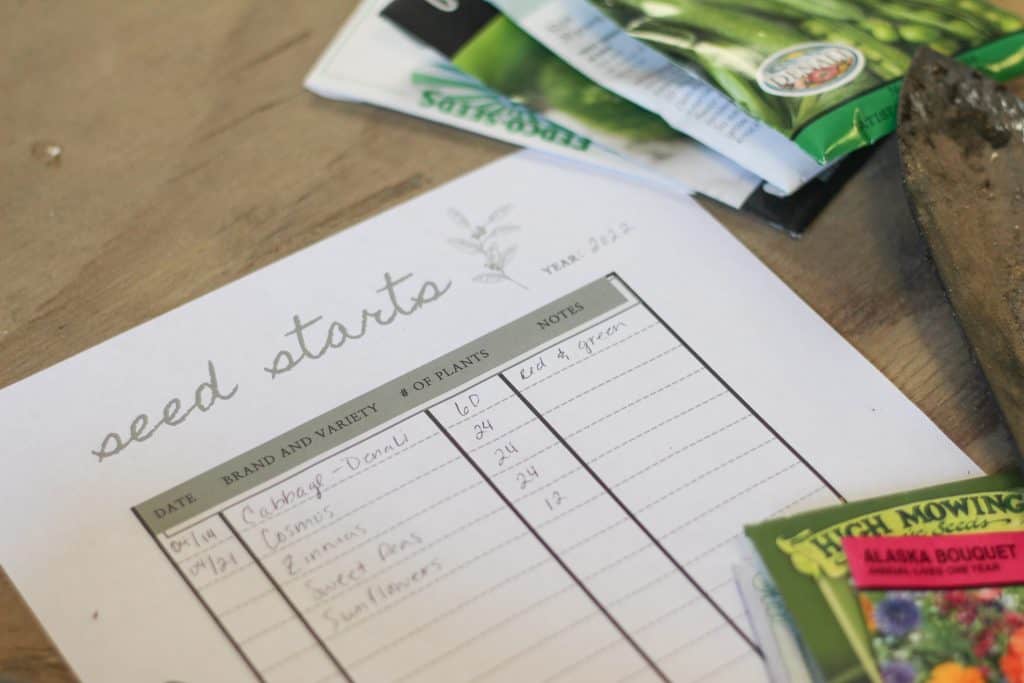
Seed Starting Spreadsheet
After planting, be sure to write down what you did! Keep track of the date, the variety and brand you planted, the number of plants, and any other notes you want to make.
When you go to start seeds year after year, you can look back on these records to see what worked and what didn’t. Maybe a certain variety didn’t start well for you, or you started more seeds than you ended up needing.
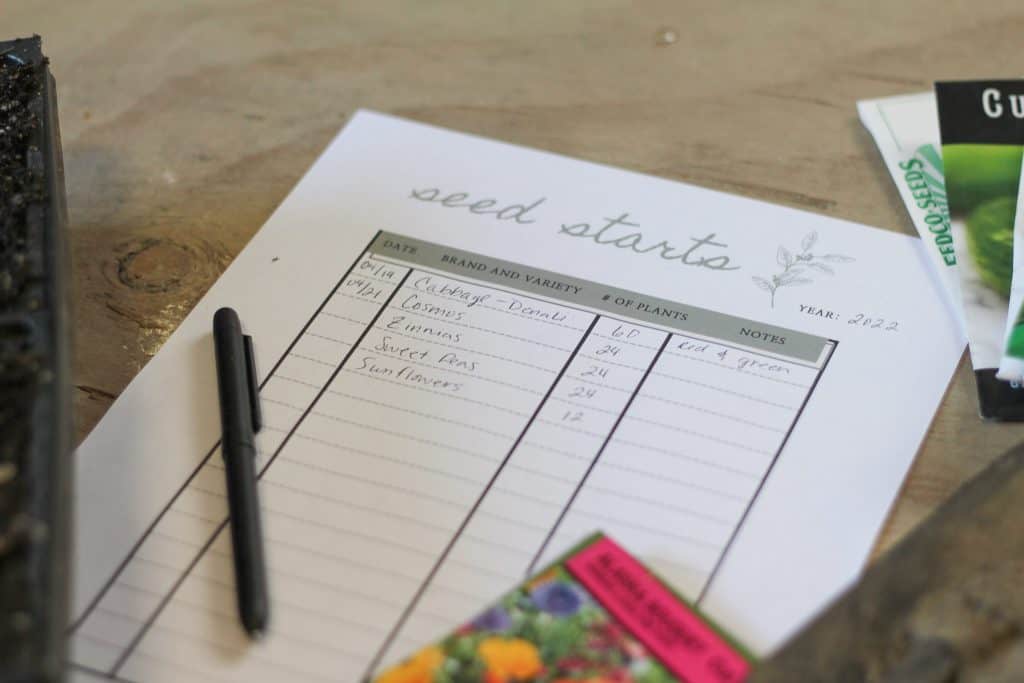
Having this information will help your garden grow to be more productive year after year instead of feeling like you’re starting over. You can get my free printable seed starting spreadsheet right here!
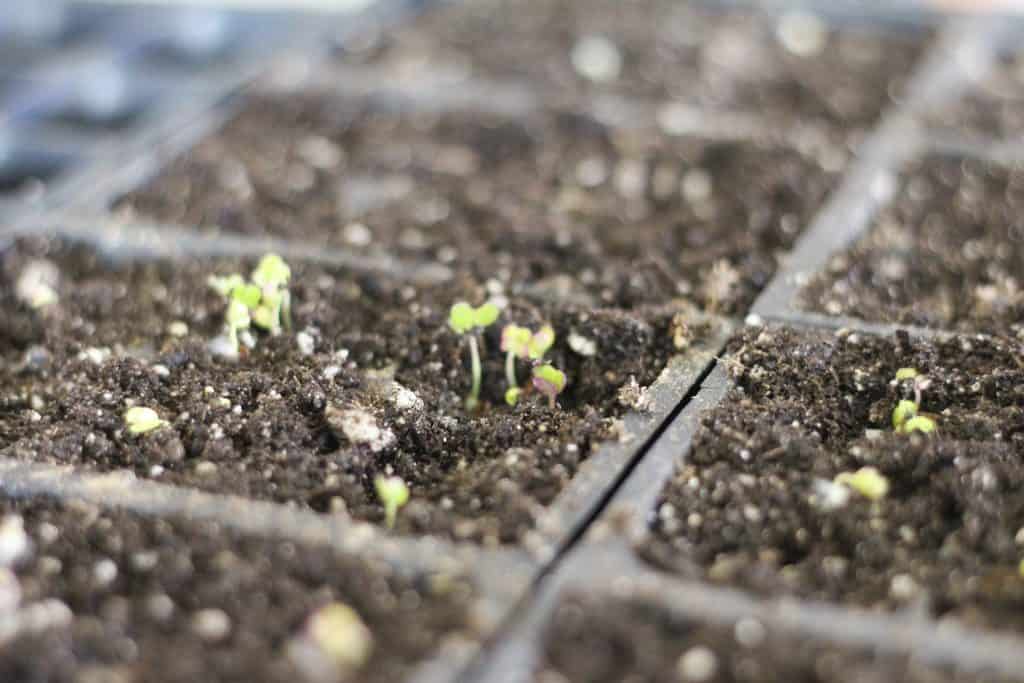
Caring for Seedlings
Depending on what you start, seedlings can begin to emerge in just a few days! It’s amazing to see tiny little plants that you lovingly care for push up out of the soil and anticipate what they will continue to grow into.
Follow the instructions on the seed packets (be sure to keep them, even if you use all of the seeds) to know how to care for the plants as they grow.
Free Printable Seed Starting Spreadsheet
Click here to get a copy of my seed starting chart to print for your own use! Keep a folder or binder with your gardening notes each year to look back on. Not only will your garden improve as you know what works and what doesn’t, you’ll also enjoy seeing how you’re doing each year!
Pin it for later