Pressure Canning Turkey Meat
Having the ability to open up a jar of ready-to-eat meat makes for quick meals in a hurry. Pressure canning turkey meat is not a difficult process and will leave you with a healthy option on those hectic evenings.

I’ve never been a fan of grocery store canned meat, it just never appealed to me! I used to buy canned tuna but stopped years ago. However, the idea of having precooked meat available at any time was tempting.
When we started raising our own turkeys for meat, my friend, who was helping us, told me that they canned a lot of their meat every year. I never even knew you could do that! It turns out you can pressure can all kinds of meats from poultry to red meats to fish so I wanted to try.
My friend came over and taught me how as I was new to pressure canning. It can be very intimidating but once you get the hang of it, using a pressure canner opens up so many options for preserving different foods. Now we pressure can a lot of our turkey meat to enjoy throughout the year.

Ingredients for Pressure Canning Turkey Meat
- Turkey breasts-One turkey breast will yield four to five pint jars. I usually pressure can five or six breasts at a time. Our pressure canner can hold 24 pint jars so I can usually be done in one batch but a smaller pressure canner might require multiple batches. We get our turkey breasts from turkeys that we raise ourselves.
- Water-Start a medium saucepan full of water and bring to boil. This will be poured into the jars with the turkey meat.
That’s it! I don’t add any seasoning to my turkey meat when I pressure can it. I like it to be plain so that I can season it depending on what recipe I’m using it for.
Equipement You Will Need
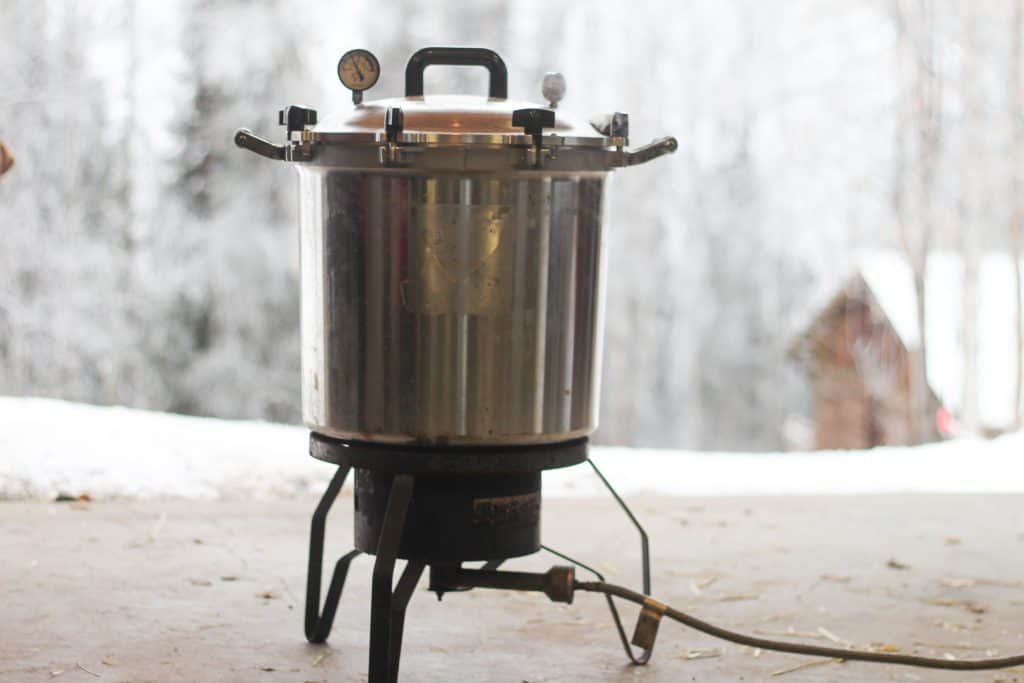
- Pressure canner-A few years ago we puchased a high-quality, large capacity pressure canner and we’re so glad we did. It gets a lot of use as we pressure can bear and caribou meat, smoked salmon, and turkey. We wanted a reliable canner that would allow us to do a lot of jars at once.
- Propane burner and tank-We only pressure can outside so a sturdy burner and a full tank of propane, as well as the hook-ups, are a must. You can use a pressure canner in the house if you choose but since we are using such a large one, we feel safer always doing it outside.
- Canning jars, lids, and rings-Be sure to have the corrent amount of glass canning jars, lids, and rings. The jars should be clean and at room temperature for packing raw poultry. Lids should be in a small pot of hot water, and rings should be clean and in good condition.
- Ladle-For pouring the boiling water in the jars.
- Knife-To run along the inside of the jar to release air bubbles.
Steps for Pressure Canning Turkey Meat
Always follow the directions for your particular pressure canner. Be sure that your canner is in good working order prior to use. Using a pressure canner can be dangerous so be very careful. Once you get the hang of it, it’s not as intimidating! The Ball Complete Book of Home Preserving is a wonderful resource as well.
- Wash jars and rings and set aside. Jars should be at room temperature for filling with raw poultry.
- Place lids in saucepan full of water and bring to a simmer.
- Bring a medium sacepan full of water to a boil.
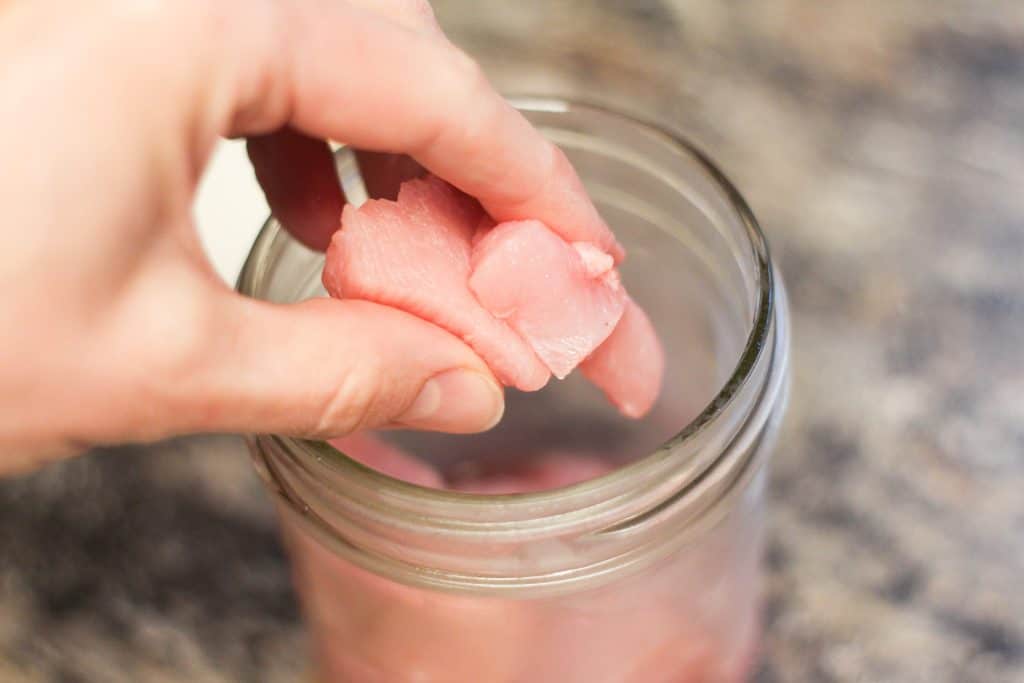
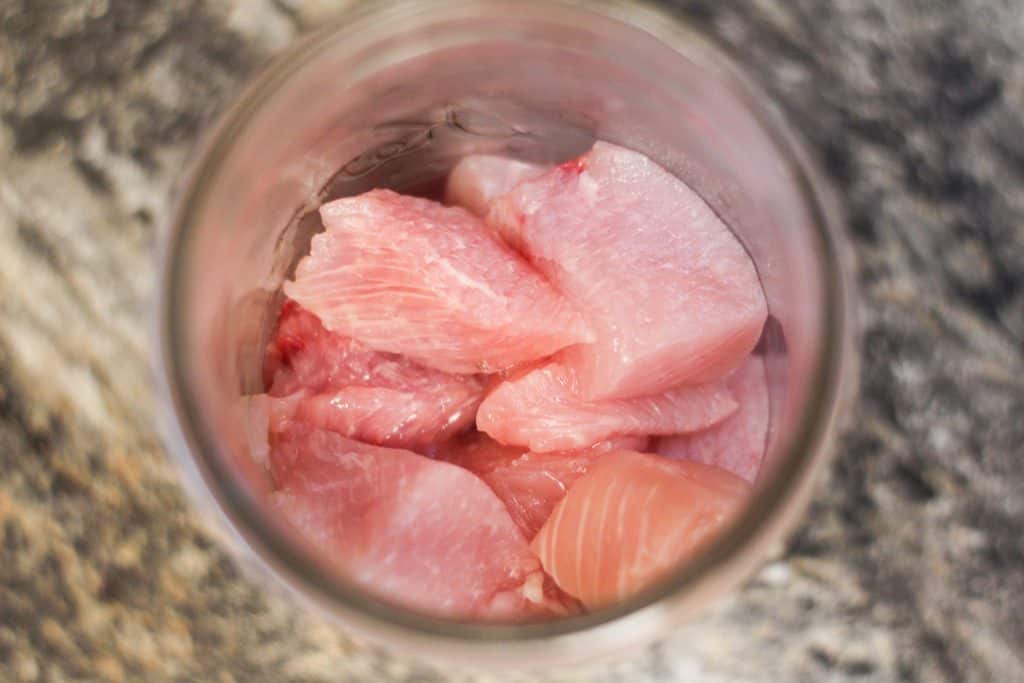
- Cut turkey breasts into appoximately 1 inch cubes.
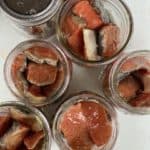
- Fill jars with meat, pushing it down firmly with your hands and leaving 1 inch of headspace.
- Ladle boiling water into jars to cover met, leaving 1 inch of headspace.
- Using a knife, run it along the inside of the jar to help release any air bubbles.
- Wipe rim clean with a cloth or paper towel.
- Place lid on jar and screw down ring until fingertip tight.
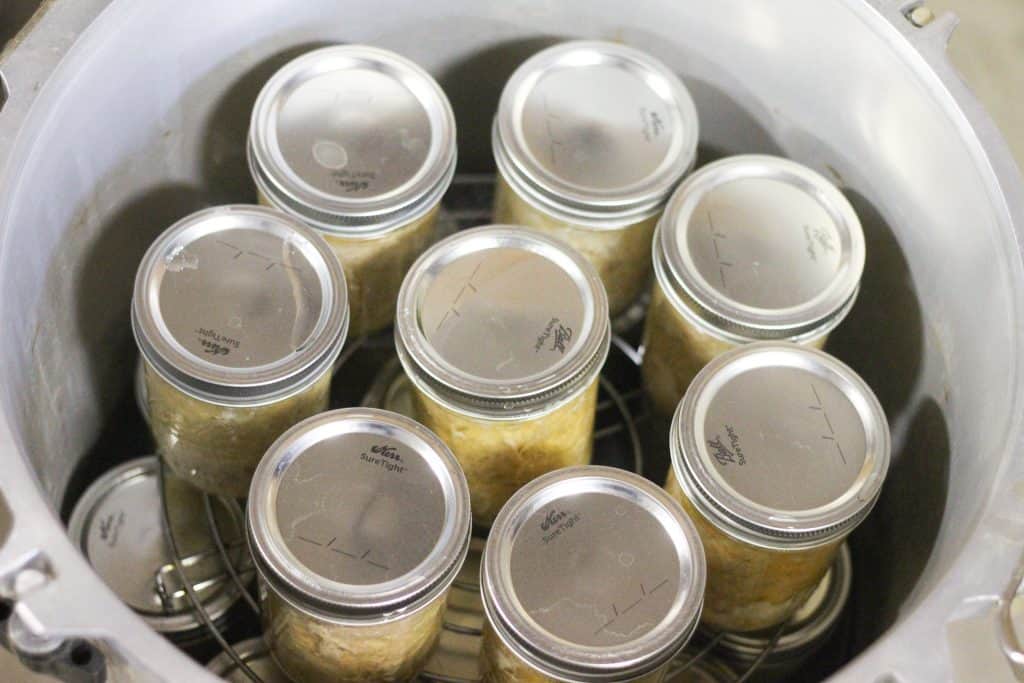
- Fill pressure canner with 2 to 3 inches of water, or according to manufacturer’s directions. Heat water up but do not bring to a boil.
- Place jars in canner and, following the instructions for your canner, screw on the lid.
- Bring water to a boil and once there’s a steady column of steam, set a timer for 10 minutes.
- Continue heating until the canner reaches 10 pounds of pressure.
- Process pint jars of boneless poultry for 1 hour and 15 minutes, then follow directions for your canner to release pressure naturally to zero then remove lid.
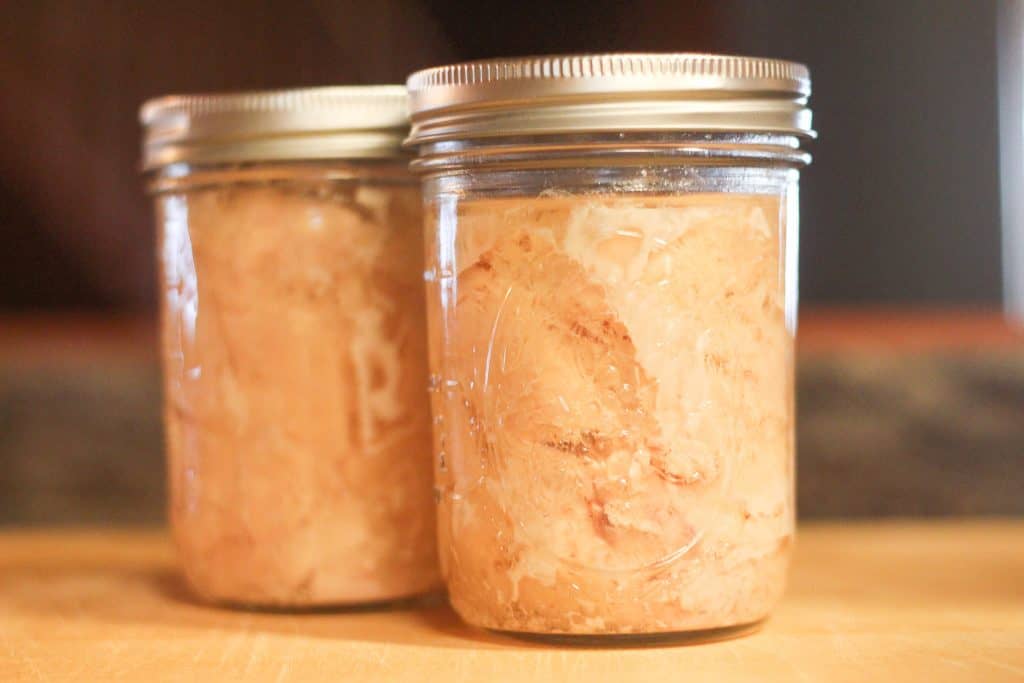
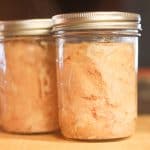
- Allow jars to cool then remove to continue cooling completely. Check that all jars are sealed properly.
- I like to wipe off all the jars and lids so they’re nice and clean and then store in the pantry.
To Use Pressure Canned Turkey Meat
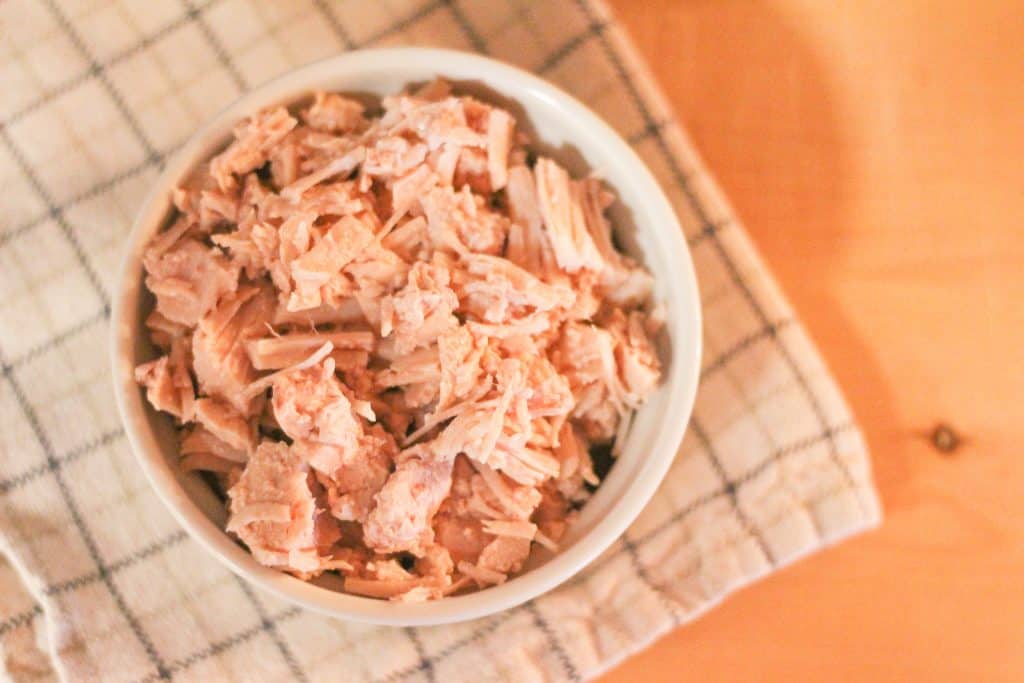
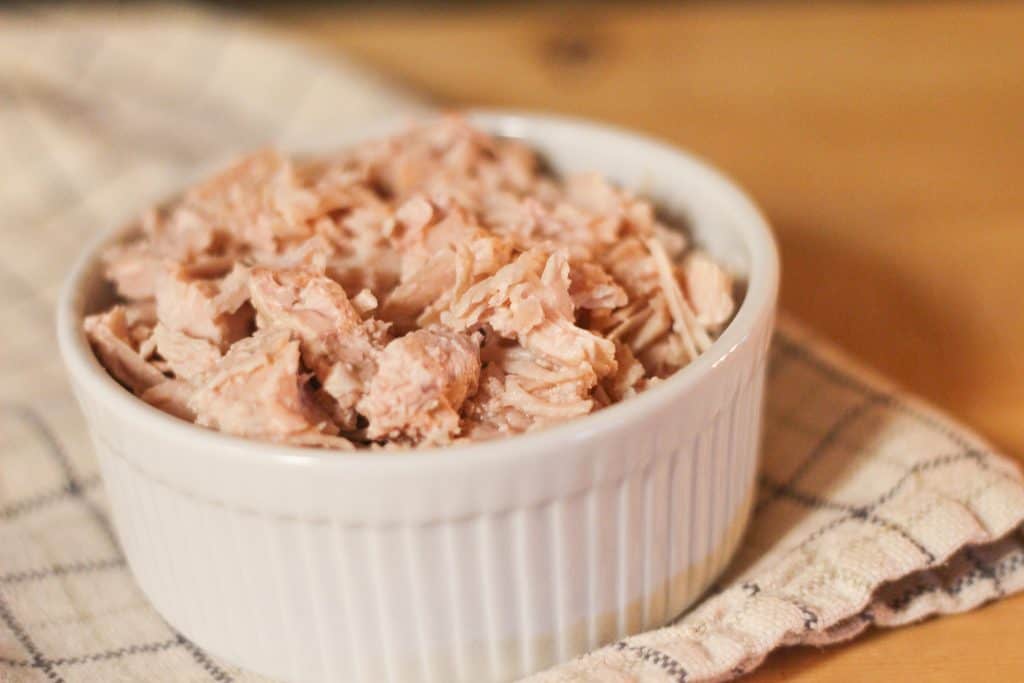
When you’re ready to eat your canned poultry, simply remove the ring and open the lid using a manual can opener. Drain the liquid off and shred the meat using a fork. It’s ready to go!

Storing Canned Turkey
Once your turkey is canned, it’s now shelf stable! I like to wipe off the outside of my jars and lids to make sure they’re clean. The jars can be stored in a cool, dry place where other canned goods are stored. We have a few shelves in our garage, which is heated during the winter, where I keep our overflow of canned goods.
They can also be kept right in the house in the pantry. I like to keep a few jars handy so I’m often taking trips to the garage to restock the pantry.
However, once the jars have been opened, they are no longer shelf-stable. After opening a jar, if all the turkey isn’t used, screw the lid back on and store it in the refrigerator. You can also empty the leftover meat into a separate storage container. After refrigerating, consume the leftover meat within three days.
Uses for Pressure Canned Turkey Meat
There are endless ways to use turkey meat that has been pressure canned! I love having it in our pantry because it means a quick, healthy, homemade meal is only minutes away if needed. Here are a few of our family’s favorite ways to use our canned meat:
- “Chicken” Salad-Instead of using shredded chicken, we make turkey salad! It tastes just the same when mixed with a bit of mayonnaise, seasoned with some salt and pepper, and if we have them, grapes and celery mixed in. We like to have ours on homemade whole wheat tortillas which are quick to whip up if I don’t have enough bread available for sandwiches.
- Pot Pie Filling-Canned turkey makes the perfect filling for a pot pie. I can skip the step of cooking up some meat and just open up a jar to add to my homemade filling along with some frozen vegetables. A quick meal for any weeknight.
- Nachos-This is one of our favorite quick lunches or even as dinner sometimes, nachos. Spead the tortilla chips (we get locally made Alaskan chips!), sprinkle with cheese, and top with canned turkey meat. Heat in the oven for just a few minutes and it’s ready! Serve with additional toppings such as avocados, tomatoes, sour cream, and such. It also makes a great taco filling.
- Soups and Stews-Use canned turkey meat to make homemade “chicken” noodle soup. Here’s a recipe for turkey broth as well. Or add to any soup or stew that you would use shredded meat in.
There are so many other ways to use pressure-canned turkey meat! Any recipe that calls for shredded chicken or turkey would work great using this precooked, canned meat.
On those hectic evenings when you forgot to pull the meat out of the freezer, having a supply on hand in the pantry that’s ready to go can be a lifesaver. Pressure canning turkey meat is delicious, healthy, and so convenient and I love having it on our shelves.
Pin it for later
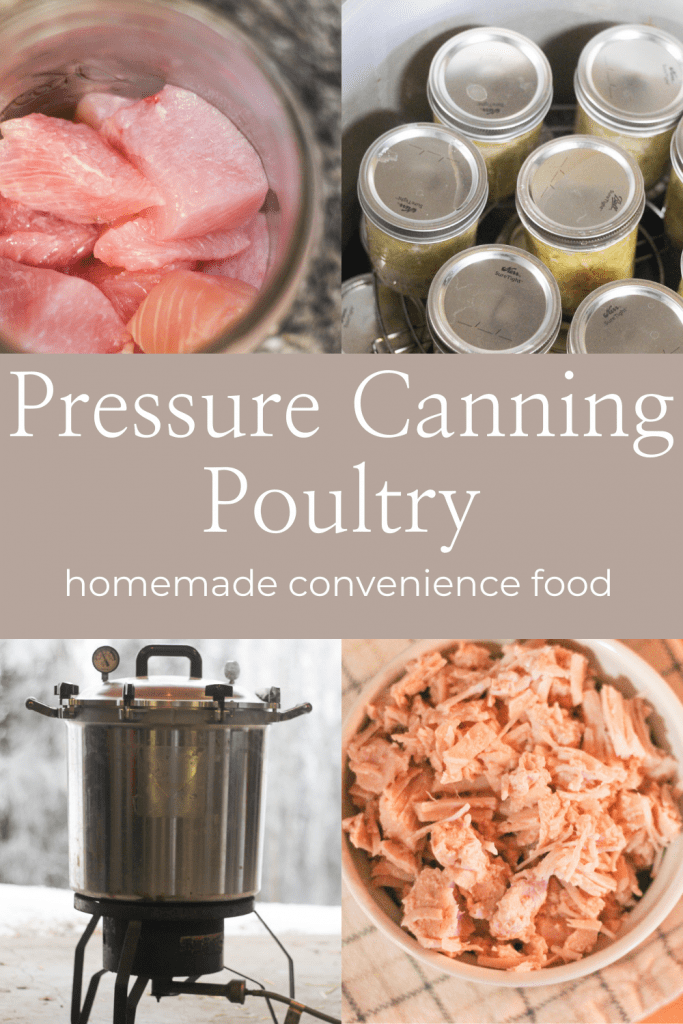
Pressure Canning Poultry
Equipment
- Pint glass canning jars, lids, and rings
- Pressure cooker
Instructions
- Wash jars and rings and set aside. Jars should be at room temperature for filling with raw poultry.
- Place lids in saucepan full of water and bring to a simmer.
- Bring a medium sacepan full of water to a boil.
- Cut turkey breasts into appoximately 1 inch cubes.
- Fill jars with meat, pushing it down firmly with your hands and leaving 1 inch of headspace.
- Ladle boiling water into jars to cover met, leaving 1 inch of headspace.
- Using a knife, run it along the inside of the jar to help release any air bubbles.
- Wipe rim clean with a cloth or paper towel.
- Place lid on jar and screw down ring until fingertip tight.
- Fill pressure canner with 2 to 3 inches of water, or according to manufacturer’s directions. Heat water up but do not bring to a boil.
- Place jars in canner and, following the instructions for your canner, screw on the lid.
- Bring water to a boil and once there’s a steady column of steam, set a timer for 10 minutes.
- Continue heating until the canner reaches 10 pounds of pressure.
- Process pint jars of boneless poultry for 1 hour and 15 minutes, then follow directions for your canner to release pressure naturally to zero then remove lid.
- Allow jars to cool then remove to continue cooling completely. Check that all jars are sealed properly.
- I like to wipe off all the jars and lids so they’re nice and clean and then store in the pantry.
- When you’re ready to eat your canned poultry, simply remove the ring and open the lid using a manual can opener. Drain the liquid off and shred the meat using a fork. It’s ready to go!
- Once a can is opened, store uneaten portion in a sealed container in the fridge and use within 3 days.