Cleaning a Chicken Coop
Cleaning a chicken coop is an important part of keeping a healthy flock. Here are the simple steps you can take to get this chore done in a day.
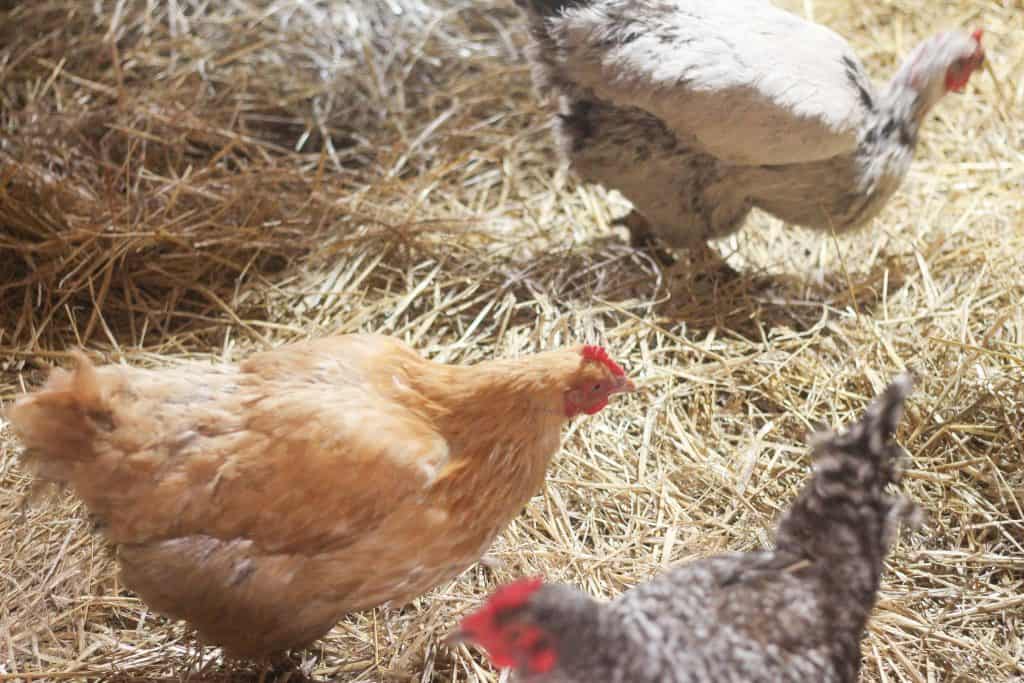
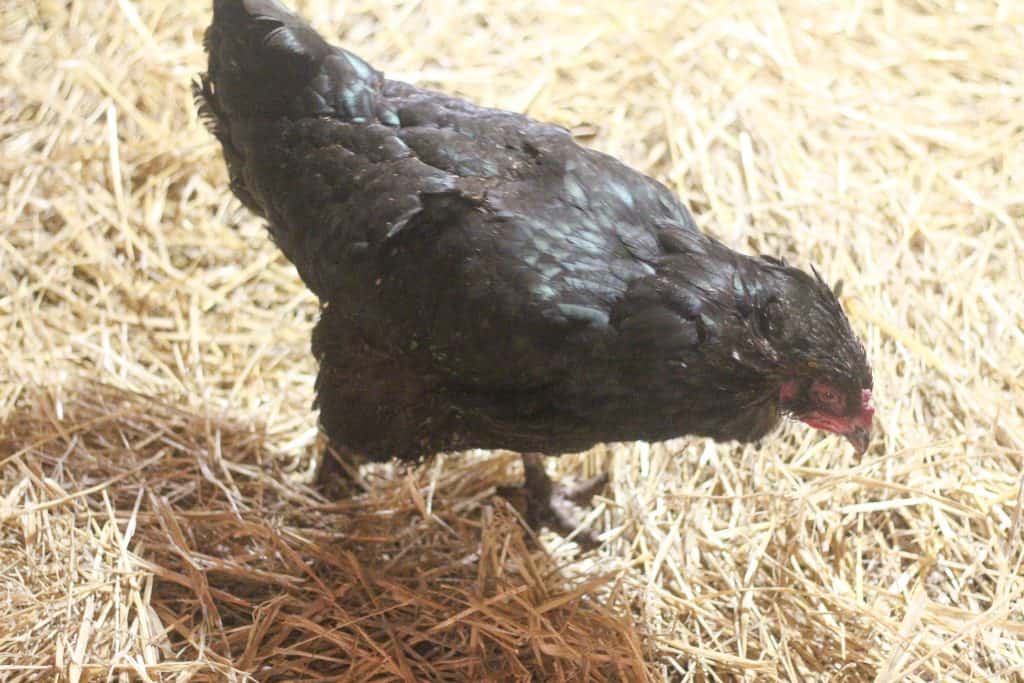
We love and appreciate our layers for the delicious, healthy eggs that they lay for us every day. In return, we take special care of them to help keep them healthy and happy.
One of the most important ways we do this is by maintaining a clean chicken coop as much as possible. Animals are messy and need cleaning up after and it’s our job to provide our livestock with clean environments.
Every day we give our birds fresh feed and water, clean up any major messes, scoop out the nesting boxes as needed, and turn their bedding, adding a new layer as needed.
But a few times a year (always right after winter and right before the next winter) we do a major coop cleanout. Here are the steps we take to clean out our chicken coop from top to bottom and keep our chickens happy, healthy, and laying.
Scooping a Chicken Coop
The first step is to remove all of your chickens from the coop. You don’t want them in there while you’re cleaning. Be sure to put them somewhere safe, or let them free range outside for a bit while you’re out there with them.
Next, remove everything from the coop including the waterer, feeder, roost, nesting boxes, and anything else you have in your coop.
Now it’s time to scoop! Before you get started, have a few tools ready:
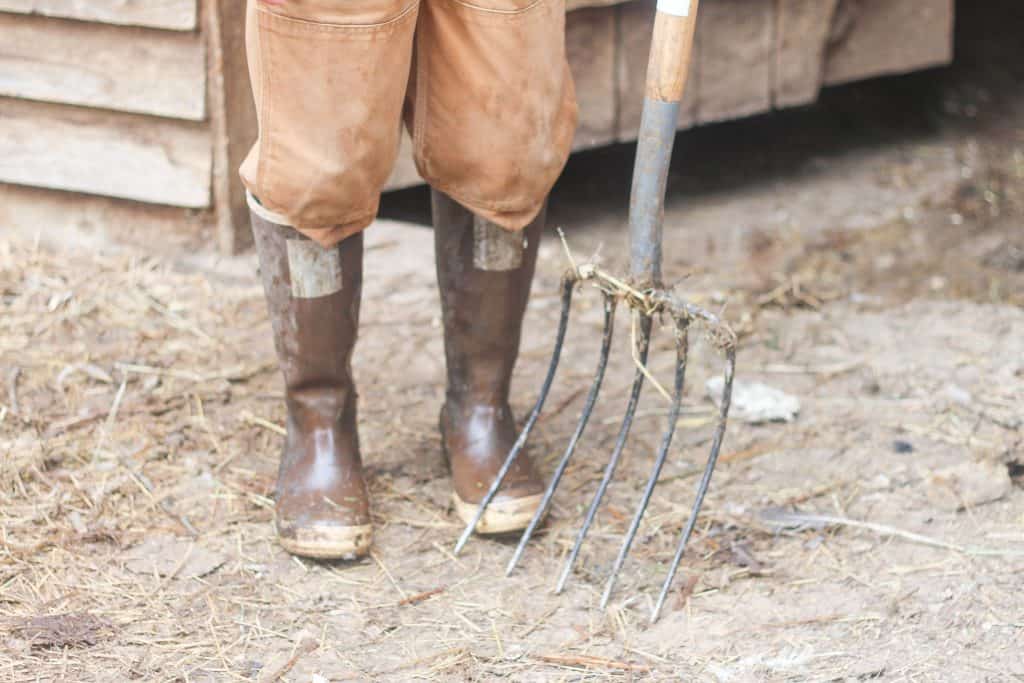
- Pitch fork-You can use a pitchfork or a similar livestock rake or scoop.
- Gloves-I always wear my leather work gloves when working in the barn.
- Boots-If you own chickens, you probably already have a pair of muck boots to wear when you’re going in and out of the coop. We each have a pair of boots just for use in the barn.
- Coveralls-These are so nice to have when doing any barn chores to help keep your clothes as clean as possible.
- Face covering-Optional but you will be kicking up a lot of dust when cleaning out a chicken coop so be careful not to breathe in too much of it.
Scoop out the entire coop, making a pile in a designated place. This will become future compost for your garden!
Use a shovel to scrape the floor to make sure you get it all.
Next, spray it all down with a hose. I also like to spray down our coop with a mixture of vinegar and water in a spray bottle.
Leave the coop doors open and allow it to air dry while you move on to the rest of the cleaning.
Cleaning Nesting Boxes
Cleaning nesting boxes regularly is important because that’s where chickens lay the eggs that we eat! They need to have a clean environment to lay their eggs, not only for their health but for ours. We want clean eggs!
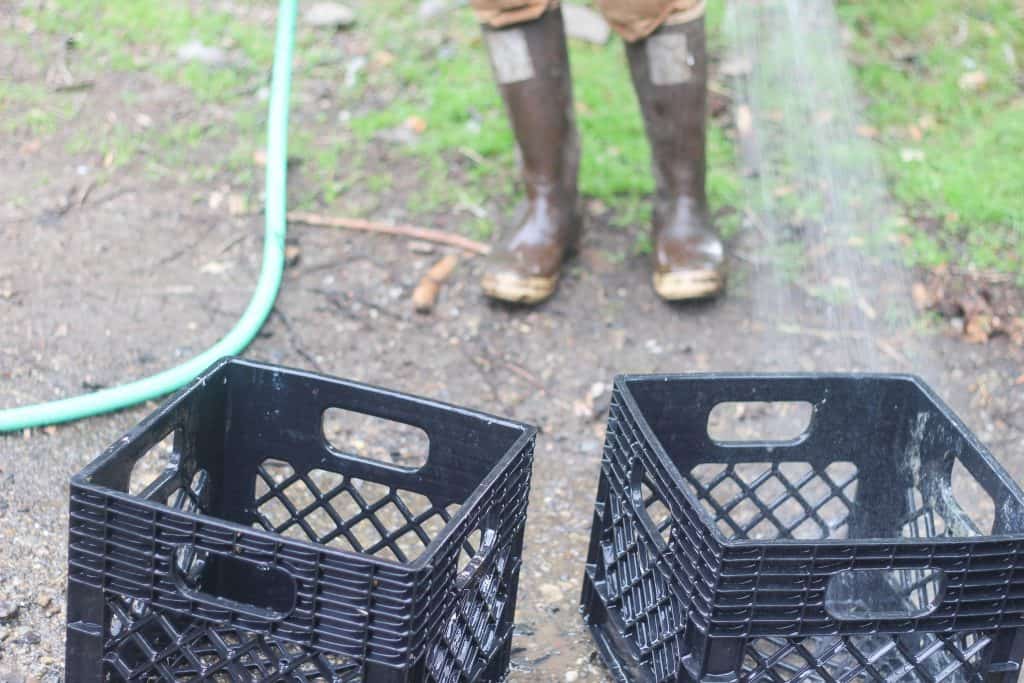
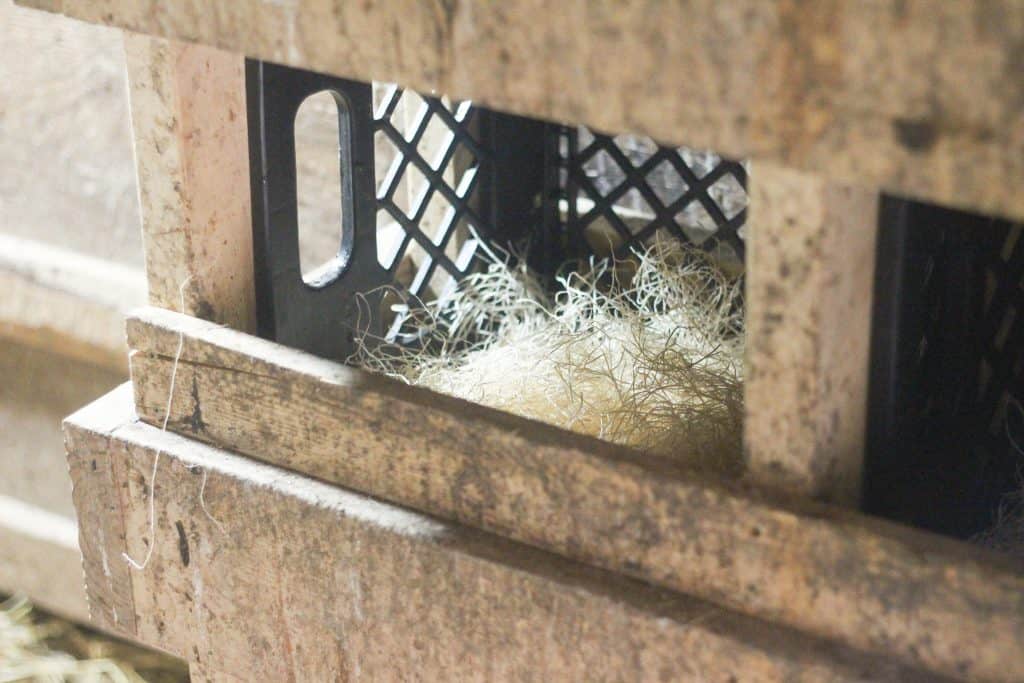
How you clean your nesting boxes will depend on what type of nesting boxes you have. My husband built a stand to hold four milk crates for our chickens to lay in. We can easily pull them out to clean.
Whatever type of nesting boxes you have, give them a thorough cleaning. Empty all nesting material out and spray them with water. Then spray them with a vinegar and water solution and allow them to dry completely.
Cleaning a Chicken Roost
Your coop should include a roost for the chickens to sit on, usually at night. Ours is removable but yours might be attached to the coop.
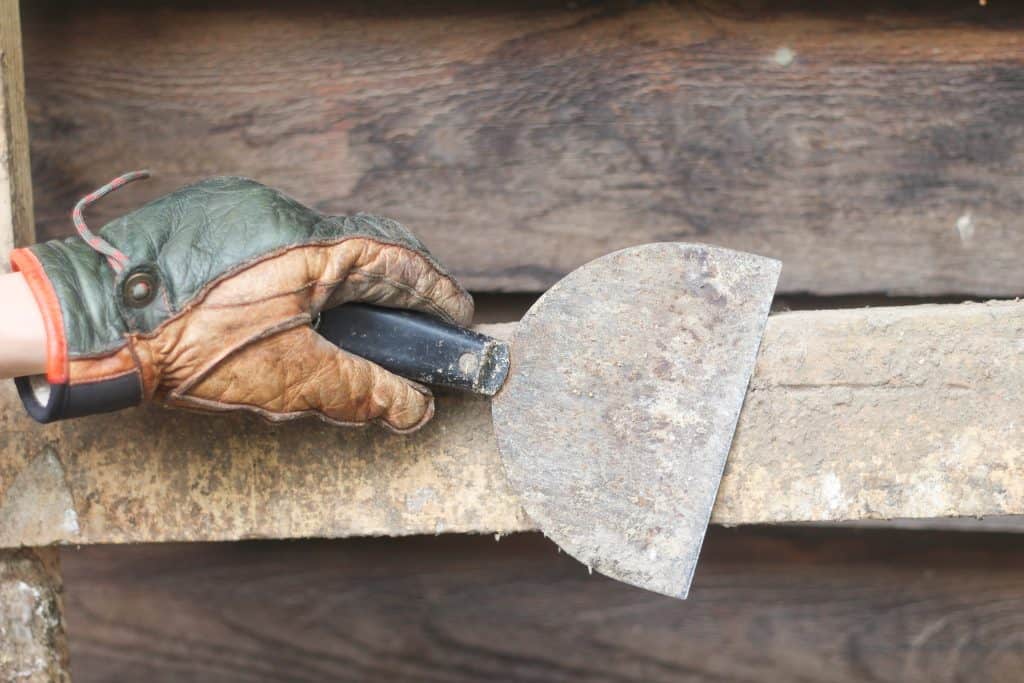
Either way, it needs periodic cleaning as well. We have a simple scraper that we keep just for scraping surfaces in the chicken coop clean. It works great to remove the dirt that collects on the roost, nesting boxes, and other surfaces in the coop where the chickens gather.
Scrape the roost off and if able, spray it down as well for a good cleaning.
Chicken Waterers and Feeders
Once you have cleaned the nesting boxes and the roost, continue with the rest of your chicken equipment.
Give the feeder and waterer a good scrub down with a rag and some soapy water. Spray them with vinegar water as well and rinse. Let them sit outside and dry off in the sun.
Using Diatomaceous Earth
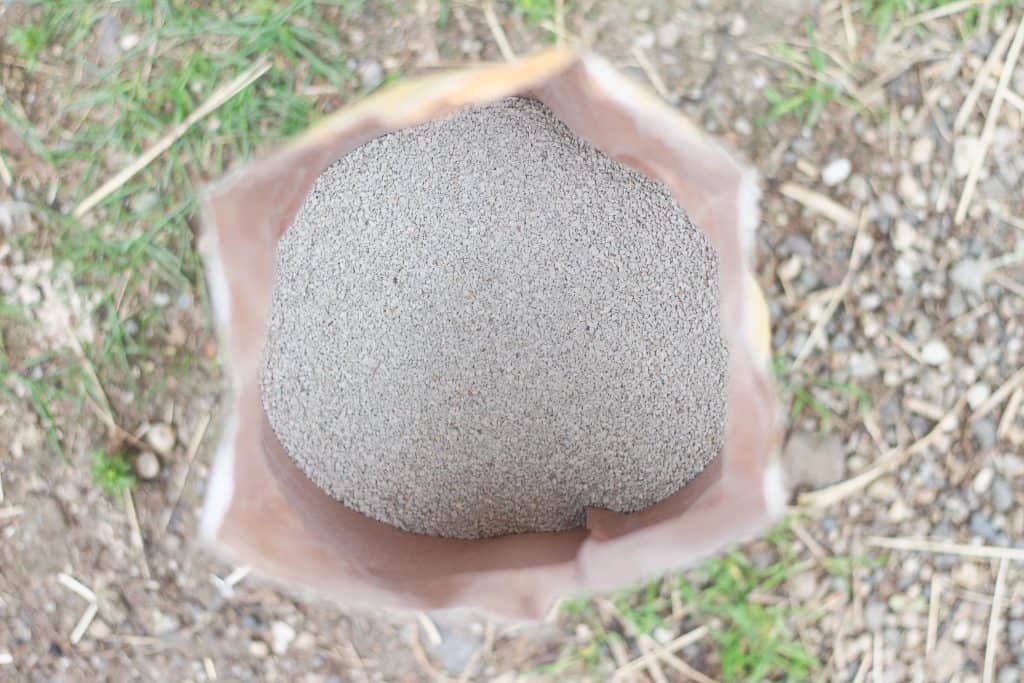
Now that the coop is all cleaned out, it’s time to get it ready for the chickens again! Before adding bedding, I like to sprinkle some diatomaceous earth all over the coop floor. I never sprinkle this in the nesting boxes, only on the floor of the coop.
Make sure to purchase a food-grade DE from a feed store. You can also find coop fresheners that contain DE and other natural ingredients to help coops stay fresh and keep parasites away.
Fresh Coop Bedding
Cover the coop floor with the bedding of your choice. We used pine shavings when we first started raising chickens but quickly switched to straw.
Straw is an insulator, which is important here in Alaska. It’s also easier to turn and keep fresh than we found pine shavings to be.
Put the roost and nesting boxes back into the coop. Place fresh bedding in the nesting boxes.
We like to use nesting box liners. Our chickens kept kicking all of the straw out after we put it in but these stay in the nesting boxes and are easy to remove and shake off.
Return and refill the feeder and waterer as well. Then bring the chickens back in and watch them enjoy their nice, clean home!
Cleaning a chicken coop is an important part of keeping a healthy flock of chickens. Working together as a family will make this chore more enjoyable and your chickens will thank you with an abundance of fresh eggs!